
Irresistibly Easy Homemade Nutella: A Vegan & Dairy-Free Dream
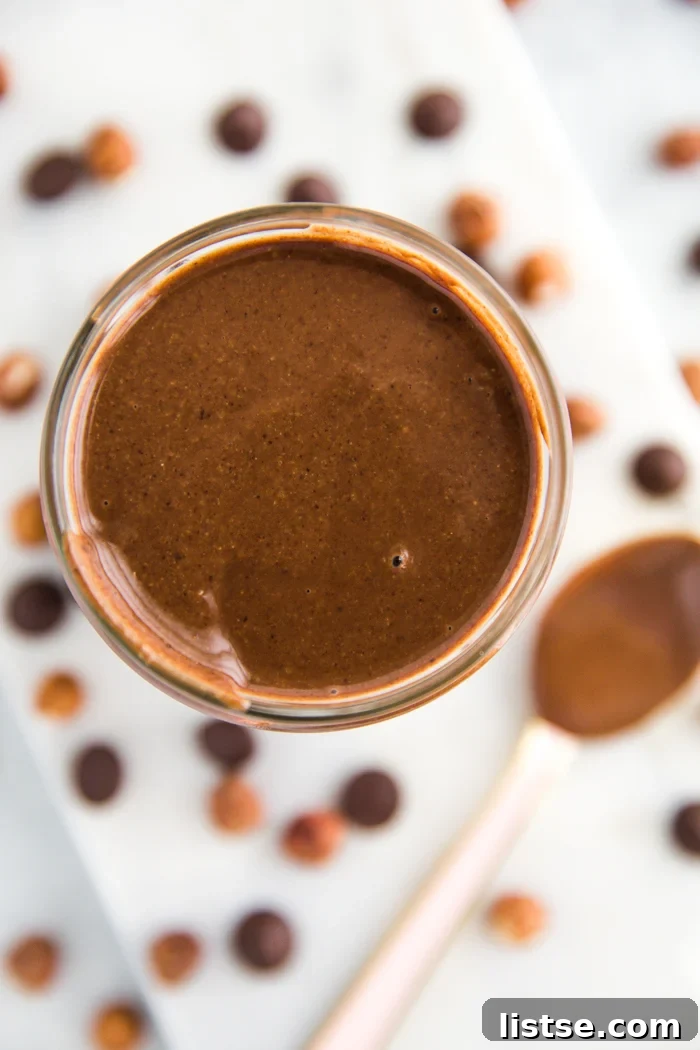
Imagine a rich, creamy, chocolatey hazelnut spread that’s not only incredibly delicious but also made with just three simple ingredients, completely vegan, and dairy-free. Stop imagining, because this recipe makes it a reality! Forget the store-bought versions filled with emulsifiers and excessive sugar; your homemade Nutella will be a revelation, offering a pure, unadulterated taste that will have you coming back for more. Prepare to transform humble hazelnuts into a luxurious spread that’s perfect for everything from breakfast toast to gourmet desserts, or simply enjoyed by the spoonful.
Why Choose Homemade Chocolate Hazelnut Spread?
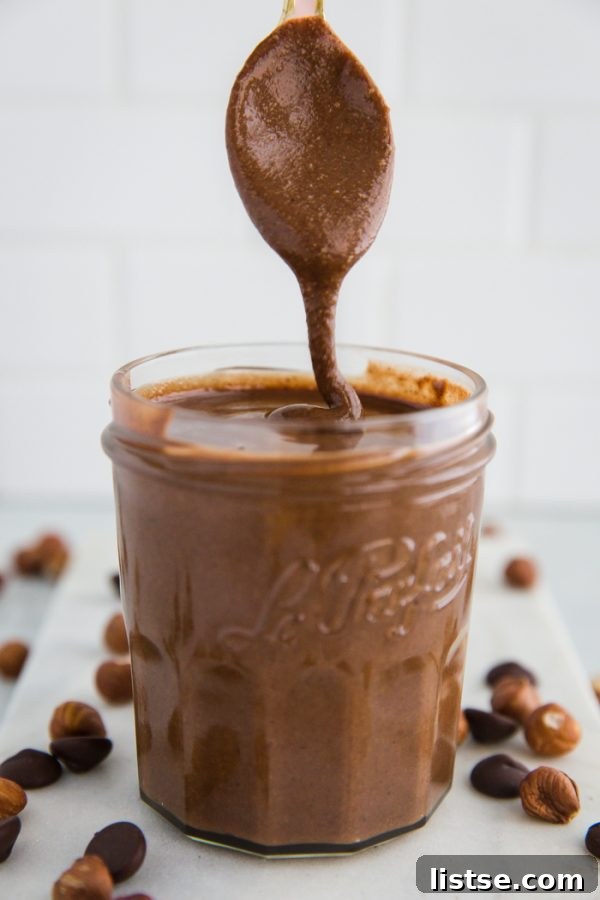
Growing up, that iconic jar of chocolate hazelnut spread was a pantry staple in many households, mine included. It was a treat, a comfort, and, let’s be honest, often eaten straight from the spoon. But as our understanding of food and nutrition grows, many of us seek alternatives that offer better ingredients and more control over what we consume. So, why go the extra mile to make your own when the store-bought option is so readily available?
The answer lies in several compelling benefits:
- Unmatched Freshness and Flavor: There’s a distinct difference in taste when ingredients are fresh and minimally processed. Homemade Nutella boasts a vibrant hazelnut flavor that truly shines through, complemented by the chocolate of your choice.
- Ingredient Control: When you make it yourself, you know exactly what goes in. No questionable oils, no artificial flavors, and you can adjust the sweetness to your liking. This is particularly appealing for those aiming for a cleaner diet or managing specific dietary needs.
- Dietary Inclusivity: This particular recipe is a game-changer for individuals following vegan or dairy-free diets. Most commercial brands contain dairy, but by selecting vegan dark chocolate, you effortlessly create a spread everyone can enjoy without compromise. It’s naturally free from animal products, making it a healthy and ethical choice.
- Healthier Profile: By reducing added sugars and eliminating unhealthy fats often found in store-bought spreads, your homemade version offers a more wholesome indulgence. Hazelnuts themselves are packed with healthy fats, fiber, and vitamin E.
- The Joy of Creation & Gifting: There’s immense satisfaction in crafting something delicious from scratch. Plus, homemade Nutella, beautifully packaged in small jars, makes for thoughtful and impressive gifts during the holidays or any special occasion. It’s a personal touch that store-bought items simply can’t replicate.
Sourcing Your Essential Ingredients for the Perfect Spread
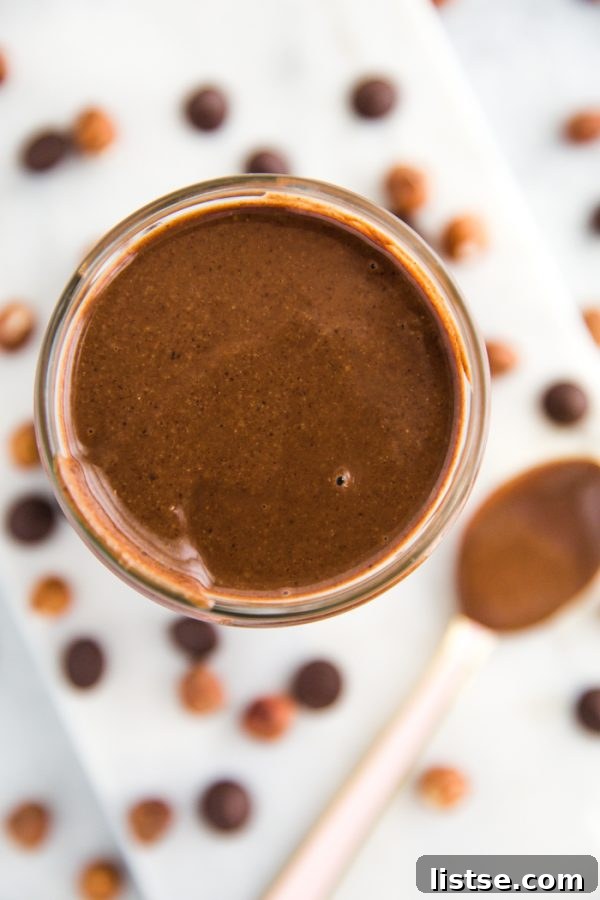
This recipe prides itself on its simplicity, calling for just three core ingredients. However, the quality of these ingredients plays a significant role in the final taste and texture of your homemade chocolate hazelnut spread. Let’s delve into them:
- Raw Hazelnuts: These are the star of the show. While you’ll roast them yourself, starting with raw hazelnuts is crucial for developing the best flavor and oil release during blending. Finding raw hazelnuts can sometimes be a slight challenge. Many specialty grocery stores, health food markets, or larger supermarkets often carry them in their bulk or baking sections. Online retailers like Amazon are also a reliable source for high-quality raw hazelnuts. Opt for fresh, plump nuts without any signs of shriveling or discoloration for the best results.
- Chocolate: The type of chocolate you choose will heavily influence the sweetness and bitterness of your spread. I personally prefer dark chocolate chips in this recipe, typically around 60-70% cacao, as it offers a deep, rich flavor that balances the hazelnuts without being overly sweet. However, feel free to experiment! You could use milk chocolate for a sweeter, creamier profile, or a high-quality fancy chocolate bar broken into pieces. Just ensure your chosen chocolate is dairy-free if you’re aiming for a vegan spread.
- A Pinch of Salt: This humble ingredient is a flavor enhancer. A small pinch of fine sea salt or kosher salt will amplify the chocolate and hazelnut notes, preventing the spread from tasting flat and bringing out its full potential.
- Optional Sweetener (Maple Syrup or Coconut Sugar): Depending on the sweetness of your chosen chocolate and your personal preference, you might want to add a touch of sweetener. Maple syrup provides a lovely, subtle flavor and liquid consistency, while coconut sugar offers a more caramel-like depth. Start with a small amount and adjust to taste after blending the main ingredients. Many find the combination of dark chocolate and roasted hazelnuts perfectly sweet on its own, so this step is entirely optional.
Step-by-Step Guide: How to Craft Your Ultimate Homemade Nutella
Making this luscious chocolate hazelnut spread is surprisingly simple, but it does require a little patience, especially during the blending stage. Follow these steps for success:
1. Roasting Hazelnuts for Optimal Flavor and Skin Removal
The first crucial step is roasting the hazelnuts. Roasting intensifies their nutty flavor and makes the skins much easier to remove, which is important for a smooth, less bitter spread. Preheat your oven to 375°F (190°C). Spread your raw hazelnuts in a single layer on a baking sheet. Roast them for approximately 8-10 minutes. Keep a close eye on them, as they can burn quickly. You’ll know they’re ready when they smell fragrant and their skins look slightly cracked and darker. Once roasted, immediately transfer them to a clean kitchen towel and allow them to cool slightly, but don’t let them get completely cold. The warmth helps with skin removal.
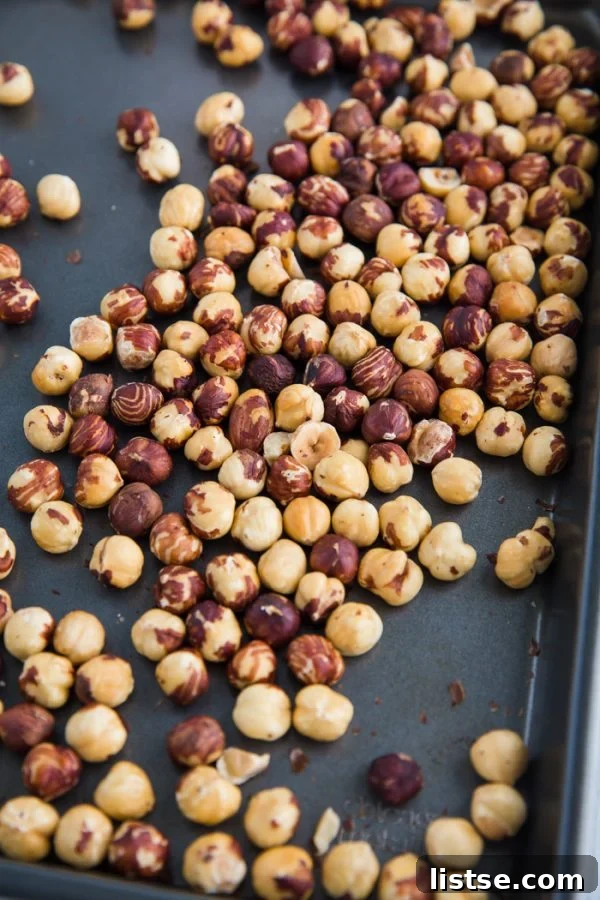
Once cooled enough to handle, gather the corners of the towel to create a bundle and vigorously rub the hazelnuts against each other inside the towel. This friction will cause most of the skins to come off. Don’t stress if you can’t get every single bit of skin off; aiming for around 60-75% removal is perfectly fine and won’t significantly impact the final product. The small remaining bits of skin add a rustic texture and won’t detract from the flavor.
2. Blending Hazelnuts to Silky Perfection
Now for the magical transformation! Transfer your warm, de-skinned hazelnuts to a high-speed blender or a powerful food processor. This is where patience is key, as the nuts will go through several stages before becoming a smooth butter. Turn on your appliance and let it work its magic. Here’s a typical progression:
- Minute 1: Coarse Meal: After about a minute, the hazelnuts will be chopped into a coarse, flour-like meal, resembling almond meal.
- Minute 2-3: Thick Paste/Dough: Continue blending, and the nuts will start to clump together into a thick, crumbly paste or even a ball of “dough.” This is the oils beginning to release, but they’re not fully incorporated yet.
- Minute 3-4: Thicker Paste: The paste will become slightly smoother, but still quite thick, similar to a very stiff nut butter.
- Minute 4-8 (or more): Creamy Butter: Keep blending! Eventually, the friction and continued processing will cause the hazelnut oils to fully release, transforming the thick paste into a beautifully smooth, creamy, and drippy hazelnut butter. It will resemble the consistency of natural peanut butter.
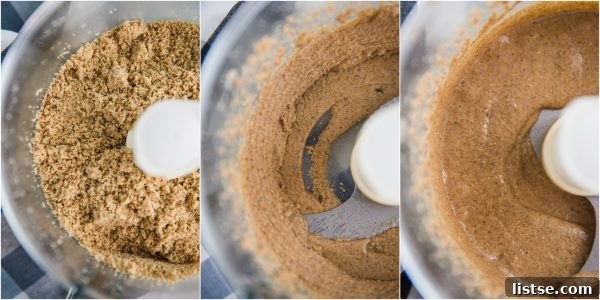
The exact blending time will vary significantly depending on the power of your equipment. A high-speed blender might achieve this in 4-5 minutes, while a standard food processor could take upwards of 8-10 minutes. During this process, remember to stop occasionally and scrape down the sides of the bowl to ensure all the nuts are evenly processed. Continue blending until you reach that desired luxurious, pourable consistency.
3. The Chocolate Infusion: Melding Flavors
Once your hazelnut butter is perfectly smooth and creamy, it’s time to add the chocolate. First, melt your chosen chocolate. You can do this using a double boiler on the stovetop for a gentle, even melt, or simply in the microwave in 30-second intervals, stirring well after each interval, until completely smooth. Be careful not to overheat the chocolate, as it can seize.
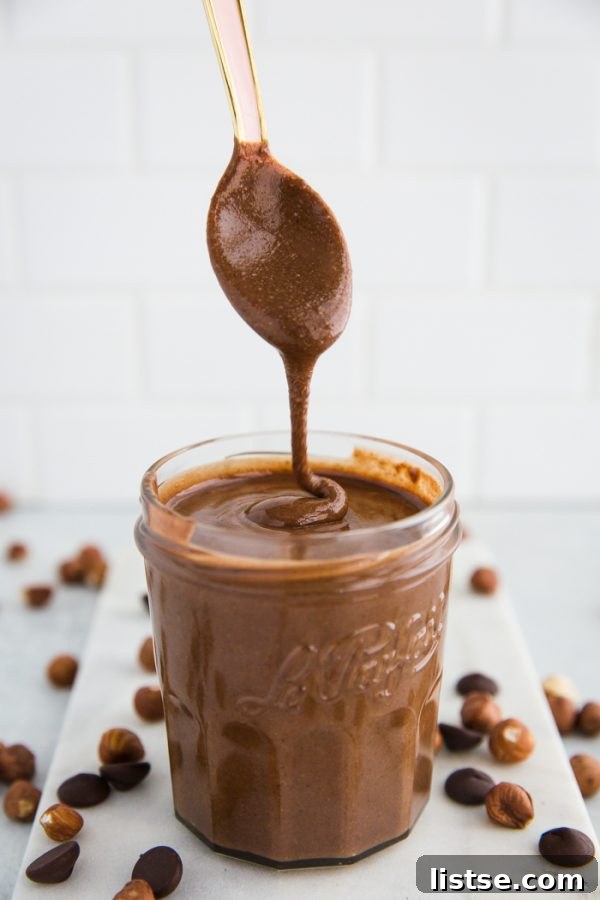
Add the melted chocolate and a pinch of salt to the hazelnut butter in your blender or food processor. Blend again for another 30 seconds to 1 minute, or until everything is thoroughly combined and the mixture is uniformly smooth and chocolatey. At this stage, if you’ve decided to add an optional sweetener like maple syrup or coconut sugar, incorporate it now and blend until fully integrated. Taste and adjust for sweetness, adding more if desired.
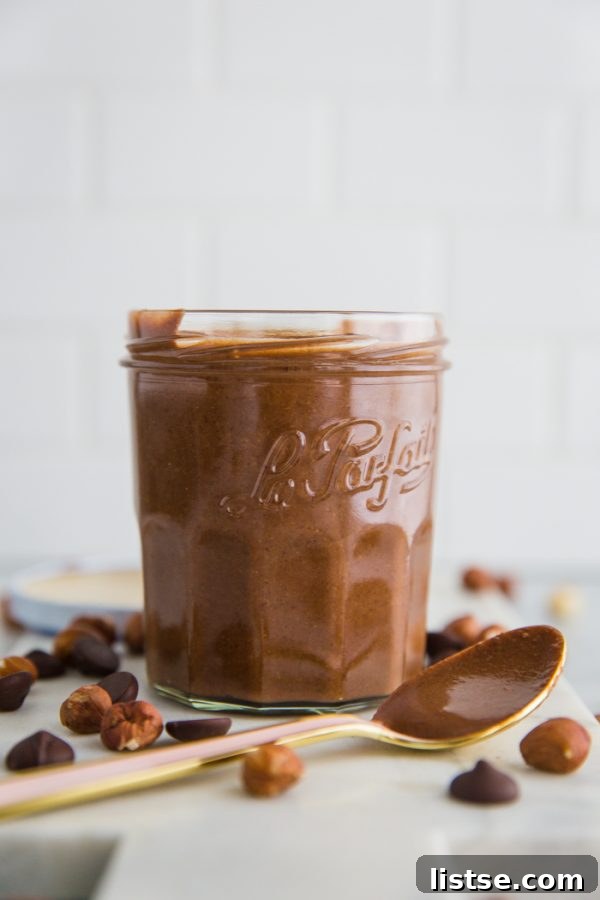
Easy Homemade Vegan & Dairy-Free Nutella
Ingredients
- 2 cups of raw hazelnuts
- ½ cup of dark chocolate (dairy-free for vegan option), melted
- Pinch of salt
- Optional: 1-2 tablespoons of maple syrup or coconut sugar, or other preferred sweetener (adjust based on chocolate sweetness)
Instructions
- Preheat your oven to 375°F (190°C). Spread the raw hazelnuts evenly on a baking sheet. Roast for 8-10 minutes, or until fragrant and skins appear slightly cracked.
- Carefully transfer the warm roasted hazelnuts to a clean kitchen towel. Rub the nuts vigorously between the towel to remove as many skins as possible. Aim to remove 50-75% of the skins. Discard the skins.
- Place the warm, de-skinned hazelnuts into a high-speed blender or a powerful food processor. Blend continuously. The nuts will progress from a coarse meal to a thick paste, and then eventually release their natural oils to form a smooth, creamy hazelnut butter. This process can take anywhere from 4 to 10 minutes, depending on your appliance. Scrape down the sides of the bowl as needed to ensure even blending.
- While the hazelnuts are blending, melt your chocolate using a double boiler or in the microwave in short intervals, stirring until smooth.
- Once the hazelnut butter is smooth, add the melted chocolate and the pinch of salt to the blender/food processor. Blend again until all ingredients are thoroughly combined and the spread is uniform in color and texture.
- Taste the spread. If desired, add 1-2 tablespoons of maple syrup or coconut sugar (or your preferred sweetener) and blend once more until fully incorporated.
- Transfer the homemade Nutella to an airtight jar or container.
Storage and Shelf Life
Once your homemade Nutella is ready, transfer it to a clean, airtight jar or container. Store it at room temperature for up to 1-2 weeks. If you prefer a firmer consistency or want to extend its shelf life, you can store it in the refrigerator for up to 3-4 weeks. Keep in mind that refrigeration will cause the spread to firm up considerably, so you might need to let it sit at room temperature for a bit or gently warm it before spreading for easier use. The oil may separate slightly over time, which is natural; simply give it a good stir before enjoying.
Creative Ways to Enjoy Your Homemade Nutella
The possibilities are endless when it comes to enjoying your freshly made chocolate hazelnut spread! Here are some delightful ideas:
- Classic Spreads: The most obvious, yet always satisfying. Spread it on toast, bagels, croissants, or even rice cakes for a quick, indulgent breakfast or snack.
- Fruit Dipper: Pair it with fresh fruit like sliced apples, bananas, strawberries, or pear wedges for a healthy-ish treat.
- Oatmeal or Yogurt Topping: Swirl a spoonful into your morning oatmeal, overnight oats, or dairy-free yogurt for an added layer of flavor and richness.
- Baking Adventures: Incorporate it into your baking! Use it as a filling for tarts, crêpes, pancakes, or layer it into cakes and cookies. Imagine homemade Nutella brownies or swirl cookies!
- Smoothie Boost: Add a tablespoon to your morning smoothie for a delicious chocolate-hazelnut kick and a dose of healthy fats.
- Dessert Enhancer: Drizzle it over dairy-free ice cream, puddings, or fresh berries for an instant gourmet dessert.
- Spoonful Perfection: Let’s be real – sometimes the best way to enjoy it is straight from the jar, one glorious spoonful at a time. No judgment here!
Frequently Asked Questions About Homemade Nutella
Q: Can I use pre-roasted hazelnuts?
A: While you can, it’s generally recommended to start with raw hazelnuts and roast them yourself. This ensures maximum freshness, allows you to control the roast level for optimal flavor development, and makes the skins easier to remove. Pre-roasted hazelnuts might also contain added oils or salt that you don’t want in your spread.
Q: What if my Nutella is too thick?
A: If your spread is too thick, especially after refrigeration, you can try adding 1-2 teaspoons of a neutral oil (like melted coconut oil, grapeseed oil, or a light olive oil) and blending it again until it reaches your desired consistency. Alternatively, letting it sit at room temperature for a while will naturally soften it.
Q: What if my Nutella is too thin?
A: This is less common, but if it’s too runny, it might be due to too much liquid from an added sweetener or not enough hazelnuts. You can try adding a few more roasted hazelnuts and blending again to thicken it. Chilling it in the refrigerator will also help it firm up.
Q: How long does homemade Nutella last?
A: When stored in an airtight container at room temperature, it typically lasts for 1-2 weeks. In the refrigerator, its shelf life extends to 3-4 weeks. Always use clean utensils to scoop it out to prevent contamination.
Q: Can I use different nuts?
A: Absolutely! While not technically “Nutella” without hazelnuts, you can adapt this recipe to make other delicious chocolate nut butters. Almonds or cashews would work wonderfully, following the same roasting and blending process. The flavor profile will, of course, change.
Q: Is this recipe truly vegan and dairy-free?
A: Yes! As long as you choose a dark chocolate that is certified vegan or clearly states it is dairy-free (check the ingredient list for milk solids, whey, etc.), this recipe is entirely vegan and dairy-free.
Embrace the Deliciousness of Homemade
There’s something incredibly satisfying about making your own food from scratch, especially when it’s as delicious and versatile as this homemade chocolate hazelnut spread. Not only will you enjoy a fresher, healthier, and more controlled version of a beloved classic, but you’ll also impress your friends and family with your culinary prowess. This easy, three-ingredient recipe is a testament to the fact that the best things often come from the simplest preparations.
So, don’t hesitate! Gather your hazelnuts, melt your chocolate, and prepare to embark on a delightful journey into the world of homemade goodness. Once you try this, you might never go back to store-bought again. If you give this recipe a try, we’d love to hear about it! Share your creations and tag us on social media.