
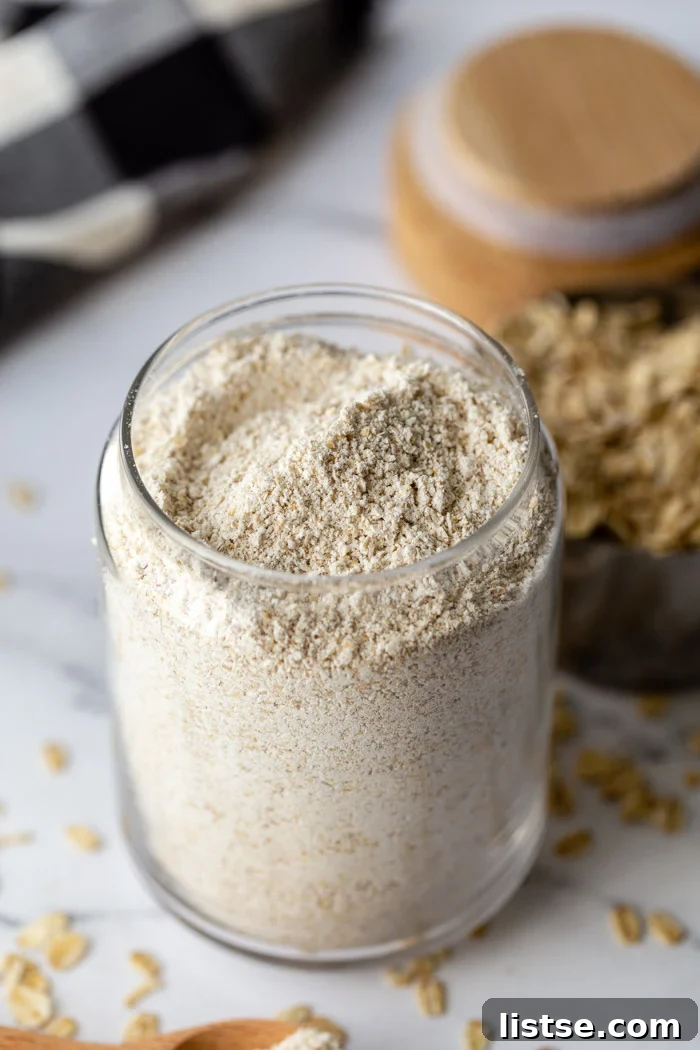
Discover Oat Flour: Your Simple, Gluten-Free Baking Secret
In the quest for wholesome, gluten-free alternatives that are both economical and incredibly easy to make, one ingredient consistently rises to the top: OAT FLOUR. This versatile flour, made from just one simple ingredient—oats—can be whipped up in minutes, transforming your baking and cooking experience. Whether you’re navigating dietary restrictions or simply looking to incorporate more whole grains into your diet, oat flour offers a world of culinary possibilities.
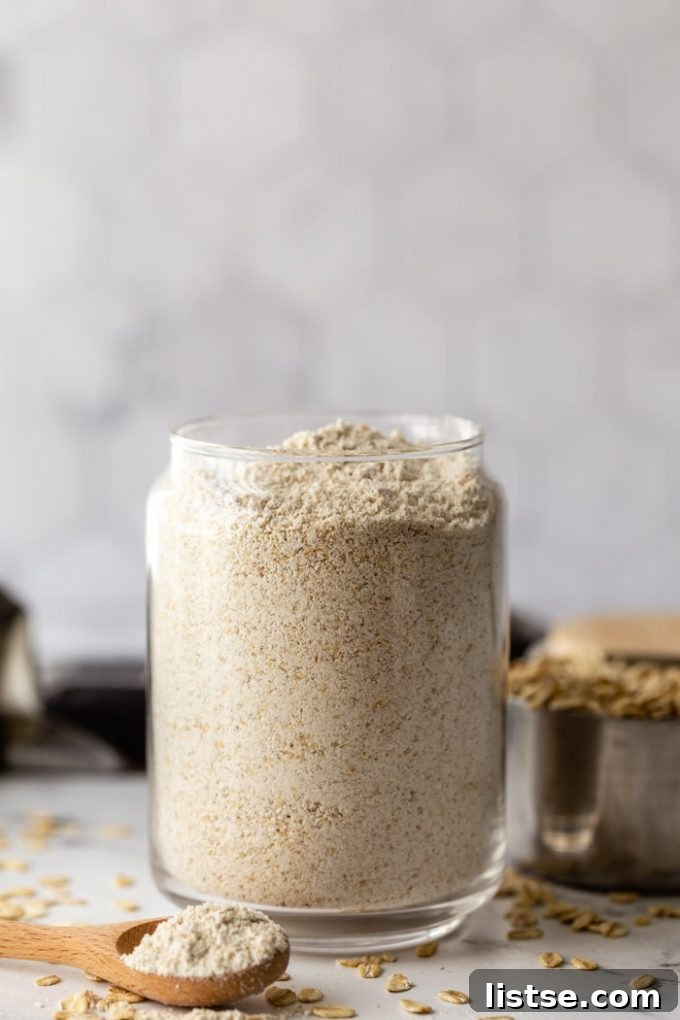
The popularity of oat flour has soared recently, prompting many home bakers and culinary enthusiasts to ask: “Can I use oat flour in my favorite recipes instead of traditional wheat flour?” For years, I primarily used conventional flours, but embarking on a journey with oat flour has been an enlightening and delicious experiment. It’s truly fascinating to see how this humble grain performs when substituted in various dishes.
My first foray into creating a dedicated oat flour recipe for the blog resulted in my much-loved Vegan Oat Flour Muffins. To this day, they remain one of my absolute favorite creations! It’s hard to believe they are both vegan and gluten-free, boasting an unbelievably delicious and tender crumb that will surprise even the most discerning palates.
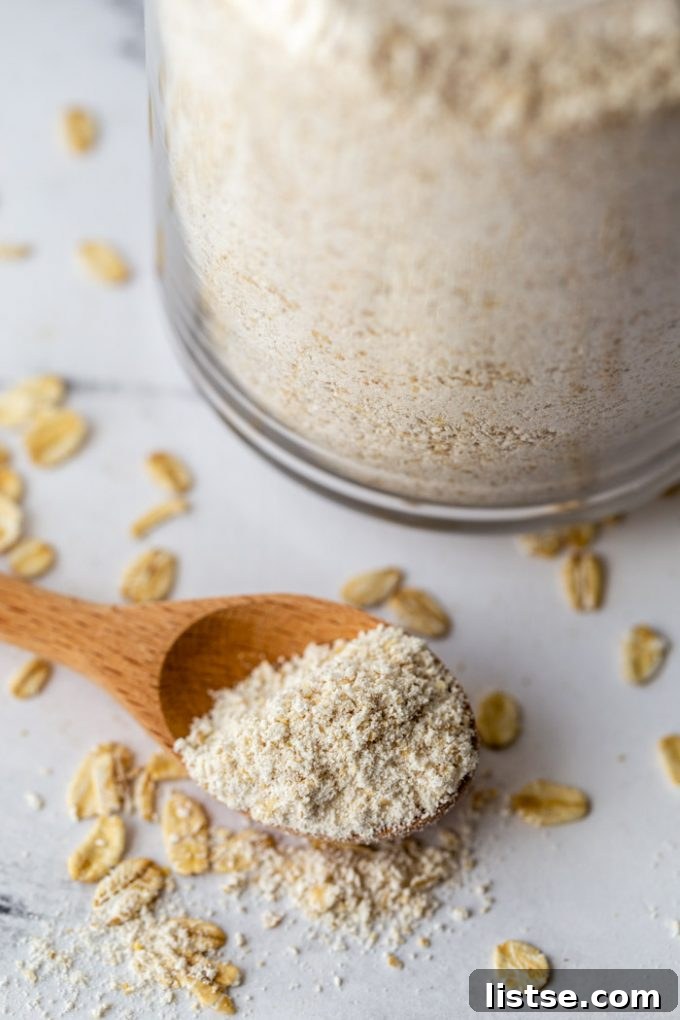
Ready to unlock the full potential of this incredible ingredient? Let’s delve into everything you need to know about making and confidently using OAT FLOUR in your kitchen.
What is Oat Flour and Why Choose It?
At its core, oat flour is simply finely ground oats. It’s a naturally gluten-free whole grain flour, packed with dietary fiber, protein, and essential minerals like manganese, phosphorus, magnesium, and zinc. Choosing oat flour means opting for a nutritious ingredient that supports digestive health, helps stabilize blood sugar levels, and can contribute to a feeling of fullness, making it a fantastic addition to any diet. Its mild, slightly sweet flavor makes it incredibly versatile, blending seamlessly into both sweet and savory recipes.
The beauty of oat flour lies not only in its health benefits but also in its accessibility and cost-effectiveness. Compared to many other specialty gluten-free flours, oats are readily available and generally more affordable, especially when purchased in bulk. This makes homemade oat flour an incredibly budget-friendly option for anyone adhering to a gluten-free lifestyle or simply looking to explore healthier baking ingredients.
DIY: Making Your Own Oat Flour
The Simplicity of Homemade Oat Flour
One common question I receive is, “Can I really make oat flour from regular oats?” The answer is a resounding YES! This might surprise some, as oat flour still feels like a relatively new ingredient to many, which is precisely why I created this comprehensive guide. The truth is, oat flour is quite simply ground oats, making it one of the easiest flours to produce in your own kitchen.
Making your own oat flour is not only simple but also gives you complete control over the quality and texture of your flour. It eliminates the need for expensive store-bought versions and ensures you’re getting the freshest possible product for your culinary endeavors.
Choosing the Right Oats for Your Flour
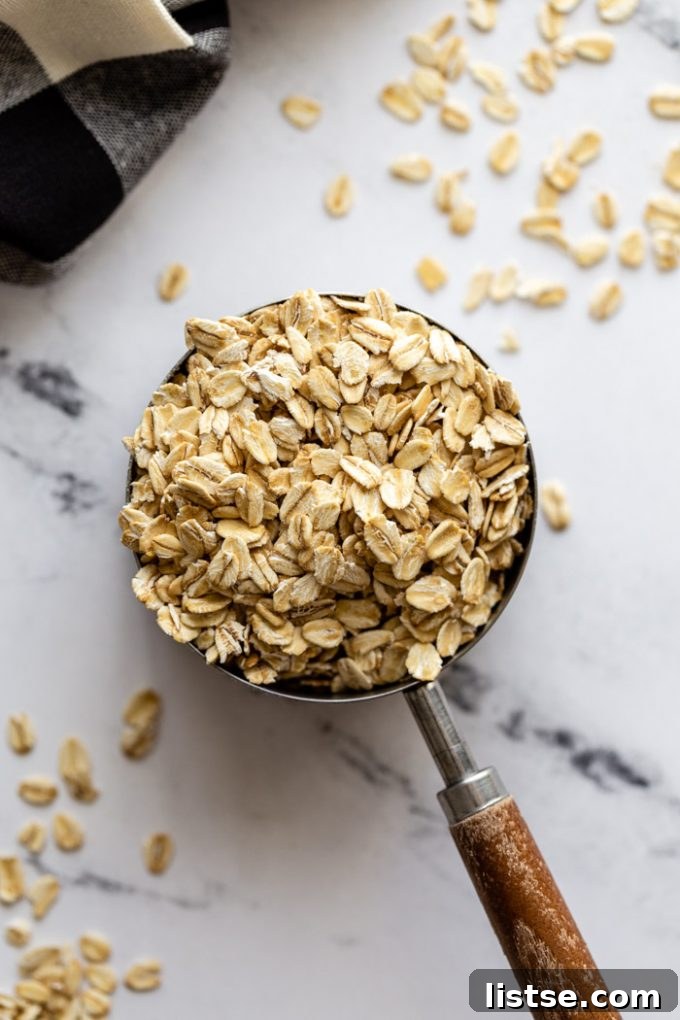
The good news is that most common types of oats are suitable for making oat flour. You can successfully use old-fashioned (rolled) oats, quick-cooking oats, or even steel-cut oats. I’ve personally tested all these varieties in my blender, and each yielded excellent results. While I’ve mostly used flour from rolled or quick oats in my recipes, I’ve heard fantastic feedback from those who have experimented with steel-cut oat flour in their baking.
It’s worth noting that the type of oat you choose can slightly impact the texture and yield of your flour. Steel-cut oats, being denser and less processed, will typically produce a finer flour and a greater volume compared to the same weight of rolled or quick oats.
A note on gluten-free oats: While oats are naturally gluten-free, they are often processed in facilities that also handle wheat, barley, or rye, leading to potential cross-contamination. If you have celiac disease or a severe gluten sensitivity, it is crucial to purchase oats that are explicitly labeled as “certified gluten-free.” These oats are grown and processed under strict conditions to prevent contamination, ensuring they are safe for your diet. For the average person without gluten sensitivities, regular oats are perfectly acceptable.
Step-by-Step Guide to Making Oat Flour
Making oat flour couldn’t be easier, requiring only one essential ingredient: oats! Here’s how to do it:
- Gather Your Oats: Choose your preferred type of oats (old-fashioned, quick-cooking, or steel-cut).
- Load into Blender or Food Processor: Add your chosen oats to a high-speed blender or food processor. Ensure the container isn’t overfilled to allow for proper circulation.
- Initial Pulse: Begin by pulsing the oats a few times. This breaks down the larger pieces and helps prevent the oats from clumping together. After a few pulses, give the blender or food processor bowl a quick shake to redistribute the oats.
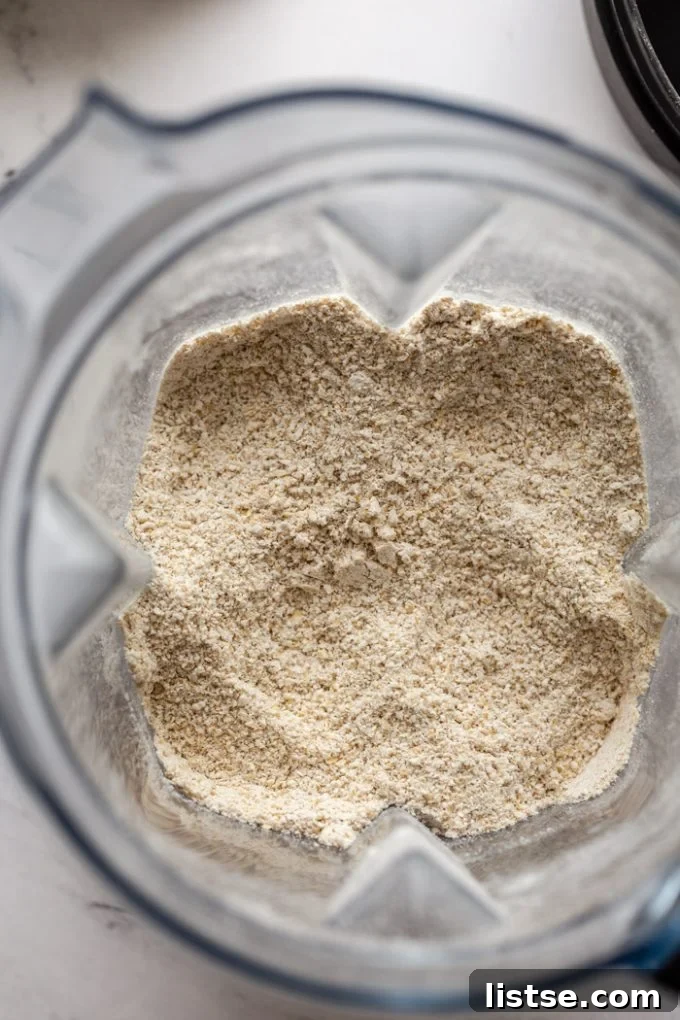
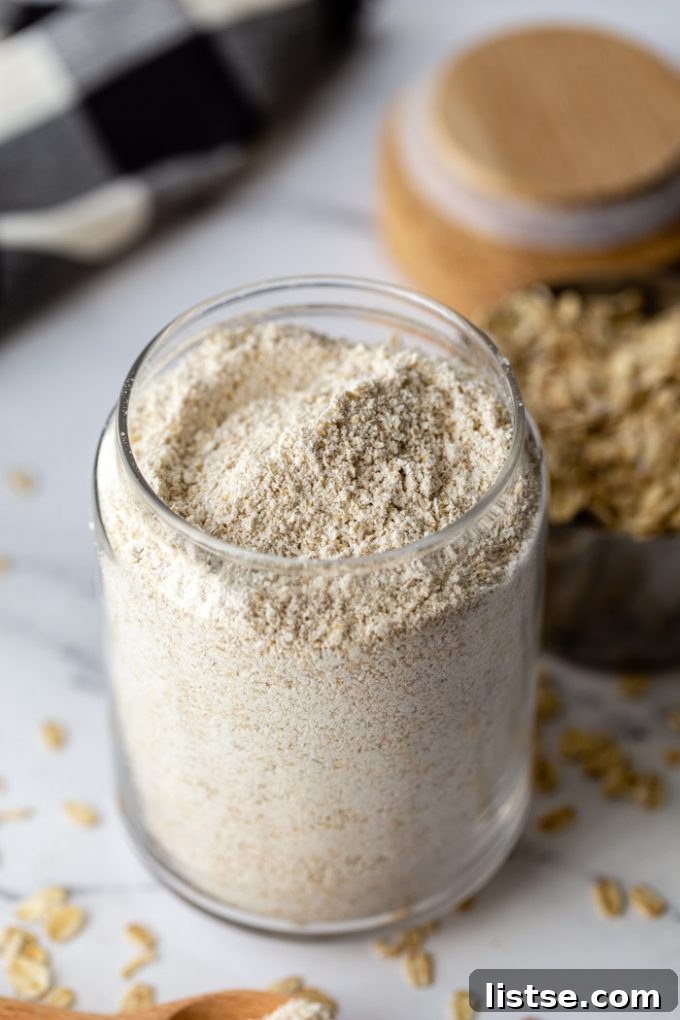
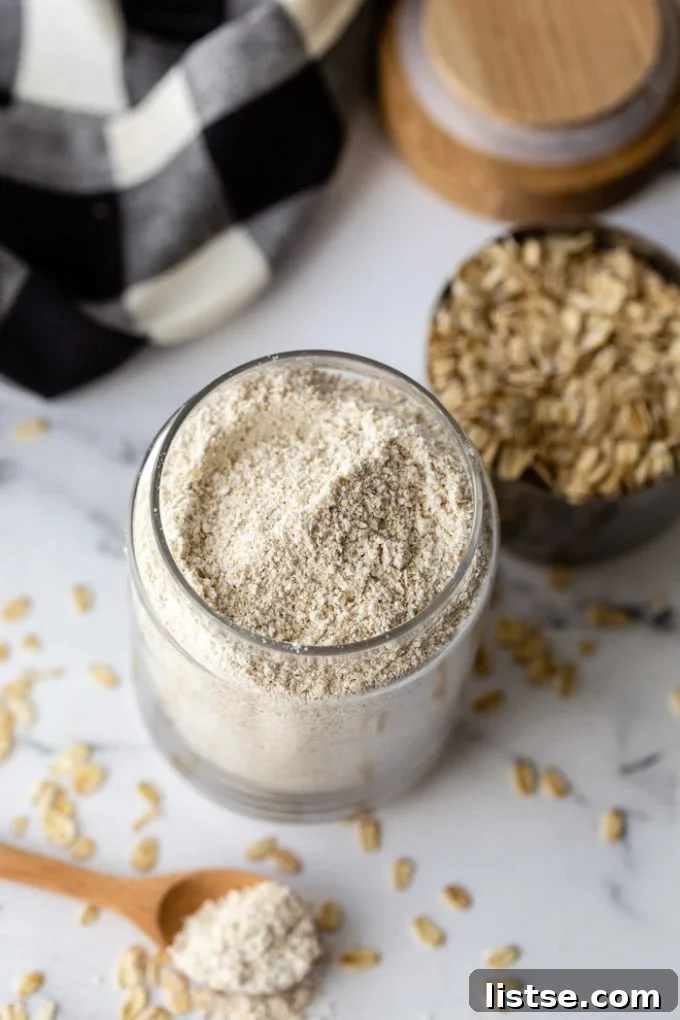
- Blend Until Fine: Continue blending on a higher setting for 1-2 additional minutes. The goal is a very fine, powdery texture, similar to conventional flour, though it may not be quite as uniform due to the nature of oats. You might still see some very small, visible chunks, which is perfectly normal for homemade oat flour. Stopping once or twice to stir the contents will ensure an even grind.
- Check Consistency: Refer to the images in this guide for an idea of the desired texture. Your oat flour should feel soft and powdery between your fingers.
- Optional Sifting: For an even finer flour, particularly for delicate baked goods, you can sift the blended oats through a fine-mesh sieve. Any larger pieces can be returned to the blender for another quick pulse.
Yield: How Much Flour from One Cup of Oats?
Understanding the yield is important for planning your recipes. Generally:
- 1 cup of old-fashioned oats or quick-cooking oats will produce approximately 1 cup of oat flour.
- However, steel-cut oats are denser. 1 cup of steel-cut oats will yield roughly double the amount of flour, around 2 cups. This is because steel-cut oats are whole oat groats chopped into smaller pieces, packing more material into a single cup measurement before grinding.
The recipe below calls for 2 cups of oats, but you can easily scale this up or down based on your immediate needs. Since homemade oat flour keeps well, I often make a larger batch to have on hand for future recipes, saving both time and effort.
Storage Tips for Freshness
Once you’ve made your oat flour, proper storage is key to maintaining its freshness and extending its shelf life. Store your homemade oat flour in an airtight container at room temperature for up to three months. For longer storage, especially in warmer climates, consider keeping it in the refrigerator or freezer, where it can last for 6-12 months. Always ensure the container is tightly sealed to prevent moisture absorption and keep out any pantry pests.
Baking with Oat Flour: What You Need to Know
If you’re reading this, chances are you’re eager to bake with oat flour, though its versatility extends to savory dishes too! The good news is, absolutely, you can bake with oat flour, and the results can be wonderfully delicious. However, it’s essential to understand its unique characteristics to achieve the best outcome.
The Unique Properties of Oat Flour
The most important thing to remember when baking with oat flour is that, being a naturally gluten-free grain, it lacks the elasticity and structure that gluten provides in wheat-based flours. This means your baked goods made exclusively with oat flour will likely not rise as much or develop the same airy, domed structure you might expect from traditional recipes. For instance, my oat flour muffins, while incredibly tasty, tend to have a flatter top. I experimented extensively to achieve a perfectly domed muffin, but that’s simply not the inherent nature of baking with oat flour due to the absence of gluten for significant rise.
Similarly, breads and cakes made solely with oat flour will be delicious but will have a denser texture and a flatter profile. Embrace this characteristic rather than fighting it, and you’ll be delighted with the wholesome results.
Another critical property of oat flour is its high absorbency. Oat flour tends to soak up significantly more liquid than all-purpose or wheat flour. This characteristic is vital to keep in mind when adapting recipes or creating new ones, as insufficient liquid can lead to dry, crumbly baked goods.
Direct Substitution vs. Specialized Recipes
This point cannot be stressed enough: NO, you cannot simply swap all-purpose or wheat flour with oat flour in any recipe on a 1:1 basis and expect perfect results. I’ve often heard feedback like, “I made your recipe exactly as written, but it turned out horrible and dry! I used oat flour instead of all-purpose.” These comments highlight a fundamental misunderstanding of how different flours behave.
Oat flour’s lack of gluten and high absorbency means it behaves very differently in a recipe. Attempting a direct 1:1 substitution will almost always lead to disappointment. Therefore, I highly recommend starting with recipes that are specifically formulated with oat flour in mind. These recipes have been developed to account for oat flour’s unique properties, ensuring the right balance of ingredients for optimal texture and flavor. While it’s possible to substitute a portion of all-purpose flour with oat flour in some recipes, achieving success with a full substitution requires a recipe explicitly designed for it.
Tips for Successful Oat Flour Baking
To ensure your oat flour baking adventures are a success, keep these key points in mind:
- Weigh Your Flour: Homemade oat flour, especially if loosely packed, is often lighter and fluffier than commercial oat flour or all-purpose flour. Store-bought oat flour can be quite densely packed in its bag. For consistent results, especially when following recipes, always weigh your oat flour using a kitchen scale rather than relying on volume measurements (cups). 1 cup of oat flour will typically weigh less than 1 cup of all-purpose flour.
- Adjust Liquid Content: As oat flour is very absorbent, you might need to increase the liquid in a recipe compared to one using wheat flour. Add liquid gradually until you reach the desired batter consistency.
- Consider Binders: In recipes requiring more structure or rise, especially those without eggs, you might consider adding binders such as psyllium husk, xanthan gum (a small amount, typically 1/4 to 1/2 teaspoon per cup of flour), or flax eggs to help with binding and structure.
- Combine with Other Flours: For certain baked goods, combining oat flour with other gluten-free flours (like almond flour, tapioca starch, or rice flour) can help achieve a more balanced texture and structure.
- Manage Expectations: Remember that oat flour baked goods will naturally be denser and flatter than their gluten-containing counterparts. Appreciate their wholesome texture and rich flavor.
Oats and Gluten: The Facts
This is a topic that often causes confusion. Technically, oats themselves do not contain gluten. They are a naturally gluten-free food. However, the issue arises during processing. Oats are frequently grown in rotation with gluten-containing grains (like wheat and barley) and processed in facilities that handle these grains. This can lead to cross-contamination, where traces of gluten become mixed with the oats.
For individuals with celiac disease or significant gluten sensitivities, even small amounts of gluten can trigger adverse reactions. Therefore, if avoiding gluten is critical for your health, it is imperative to choose oats that are specifically labeled as “certified gluten-free.” These products undergo rigorous testing and are processed in dedicated facilities to ensure they meet strict gluten-free standards. For most other people who are simply looking to reduce their gluten intake or enjoy the benefits of oats, regular oats are perfectly safe and healthy.
Beyond Baking: Versatile Uses for Oat Flour
While commonly associated with baking, oat flour is incredibly versatile and can be used in a myriad of ways beyond muffins and cakes:
- Thickener: It can be used as a thickener for soups, stews, and gravies, offering a lighter, healthier alternative to cornstarch or wheat flour.
- Coating: Use it as a gluten-free breading for fried chicken, fish, or vegetables, providing a delicate crispness.
- Smoothies: A spoonful of oat flour can add a creamy texture and boost the fiber content of your morning smoothie.
- No-Bake Treats: Incorporate it into energy balls, protein bars, or cookie dough bites for added substance and nutrition.
- Pancakes and Waffles: Create light and fluffy pancakes or waffles with a wholesome twist.
Exploring these different uses will further demonstrate the incredible adaptability and health benefits that oat flour brings to your daily cooking.
Popular Recipes Featuring Oat Flour
Ready to put your homemade oat flour to good use? Here are some fantastic recipes that highlight its delicious qualities:
- Vegan Oat Flour Muffins: A truly exceptional gluten-free and vegan treat with an unbeatable crumb.
- Blueberry Pie Bars: Enjoy the classic flavors of blueberry pie in an easy-to-eat bar form, often featuring an oat flour crust.
- Banana Oatmeal Pancakes: Start your day right with these wholesome and fluffy pancakes, made heartier with oat flour.
- Double Chocolate Zucchini Bread: A delightful way to incorporate vegetables, made even healthier and more satisfying with oat flour.
How to Make Oat Flour: Recipe
How to Make Oat Flour
Author: Brita Britnell
Cook Time: 5 minutes
Total Time: 5 minutes
Yield: 2 cups
Making homemade oat flour is incredibly simple and requires just ONE ingredient: OATS! This quick guide will show you how to prepare your own fresh oat flour for all your baking and cooking needs.
Ingredients
- 2 cups of old-fashioned oats*
Instructions
- Place the oats in a food processor or high-speed blender.
- Pulse on and off a few times, then stop and give everything a quick stir or shake to redistribute the oats.
- Continue blending for about 2 minutes, stopping midway if necessary to stir things up again, until the oats achieve a very fine, flour-like texture. Keep in mind that homemade oat flour won’t be as powdery as commercially produced all-purpose flour; it will likely still have some very fine, visible chunks. Refer to the photos in the article for a visual guide.
- Once finely ground, transfer the oat flour to an airtight container. Store it at room temperature for up to 3 months, or in the refrigerator/freezer for longer freshness.
- Use your freshly made oat flour in your favorite oat flour recipes!
Notes
*This method also works perfectly with quick-cooking oats or steel-cut oats. If you require gluten-free flour for dietary reasons, ensure you use oats that are specifically certified gluten-free to avoid cross-contamination.
Conclusion: Embrace the Power of Oat Flour
Oat flour is an exceptional ingredient that brings a host of benefits to your kitchen. It’s an accessible, affordable, and incredibly easy-to-make gluten-free alternative that elevates the nutritional profile of your meals and baked goods. By understanding its unique properties and learning how to incorporate it effectively, you can open up a world of healthy and delicious possibilities. So go ahead, blend up a batch of homemade oat flour, and start experimenting with this wonderful whole grain!
We hope this comprehensive guide inspires you to explore the benefits and versatility of oat flour. Happy baking!