
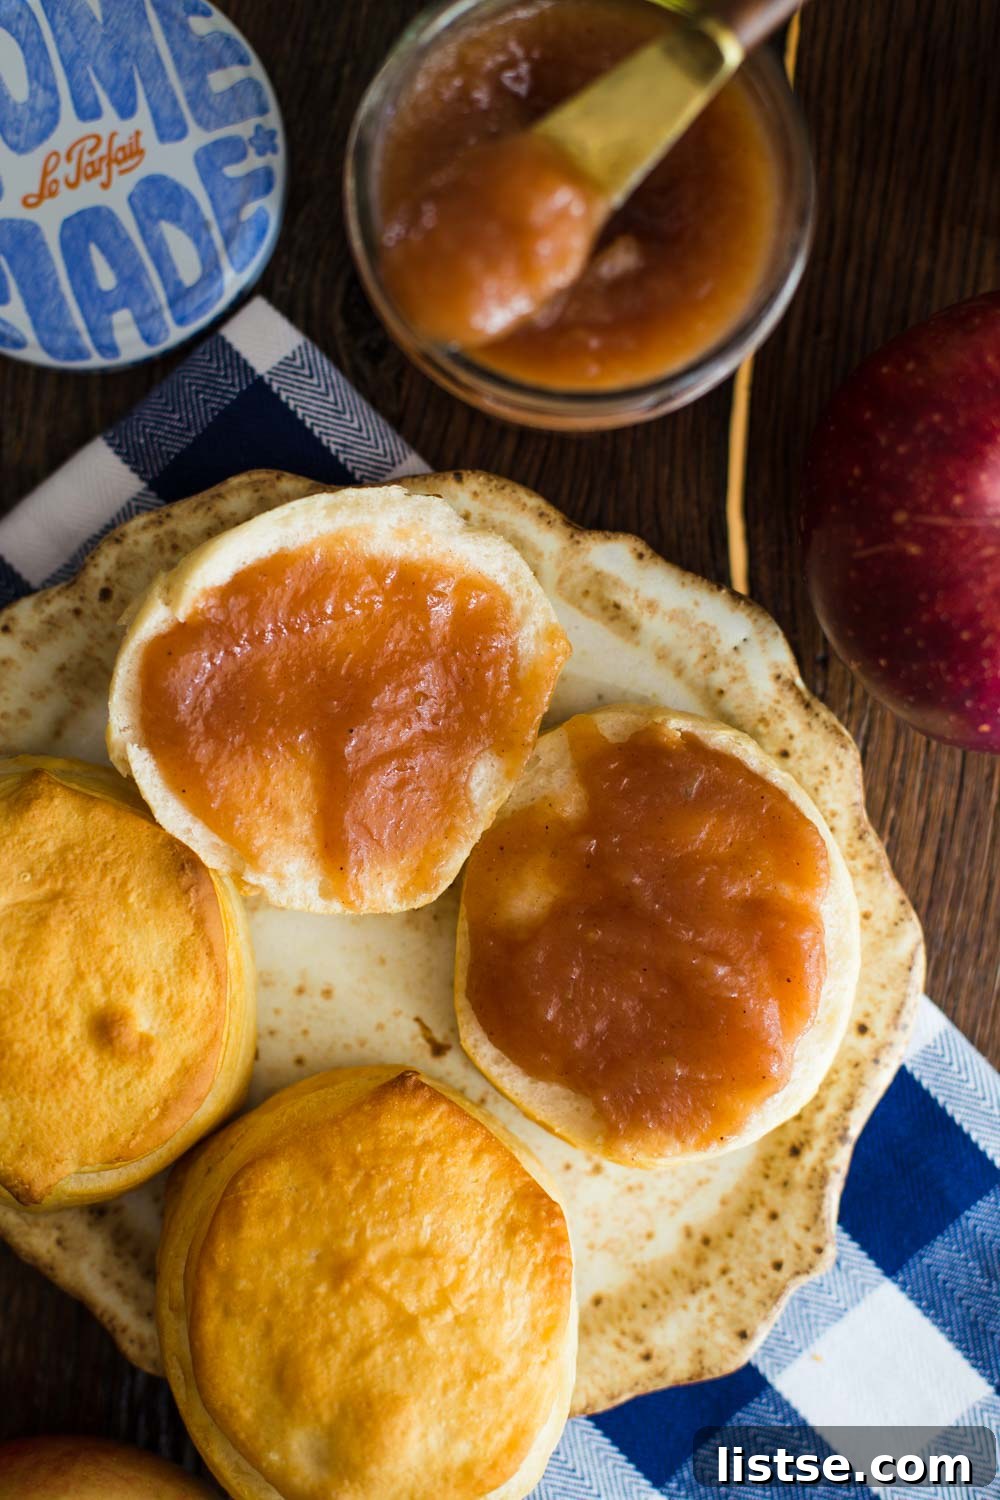
Easy Homemade Apple Butter: A Delicious Vegan & Gluten-Free Fall Recipe
There’s a certain magic that autumn brings, and for me, it largely revolves around the comforting flavors of apples and apple cider. Lately, my kitchen has been brimming with the sweet aroma of this incredibly easy homemade apple butter, and honestly, I couldn’t be happier. This year, despite my best intentions to immerse myself in the apple picking season, life had other plans. My beloved local orchard in Nashville sadly closed its doors, and finding a new favorite proved to be a challenge amidst a busy schedule. While it’s still technically apple season, the thought of scouting new locations just faded into a list of “someday” activities.
Embracing Autumn’s Bounty: Sourcing Your Perfect Apples
But fear not, apple lovers! My craving for fresh, local apples led me to the vibrant Nashville Farmer’s Market. Conveniently located within walking distance from my workplace and right on my route home, it’s become a cherished stop. As expected, this time of year, the market is a feast for the senses, overflowing with the best of autumn: plump pumpkins, hearty squash, and an abundance of crisp, colorful apples. I managed to snag a whole bushel for a mere $14. Now, a bushel of apples is certainly more than my small household of two can possibly consume in a short period, but I’m looking ahead. I’m preparing for the day when my three young apple trees (fingers crossed!) will begin producing a prolific harvest. At that point, my ambition is to make and jar apple butter every single year, a delightful tradition I eagerly anticipate.
What Exactly is Apple Butter? More Than Just Jam
For those new to the concept, apple butter isn’t actually butter in the dairy sense. It’s a highly concentrated form of apple sauce, slow-cooked until the sugars in the apples caramelize, deepening its flavor and turning it a rich, dark brown. The extended cooking time also gives it a thick, velvety texture that’s incredibly spreadable, often described as “buttery.” Unlike apple jam or jelly, apple butter typically doesn’t contain pectin and relies solely on the natural pectin in the fruit and the reduction process for its consistency. This results in an intensely flavored, fruit-forward spread that’s less about the sugar and more about the pure essence of apples, enhanced with warm spices like cinnamon and nutmeg. It’s a comforting staple, particularly popular during the fall harvest season.
Why Choose Homemade Apple Butter? The Benefits of DIY
There are countless reasons to make your own apple butter, beyond just the immense satisfaction of creating something delicious from scratch. Firstly, homemade means you control the ingredients. You can opt for organic apples, adjust the sugar content to your preference, and ensure there are no artificial preservatives or additives. This recipe is naturally vegan and gluten-free, making it a wonderful option for various dietary needs without compromising on flavor. The process itself, while requiring a bit of time, is largely hands-off, filling your home with an intoxicating aroma that instantly evokes the spirit of autumn. Plus, making it yourself is often more cost-effective, especially when you can buy apples in bulk from a local farmer’s market or if you’re lucky enough to have your own apple trees. It’s an ideal way to preserve an abundant apple harvest, allowing you to enjoy the taste of fall long after the season ends.
The Surprisingly Simple Process to Perfect Apple Butter
So, have you ever attempted to make apple butter from scratch? If not, you’re in for a delightful surprise: it’s ridiculously easy! The most “labor-intensive” part is simply peeling, coring, and slicing the apples. Once that’s done, the magic truly begins. The sliced apples, along with apple cider, brown sugar, and a pinch of salt, are combined in a large pot and gently simmered on the stovetop for about 30 minutes. This initial simmer softens the apples beautifully. Following this, lemon juice, cinnamon, nutmeg, and vanilla are stirred in, infusing the mixture with those quintessential fall flavors. The mixture is then pureed until smooth (or left with a few delightful chunks, if you prefer a bit of texture). The final, and arguably most important, step involves slow baking in the oven for about 3 to 4 hours. This extended baking time is where the apple butter truly transforms, thickening and deepening in flavor and color to achieve that signature rich, buttery consistency.
Choosing the Best Apples for Your Butter
While many apple varieties work well for apple butter, selecting the right ones can significantly impact the final flavor and texture. A blend of sweet and tart apples often yields the most balanced and complex taste. Good options include Fuji, Honeycrisp, Gala, and Golden Delicious for sweetness, and Granny Smith, Braeburn, or Cortland for a tart counterpoint. The original recipe notes suggest Ida Red and Cortland, which are excellent choices for their balanced flavor and good cooking properties. Using a mix ensures a depth of flavor that a single variety might not provide. Whatever you choose, ensure they are ripe and firm.
From Sauce to Butter: Understanding the Transformation
For the first hour or two in the oven, you might find yourself wondering if you’ve merely created a very tasty apple sauce. But patience is key! In the final hour, or sometimes a bit longer depending on the specific apples you’ve used and the nuances of your oven, the mixture truly begins to thicken. It concentrates, caramelizes slightly, and darkens, evolving into the incredibly rich, velvety, and flavorful spread that defines apple butter. The longer it bakes, the thicker and darker it becomes, so you can adjust the baking time to achieve your desired consistency. It’s a wonderful process to witness, transforming simple ingredients into a gourmet delight.
Beyond the Biscuit: Creative Ways to Enjoy Homemade Apple Butter
Once you’ve made a batch of this luscious homemade apple butter, the possibilities for enjoying it are endless. So far, I’ve primarily savored it dolloped generously on warm, fluffy biscuits – a true Southern comfort. But my plans for this weekend include spreading it thickly on crispy waffles, promising an elevated breakfast experience. I’ve also been reliably informed that it makes an absolutely delicious substitute for traditional jelly in a peanut butter and jelly sandwich. I’ll definitely put that claim to the test and report back on my findings!
Flavor Variations and Customizations
Don’t hesitate to get creative with your apple butter! While the classic cinnamon and nutmeg are essential, you can explore adding other warm spices like a pinch of ground cloves, allspice, or even a tiny bit of ginger for a deeper, spicier kick. For an extra layer of complexity, a splash of bourbon or brandy stirred in at the end can create a more sophisticated adult version. If you prefer to reduce the refined sugar, maple syrup or honey can be used as alternatives, though you might need to adjust the cooking time slightly to reach the desired thickness. Experiment with different apple combinations to discover your signature blend – a mix of sweet, tart, and even slightly floral apples can create a truly unique flavor profile.
More Serving Suggestions for Your Culinary Adventures
Beyond the breakfast table, homemade apple butter shines in a variety of culinary applications. Swirl it into your morning oatmeal or yogurt for a flavorful start to the day. Use it as a glaze for roasted pork or chicken, adding a sweet and tangy caramelized crust. It’s fantastic paired with cheese and crackers on a charcuterie board, offering a sweet counterpoint to savory cheeses. You can also incorporate it into baked goods like muffins, quick breads, or even as a filling for tarts and pies. For a simple dessert, warm it slightly and serve over vanilla ice cream. The rich, concentrated apple flavor adds depth and warmth to almost anything it touches, making it a versatile ingredient to have on hand.
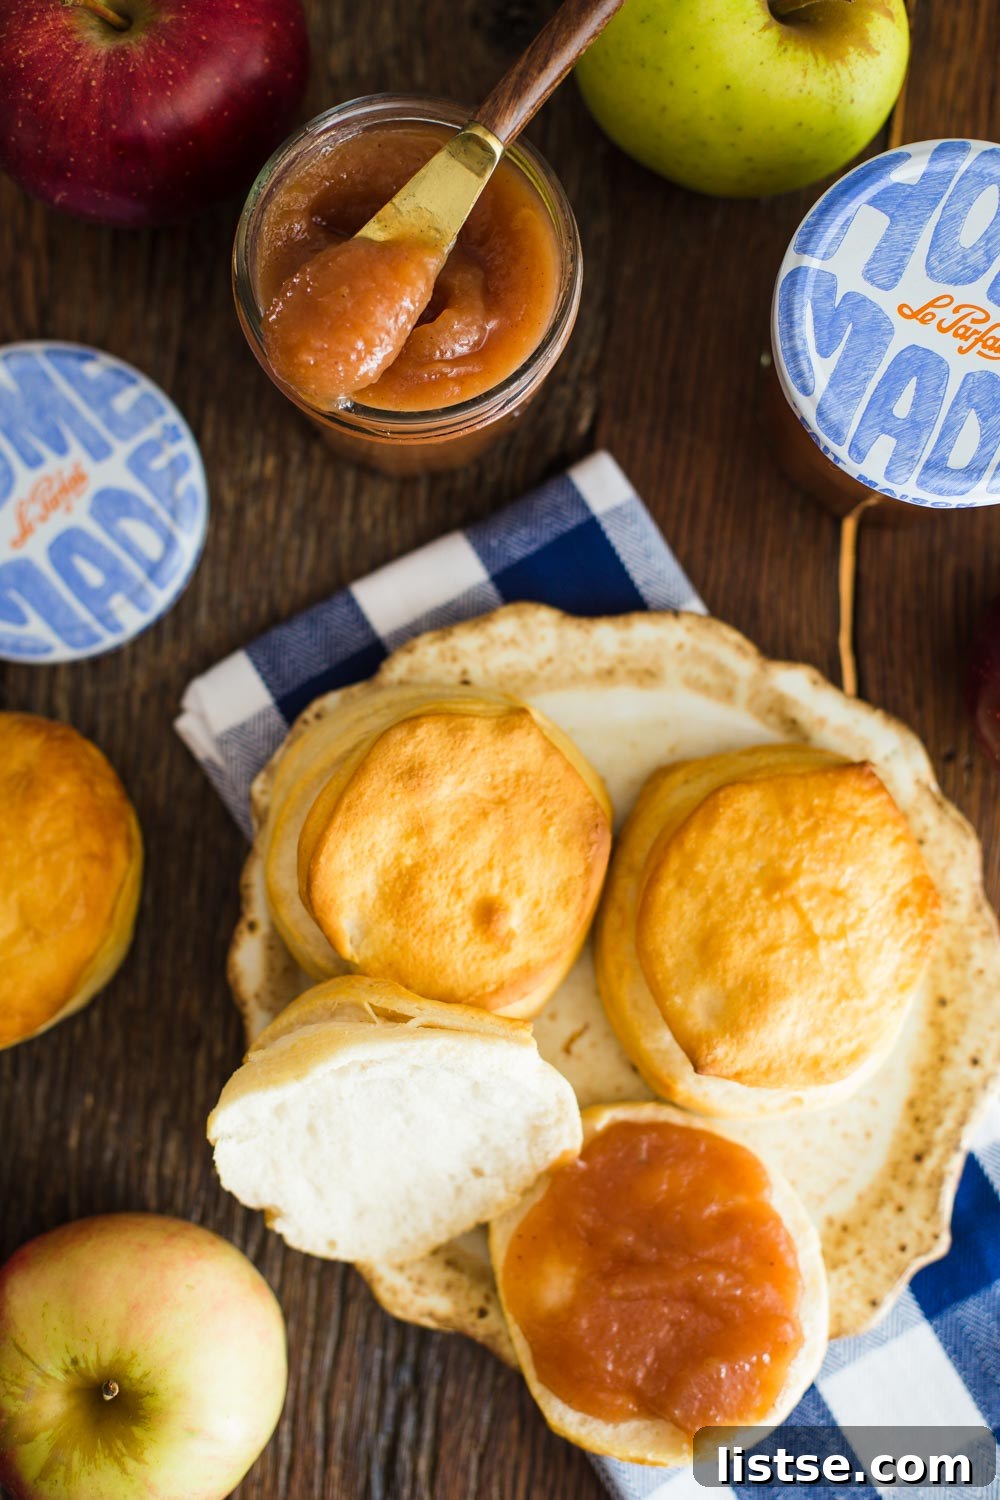
How to Make Apple Butter
Brita Britnell
10 mins
3 hrs
3 hrs 10 mins
Ingredients
- 4 pounds of apples** (see note for varieties)
- 3 cups apple cider
- 1 ¼ cup packed light brown sugar
- ½ teaspoon of salt
- 1 tablespoon of lemon juice
- 1 teaspoon of cinnamon
- 1 teaspoon of vanilla extract
- ¼ teaspoon of nutmeg
Instructions
- 1. Pre-heat your oven to 250 degrees F.
- 2. In a large, oven-safe pot, combine the peeled and sliced apples, apple cider, brown sugar, and salt over medium heat. Bring the mixture to a simmer, cover, and let cook for 30 minutes, stirring every few minutes to prevent sticking.
- 3. Remove the pot from the heat and stir in the lemon juice, cinnamon, nutmeg, and vanilla extract.
- 4. Using an immersion blender, carefully puree the apples directly in the pot until no large chunks are left. If you prefer a completely smooth apple butter, blend until silken. Alternatively, you can carefully transfer the mixture to a regular blender and puree it in batches.
- 5. Place the uncovered pot in the preheated oven and bake for 3-4 hours, stirring about every half hour. The baking time is flexible and depends on the specific apples you’ve used and your oven’s performance. The longer it bakes, the thicker and darker the butter will become. Mine typically reaches perfection in just over 3 hours.
- 6. Once the apple butter has reached your desired consistency, remove it from the oven, let it cool completely, and then transfer it to an airtight container. Store in the refrigerator for up to 2 weeks.
Notes
Lightly adapted from Food Network Kitchens’ Homemade Apple Butter recipe.
Storing Your Homemade Delicacy
Once your apple butter is perfectly cooked and has cooled, it can be stored in an airtight container in the refrigerator for up to two weeks. For longer preservation, apple butter is an excellent candidate for canning. If you’re familiar with water bath canning, this method will extend its shelf life considerably, allowing you to enjoy the flavors of autumn year-round or share them as thoughtful, homemade gifts. Just ensure your jars and lids are properly sterilized and follow a reliable canning guide for safety. It’s truly a gift that keeps on giving, making homemade apple butter a rewarding culinary project.
Making homemade apple butter is more than just a recipe; it’s an experience that connects you with the season, fills your home with comforting aromas, and results in a truly delicious, versatile spread. Whether you’re a seasoned chef or a kitchen novice, this easy-to-follow, vegan, and gluten-free recipe will yield a batch of apple butter that’s sure to become a cherished fall tradition. So go ahead, grab some apples, and let the magic of autumn unfold in your kitchen!
Tried this recipe?
Mention @foodwithfeeling or tag #foodwithfeeling!