
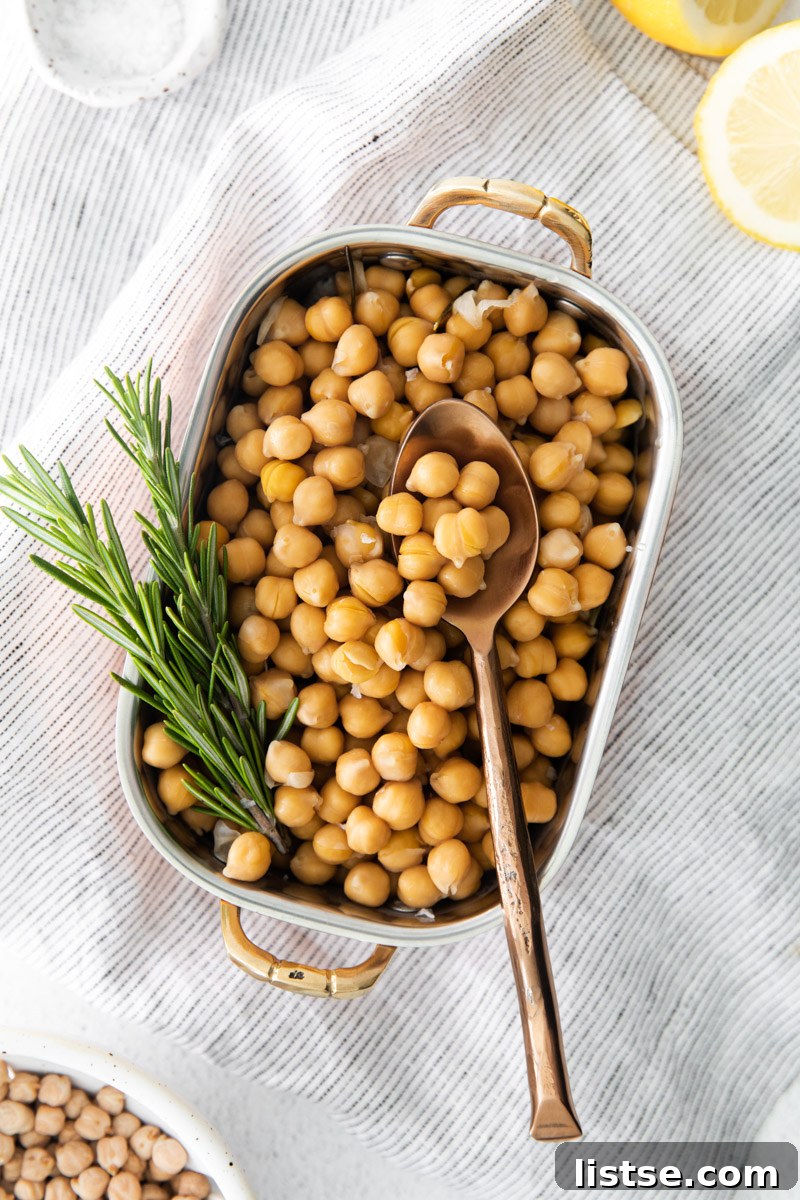
Welcome to the ultimate guide for mastering Instant Pot Chickpeas! This comprehensive resource will empower you to cook perfectly tender, creamy, and flavorful chickpeas right in your pressure cooker. We’ll cover everything from the crucial step of soaking to achieving ideal texture, infusing incredible flavors, and utilizing your homemade chickpeas in a variety of delicious chickpea recipes. Get ready to transform your cooking experience and elevate your plant-based meals with this versatile superfood!

Why Cook Chickpeas in Your Instant Pot?
While canned chickpeas offer undeniable convenience, cooking dried chickpeas from scratch, especially in an Instant Pot, unlocks a whole new level of flavor and texture. Homemade chickpeas are undeniably superior—they emerge from the pressure cooker wonderfully tender, buttery, and exceptionally creamy, a texture canned varieties simply cannot match. This method gives you complete control over the ingredients, allowing you to adjust sodium levels and infuse your preferred seasonings right from the start.
Beyond taste, choosing dried chickpeas is significantly more budget-friendly. A single bag of dried chickpeas yields several times more than a can for a fraction of the cost, making them an economical choice for meal prepping and everyday cooking. The Instant Pot drastically reduces the cooking time compared to traditional stovetop methods, turning a lengthy process into a quick and hands-off affair. You’ll save money, enjoy better quality, and streamline your kitchen routine, all while enjoying the satisfaction of truly homemade ingredients. It’s a win-win for anyone looking to incorporate more wholesome, delicious food into their diet.
All About Chickpeas: A Nutritional Powerhouse & Culinary Staple
Chickpeas, widely known as garbanzo beans, are a foundational ingredient in countless cuisines worldwide and an absolute staple in vegan and vegetarian cooking. These humble legumes boast a mild, nutty flavor with a delicate earthy undertone, making them incredibly adaptable to diverse culinary applications. When cooked to perfection, they become melt-in-your-mouth tender, adding a delightful creaminess and substance to any dish.
Nutritionally, chickpeas are superstars. They are an excellent source of plant-based protein, dietary fiber, and essential minerals like iron, magnesium, zinc, and folate. Their high fiber content aids digestion, promotes satiety, and helps regulate blood sugar levels, contributing to overall gut health and weight management. Additionally, regular consumption of chickpeas has been linked to improved heart health and lower cholesterol levels, making them a fantastic addition to any balanced diet. For those following a plant-based diet, chickpeas are an invaluable source of protein, helping to build and repair tissues, and keep you feeling full and energized.
From the creamy base of classic hummus to hearty soups and vibrant salads, chickpeas add substance, texture, and a wealth of nutrients. They can be roasted into a crunchy snack, blended into flavorful spreads, or incorporated into savory wraps and pasta dishes. Their mild profile means they readily absorb the flavors of accompanying spices and ingredients, allowing for endless creative possibilities in the kitchen.
The Crucial Step: Soaking Your Chickpeas
While some recipes might claim you can skip soaking, for truly superior Instant Pot chickpeas, this preliminary step is non-negotiable. Soaking dried chickpeas significantly improves their texture, ensuring they cook evenly to a tender, buttery consistency throughout, preventing a hard or gritty center. It also helps reduce overall cooking time and, importantly, makes them easier to digest by breaking down some of the complex sugars that can cause discomfort and gas.
How to Soak Chickpeas:
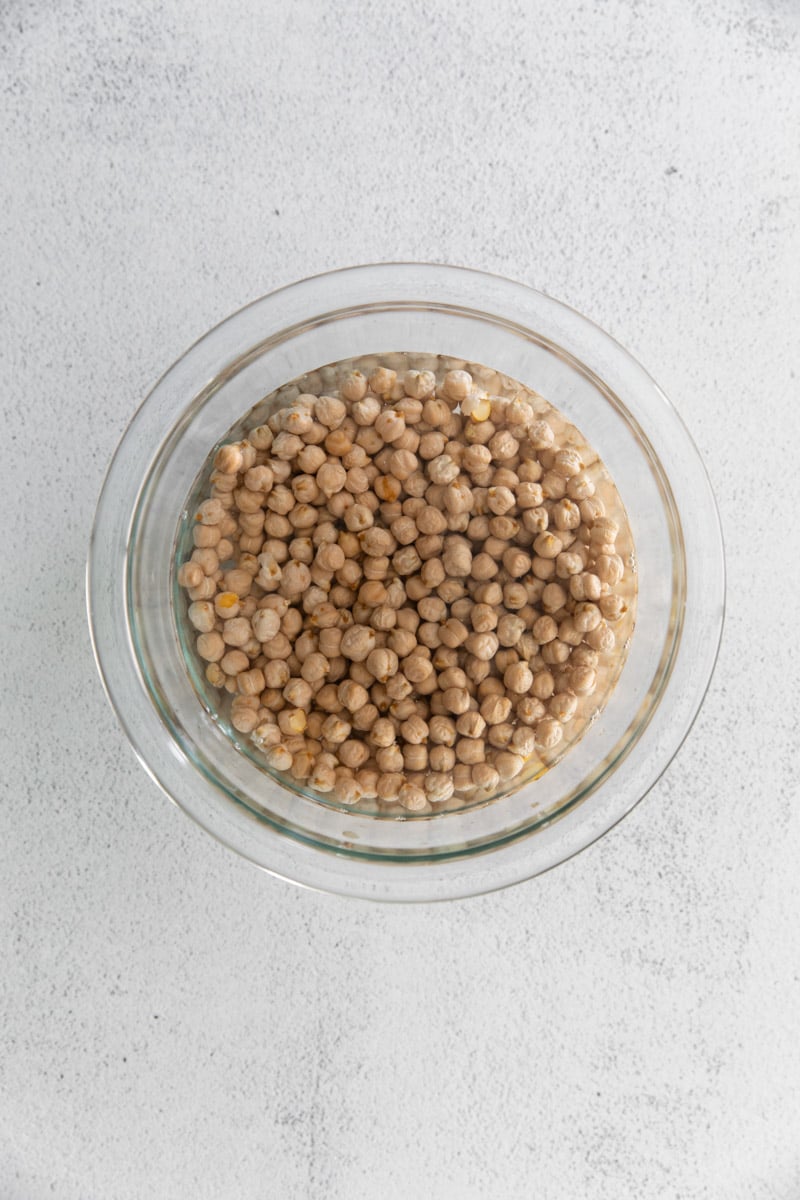
- Overnight Soak (Recommended): For optimal results, place your dried chickpeas in a large bowl and cover them with at least two to three inches of cold water. Chickpeas will expand considerably, often doubling in size, so ensure ample room and water. Cover the bowl and let them soak on the countertop or in the refrigerator for a minimum of 6 hours, or ideally, overnight (8-12 hours). This extended soak allows for thorough rehydration. Before cooking, drain the soaked chickpeas and rinse them thoroughly under cold running water.
- Quick Soak Method (If you’re short on time): If you forget to soak overnight and need to cook chickpeas quickly, you can use the quick soak method. Place the dried chickpeas in a large pot, cover them with water (again, 2-3 inches above the beans), and bring to a rolling boil for 5 minutes. Remove the pot from heat, cover it, and let the chickpeas sit for 1 hour. After an hour, drain and rinse them well before proceeding to cook. While effective, the overnight soak often yields a slightly creamier and more consistently tender texture.
Always discard the soaking water. It contains oligosaccharides, which are the complex sugars responsible for potential gas and bloating. Rinsing your chickpeas thoroughly after soaking is a key step in reducing digestive discomfort.
Ingredients for Perfect Instant Pot Chickpeas
Achieving outstanding homemade chickpeas requires just a few basic ingredients, plus your choice of seasonings to elevate their natural flavor. Simplicity is key, but the quality of your ingredients makes all the difference for a truly delicious result.
- Dried Chickpeas: Approximately 2 cups of dried chickpeas, which should be soaked as described in the previous section. Ensure your chickpeas are relatively fresh for the best cooking results and creamy texture.
- Vegetable Broth: We recommend 1 ½ cups of low-sodium vegetable broth for cooking. Using broth instead of plain water infuses the chickpeas with a deeper, more savory flavor that water alone cannot provide. This creates a more flavorful base, especially if you plan to use the chickpeas in dishes where their taste will stand out. If you prefer to control sodium levels entirely, or if you simply don’t have broth on hand, filtered water works just fine.
- Salt: While flavor seasonings are optional, a pinch of salt is essential to enhance the natural taste of the chickpeas. We strongly recommend adding salt *after* cooking. Adding salt during the pressure cooking process can sometimes inhibit the chickpeas from fully softening, resulting in a tougher texture.
- Seasonings (Optional, but highly recommended): This is where you can truly customize your chickpeas to match your meal plans. See our detailed flavor suggestions below to transform them from a basic ingredient into a star component of your meal, ready for any culinary adventure.
Flavor Suggestions for Customized Chickpeas
The beauty of cooking your own chickpeas is the freedom to infuse them with flavors that perfectly complement your planned meals. While plain chickpeas are fantastic for hummus or salads, these suggestions will take them to the next level. Add all designated seasonings to the Instant Pot along with the chickpeas and broth, unless otherwise specified:
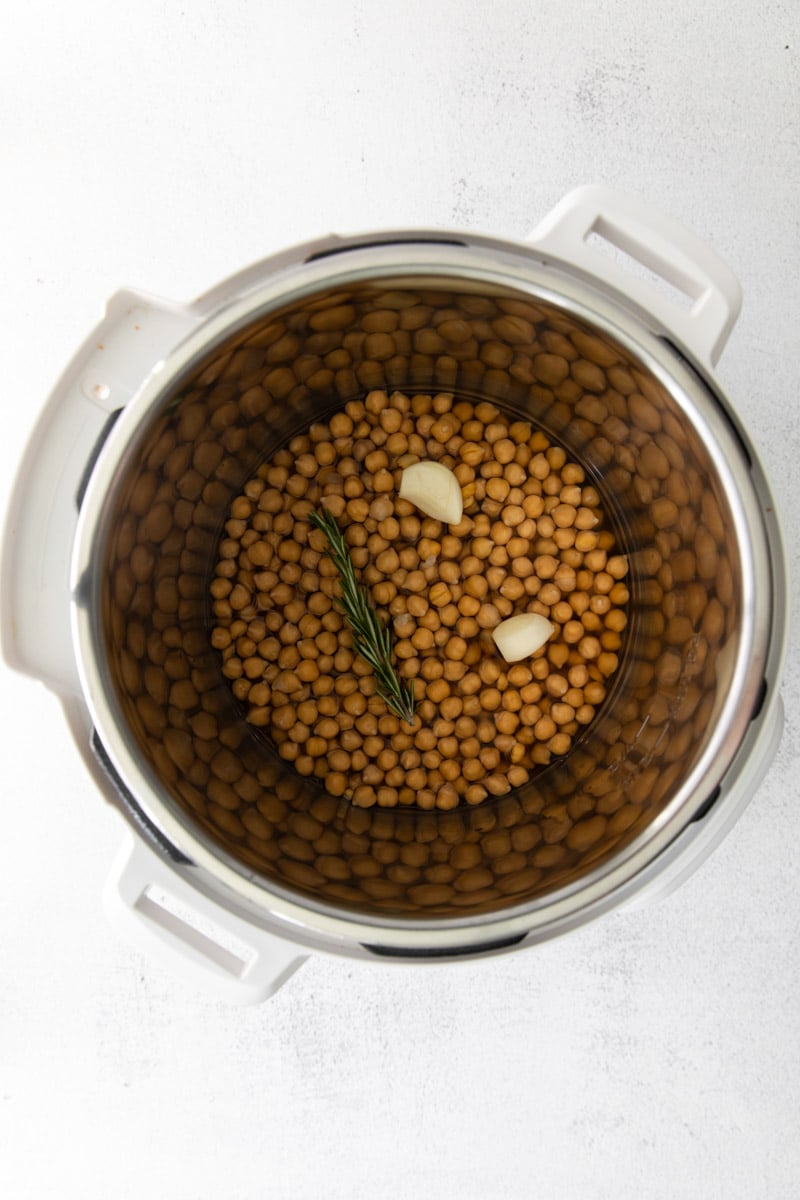
- Garlic and Herb: Enhance the earthy notes and create an aromatic batch with 2 cloves of finely minced garlic and 1 sprig of fresh rosemary or thyme. This combination is perfect for Mediterranean-inspired dishes, roasted vegetables, or as a simple, savory side.
- Garlic and Parmesan: For a rich, umami boost, add 2 cloves of minced garlic at the beginning of the cooking process. Once cooked and drained, stir in ¼ cup of grated Parmesan cheese (or a high-quality vegan alternative) while the chickpeas are still warm. This flavor profile is excellent for pasta salads, adding to soups, or as a delightful topping for roasted vegetables.
- Taco Spice: Create a zesty, vibrantly flavored batch ideal for tacos, burritos, nachos, or grain bowls with 1 teaspoon chili powder, ½ teaspoon ground cumin, ½ teaspoon garlic powder, ½ teaspoon onion powder, and ½ teaspoon paprika. This blend brings a fantastic Tex-Mex flair.
- Asian Inspired: Infuse an exotic and savory profile with ¼ cup low-sodium soy sauce (or tamari for a gluten-free option), 1 minced garlic clove, 1 teaspoon grated fresh ginger, 1 teaspoon sesame oil, and 1 teaspoon sesame seeds. These chickpeas are fantastic in stir-fries, as a side to rice dishes, or even as a base for an Asian-inspired salad.
How to Make Instant Pot Chickpeas: Step-by-Step Guide
Cooking chickpeas in the Instant Pot is surprisingly straightforward and incredibly efficient, making it a favorite method for many home cooks. Follow these clear, concise steps for perfectly cooked, tender chickpeas every single time. Remember, the foundation of success begins with properly soaked chickpeas!
- Prepare Ingredients: Begin by ensuring your 2 cups of dried chickpeas have been thoroughly soaked for at least 6 hours (or preferably overnight) and then drained and rinsed under cold water. Gather your 1 ½ cups of vegetable broth and any chosen seasonings you plan to infuse into your chickpeas.
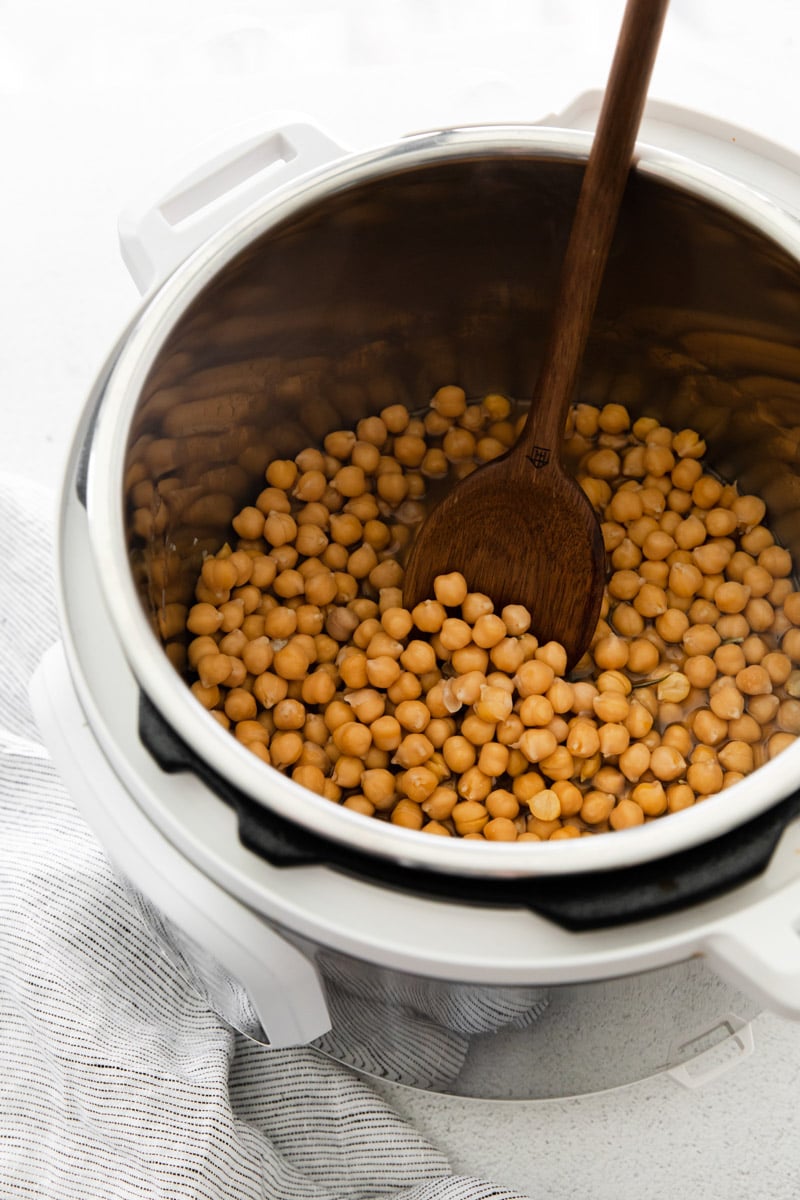
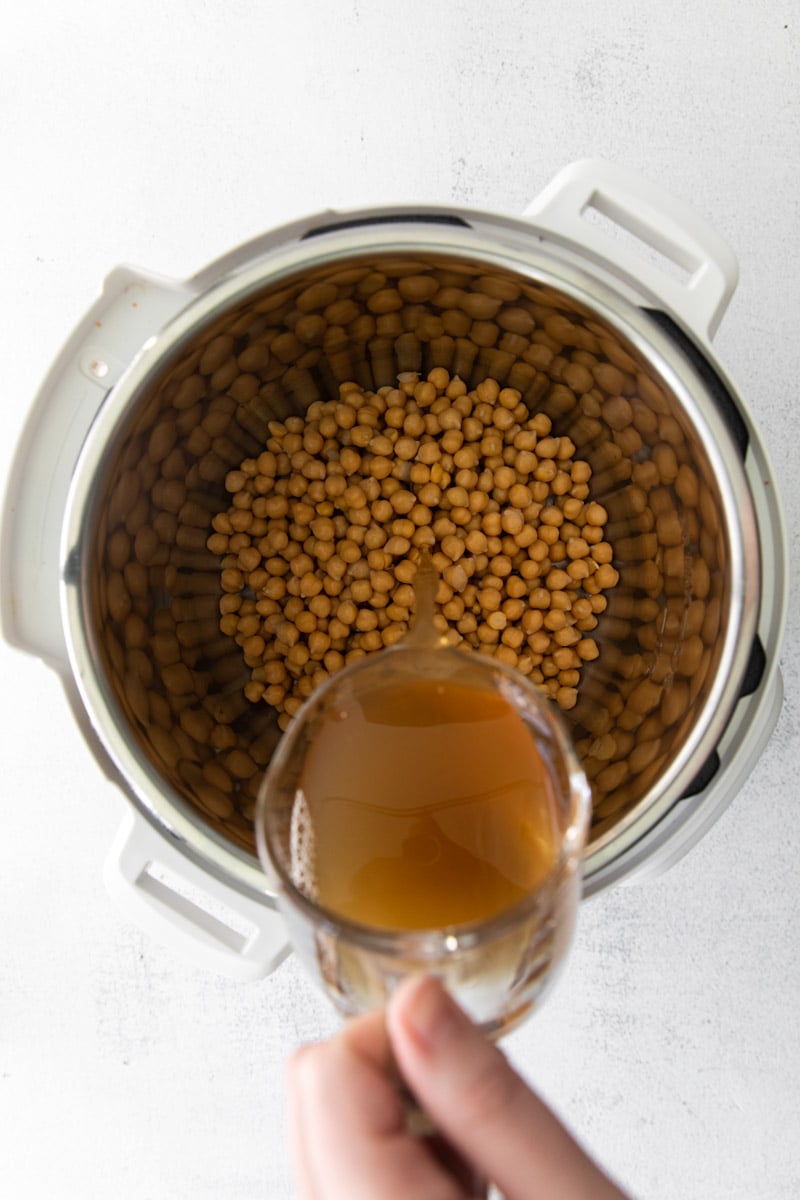
- Combine in Instant Pot: Carefully place the soaked and rinsed chickpeas into the inner pot of your Instant Pot. Pour in the vegetable broth, ensuring the chickpeas are adequately covered. Now, add your selected flavor seasonings (e.g., minced garlic, dried herbs, taco spices, etc. – refer to the “Flavor Suggestions” section above for inspiration). It is crucial NOT to add salt at this stage, as salt can prevent the chickpeas from softening properly during the pressure cooking process.
- Pressure Cook: Secure the Instant Pot lid, making sure the sealing ring is properly in place and creates a tight seal. Turn the steam release valve to the “Sealing” position. Select the “Pressure Cook” (or “Manual” depending on your model) setting and set the cooking time to 13 minutes on HIGH pressure. The Instant Pot will take several minutes to come to pressure before the actual countdown begins; this is normal.
- Natural Pressure Release (Partial): Once the cooking cycle is complete and the Instant Pot beeps, allow the pressure to naturally release for 5 minutes. This natural release period is crucial; it allows the chickpeas to finish cooking gently and absorb moisture, resulting in a creamier, more tender texture and preventing them from bursting.
- Quick Pressure Release: After the 5 minutes of natural release, carefully switch the steam release valve to the “Venting” position to manually release any remaining pressure. Be cautious, as a strong jet of steam will be released; use a long-handled spoon or a kitchen towel to protect your hand. Once the float valve drops completely, it is safe to twist and open the lid.
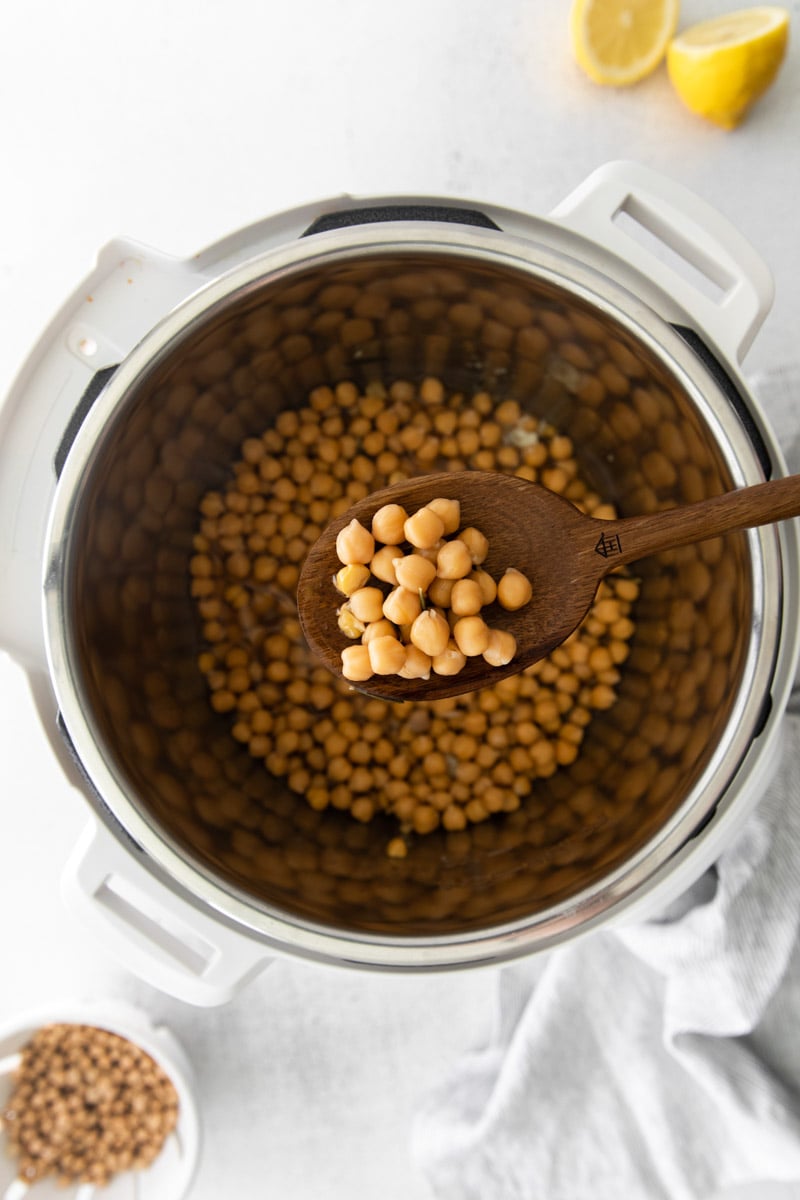
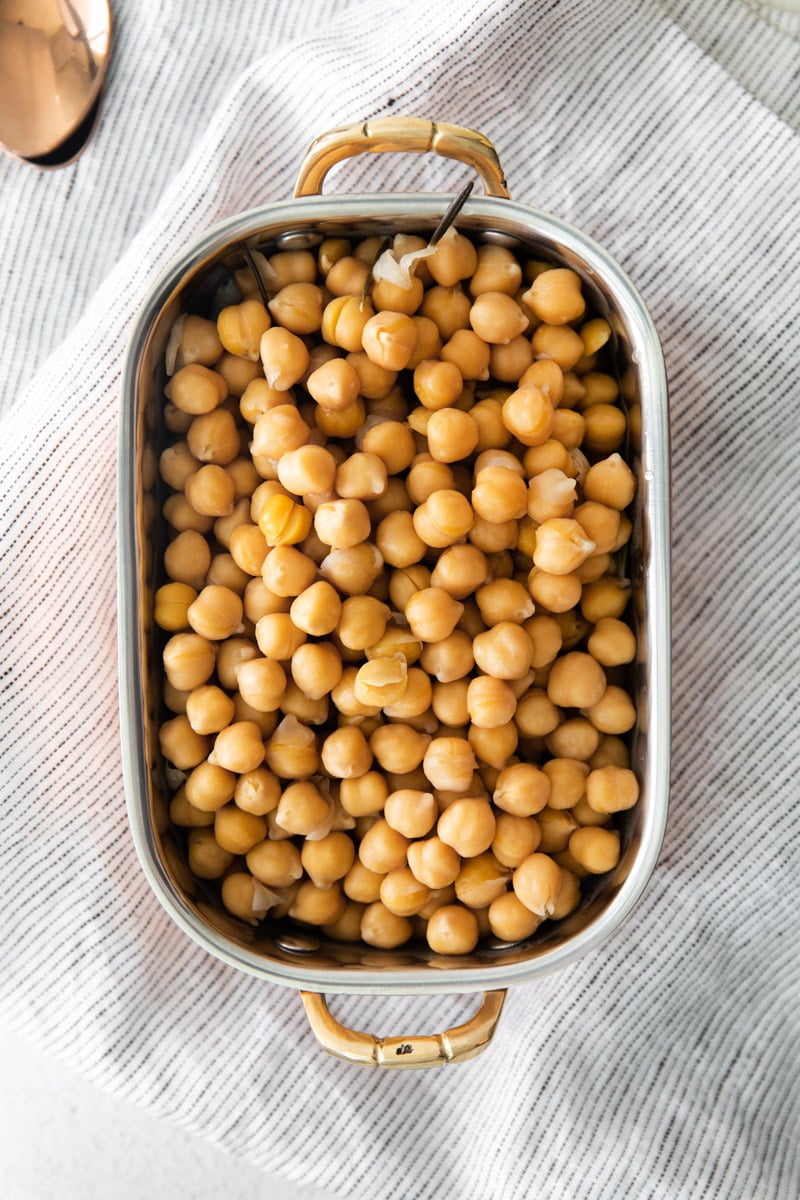
- Drain and Season: Carefully remove the lid and admire your perfectly cooked chickpeas! Drain the cooked chickpeas through a colander. Now, it’s time to season them with salt and freshly ground black pepper to taste. If you’re preparing the “Garlic and Parmesan” flavor, this is the stage to stir in the grated Parmesan cheese.
- Serve or Store: Your perfectly cooked Instant Pot chickpeas are now ready to be enjoyed! Serve them immediately as a delicious and nutritious side dish, incorporate them into your favorite recipes, or prepare them for storage as outlined in the next section.
Pro Tip: An essential kitchen tool for any home cook, a 6-Quart Instant Pot (affiliate link) is perfect for cooking dried chickpeas efficiently and consistently, making meal prep a breeze and ensuring perfectly tender legumes every time.
Why You’ll Love Cooking Chickpeas This Way
Once you experience the ease and superior quality of Instant Pot chickpeas, you’ll wonder why you ever bought them canned. Here’s why this method will become your go-to:
- Effortless Ease: The Instant Pot transforms what can be a tedious stovetop process into a nearly hands-off task. After a quick initial prep (soaking!), the pressure cooker does all the work, freeing you up for other kitchen tasks or simply relaxing.
- Minimal Ingredients: With just two core ingredients (chickpeas and liquid) and your choice of optional seasonings, this recipe is incredibly simple, proving that delicious and nutritious food doesn’t require a long shopping list or complicated steps.
- Unmatched Nutrition: Homemade chickpeas are packed with plant-based protein, dietary fiber, and essential vitamins and minerals. They support healthy digestion, help regulate blood sugar levels, and contribute to overall heart health, making them a cornerstone of healthy and balanced eating.
- Superior Flavor & Texture: Experience chickpeas as they were meant to be – perfectly tender, wonderfully creamy, and bursting with their natural, mild flavor, which can be further enhanced with your preferred seasonings to suit any cuisine.
- Incredible Versatility: Once cooked, these chickpeas become a culinary chameleon. Use them as a creamy base for dips, a substantial protein boost in salads, a hearty addition to stews, or even as a crunchy roasted snack. Their adaptability makes them perfect for any meal prep strategy or last-minute dinner solution.
Storing and Freezing Your Homemade Chickpeas
Having a batch of cooked chickpeas on hand is a fantastic way to streamline meal preparation and enjoy quick, healthy meals throughout the week. Proper storage ensures they remain fresh and delicious for an extended period.
- To Refrigerate: Allow the cooked chickpeas to cool completely to room temperature before storing. Transfer them to an airtight container and place them in the refrigerator. They will stay fresh and delicious for up to 3 to 5 days. For extra moisture and to prevent them from drying out, you can add a tablespoon or two of fresh water or broth to the container before sealing.
- To Freeze: Freezing cooked chickpeas is an excellent way to extend their shelf life and prepare for future meal prep. Once completely cooled, it’s crucial to drain them thoroughly (you want them as dry as possible to prevent excess ice crystals from forming). For best results, spread the drained chickpeas in a single layer on a baking sheet and freeze for about an hour. This “flash freezing” step prevents them from clumping together into a solid block. Then, transfer the partially frozen chickpeas into freezer-safe bags or containers. Label them with the date. They can be stored flat in your freezer for 2 to 3 months, maintaining their quality and texture.
- Thawing Frozen Chickpeas: To use frozen chickpeas, simply transfer the desired amount to the refrigerator overnight to thaw. For a quicker thaw, you can rinse them under cold water in a colander. They can also often be added directly to hot dishes like soups, curries, or stews, where they will thaw and heat through during cooking.
Troubleshooting and FAQs
Even with a straightforward recipe, questions can arise. Here are answers to some common queries about cooking Instant Pot chickpeas:
Why are my chickpeas still hard after cooking?
The most common reasons for chickpeas remaining hard are insufficient soaking time, using old dried chickpeas (legumes lose moisture and can become tougher with age), or incorrect Instant Pot pressure settings or release methods. Ensure you soak your chickpeas for at least 6-8 hours (preferably overnight), check the expiry date of your dried chickpeas, and follow the pressure cooking time and natural release sequence precisely. If all else fails, you can always pressure cook them for an additional 5-10 minutes.
Can I skip soaking the chickpeas?
While some recipes suggest cooking dried chickpeas without soaking, we highly advise against skipping this crucial step for Instant Pot chickpeas. Soaking dramatically improves the chickpeas’ texture, ensures even cooking to a creamy consistency, and significantly aids digestibility. If you choose to skip soaking, you’ll need to increase the pressure cooking time significantly (often to 40-50 minutes), and the results may still be less creamy and more prone to being unevenly cooked or tough in the center.
Should I add baking soda to the soaking water or cooking water?
Some recipes recommend adding a small amount of baking soda to either the soaking water or the cooking water to further tenderize legumes. While it can help break down the chickpea skins, we find it generally unnecessary for chickpeas cooked in the Instant Pot, especially when properly soaked. Too much baking soda can also affect the flavor and texture of the chickpeas, sometimes making them mushy or giving them a slightly soapy taste. We prefer to keep it simple for a pure, natural chickpea flavor.
Can I cook a larger or smaller batch?
Yes, you can easily adjust the quantity of chickpeas you cook. The pressure cooking time for dried chickpeas in the Instant Pot remains largely the same whether you cook 1 cup or 3 cups, assuming they are properly soaked. However, you should adjust the liquid ratio proportionally. Always ensure your Instant Pot is not overfilled (never exceed the MAX fill line) or underfilled (always use enough liquid for the pot to build pressure successfully).
What if I don’t have vegetable broth?
Plain water can be used as a perfectly acceptable substitute for vegetable broth. While broth adds an extra layer of savory flavor and depth, water will still cook the chickpeas perfectly to a tender consistency. If using water, you might want to compensate by adding a bit more seasoning and salt after cooking to boost their flavor profile.
Creative Ways to Enjoy Your Homemade Chickpeas
The culinary possibilities with a fresh batch of Instant Pot chickpeas are truly endless! Their mild flavor and versatile texture make them an ideal ingredient for a wide array of dishes. Here are some inspiring ideas to get you started:
- Classic Hummus & Dips: The ultimate use for tender chickpeas! Blend your perfectly cooked legumes with tahini, fresh lemon juice, garlic, and olive oil for the smoothest, most flavorful homemade hummus you’ve ever tasted. Don’t stop there; explore variations with roasted red pepper, sun-dried tomatoes, or avocado.
- Hearty Salads & Bowls: Toss them generously into green salads, vibrant grain bowls, or refreshing pasta salads for a substantial protein boost and satisfying texture. They pair beautifully with fresh vegetables, robust dressings, and other plant-based ingredients. Try our Ranch Chickpea Salad or Curried Chickpea Salad for quick and flavorful lunch ideas.
- Savory Soups & Stews: Add them to minestrone, hearty vegetable stews, or comforting lentil soups for extra texture, bulk, and a significant nutritional punch. They absorb the flavors of the broth beautifully, making them a fantastic addition to any warm, comforting dish. Don’t miss our Chickpea Noodle Soup!
- Crispy Roasted Snacks: For an addictive, healthy, and high-protein snack, toss cooked chickpeas with a drizzle of olive oil and your favorite spices (think paprika, cumin, garlic powder), then roast them in the oven or air fryer until delightfully crispy. They’re perfect for topping salads, adding crunch to wraps, or simply munching on their own. Check out Oven Roasted Chickpeas 4 Ways for inspiration.
- Filling Wraps & Sandwiches: Mash them lightly with vegan mayo, finely diced celery, fresh herbs, and a squeeze of lemon for a delicious “chickpea salad” sandwich filling – a fantastic plant-based alternative to tuna salad. Or, add them whole to wraps with fresh veggies and a flavorful sauce for a satisfying meal. Try the Thai Peanut Chickpea Wraps.
- Curries & Stir-Fries: Their amazing ability to absorb and carry flavors makes them ideal for rich, aromatic curries like Sweet Potato & Chickpea Curry or quick stir-fries, adding a substantial protein punch to your favorite Asian-inspired dishes.
- Stuffed Vegetables: Combine your cooked chickpeas with cooked grains (like quinoa or rice), fresh herbs, spices, and other vegetables to create a flavorful and hearty stuffing for bell peppers, zucchini boats, or comforting sweet potatoes.
We hope this guide inspires you to make homemade Instant Pot chickpeas a regular and cherished part of your cooking routine. The superior taste, texture, and nutritional benefits are truly rewarding, offering endless possibilities for healthy and delicious meals. If you make this recipe, please share your experience and how you enjoyed them! We’d love to see your creations. Tag us on Instagram (@foodwithfeeling) and use #foodwithfeeling!
More Chickpea Recipes to Explore
- Ranch Chickpea Salad
- Thai Peanut Chickpea Wraps
- Curried Chickpea Salad
- Chickpea Stuffed Sweet Potatoes
- Chickpea Vegan Pot Pie
- Oven Roasted Chickpeas 4 Ways
- Chickpea Noodle Soup
- Sweet Potato & Chickpea Curry