
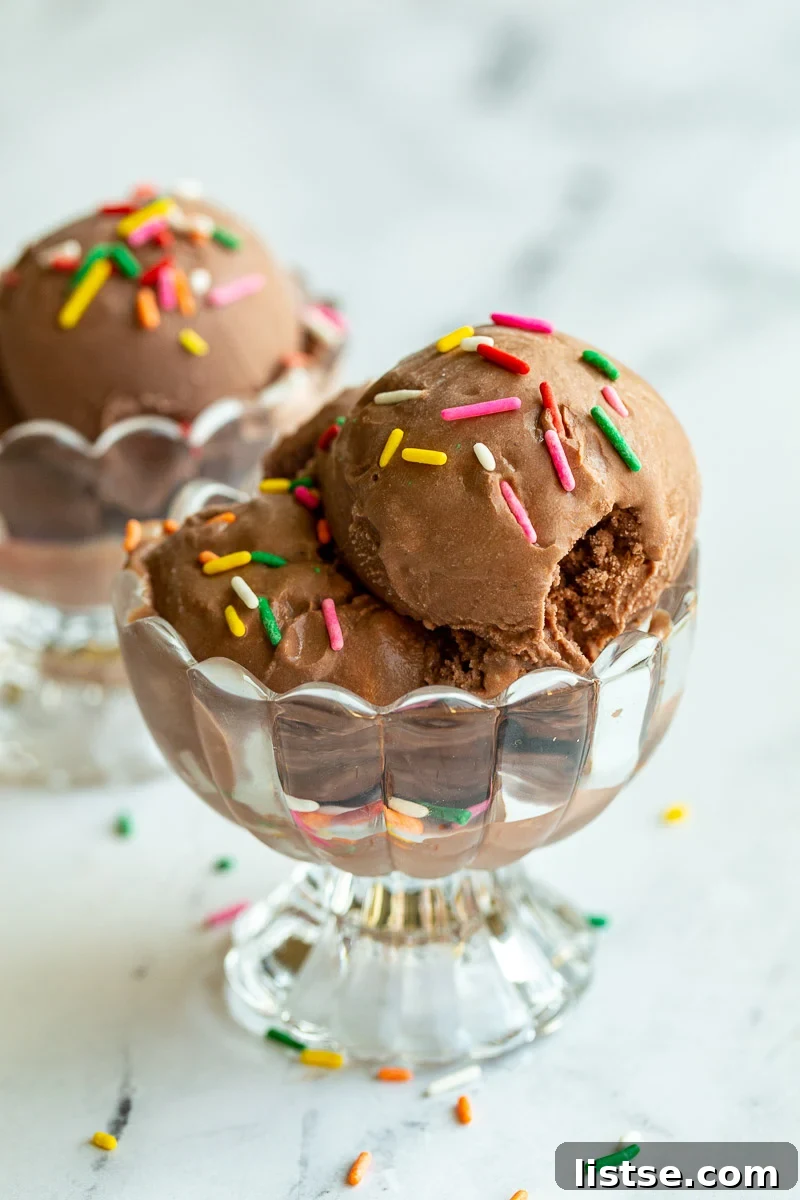
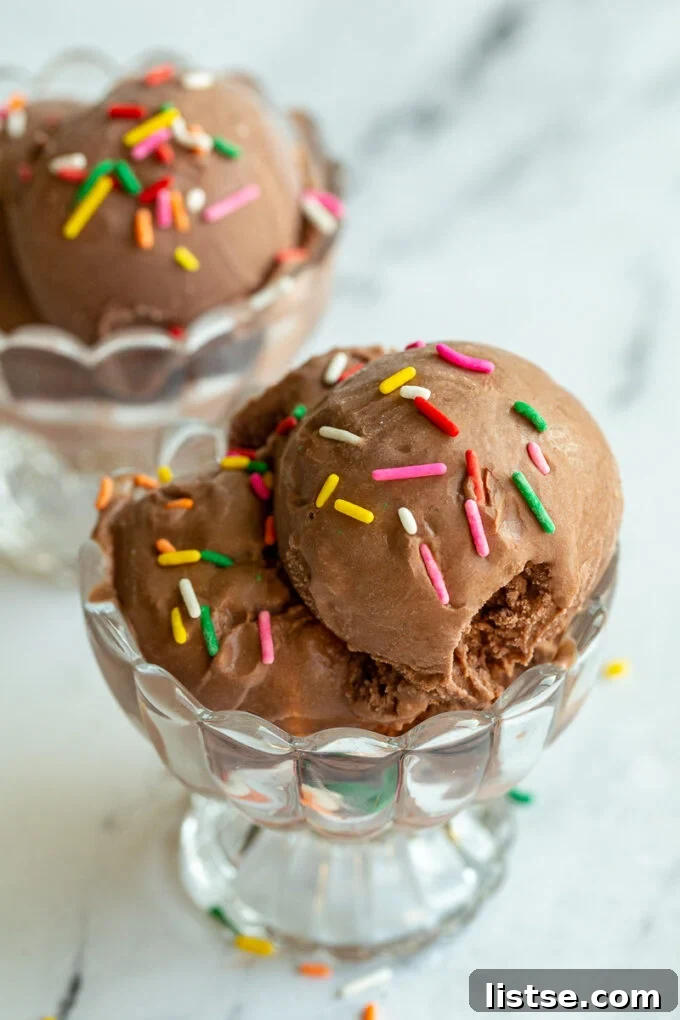
If you’re a proud owner of a Ninja Creami, prepare to unlock a new level of dessert perfection. This incredibly simple **Chocolate Ice Cream** recipe is not just delicious; it’s a testament to the Creami’s ability to transform everyday ingredients into a luxuriously smooth and intensely flavorful frozen treat. Forget complicated churners or icy disappointments – with your Ninja Creami, achieving artisanal quality ice cream at home has never been easier or more rewarding. This recipe is destined to become your go-to for rich, creamy chocolate indulgence, requiring minimal effort for maximum delight.
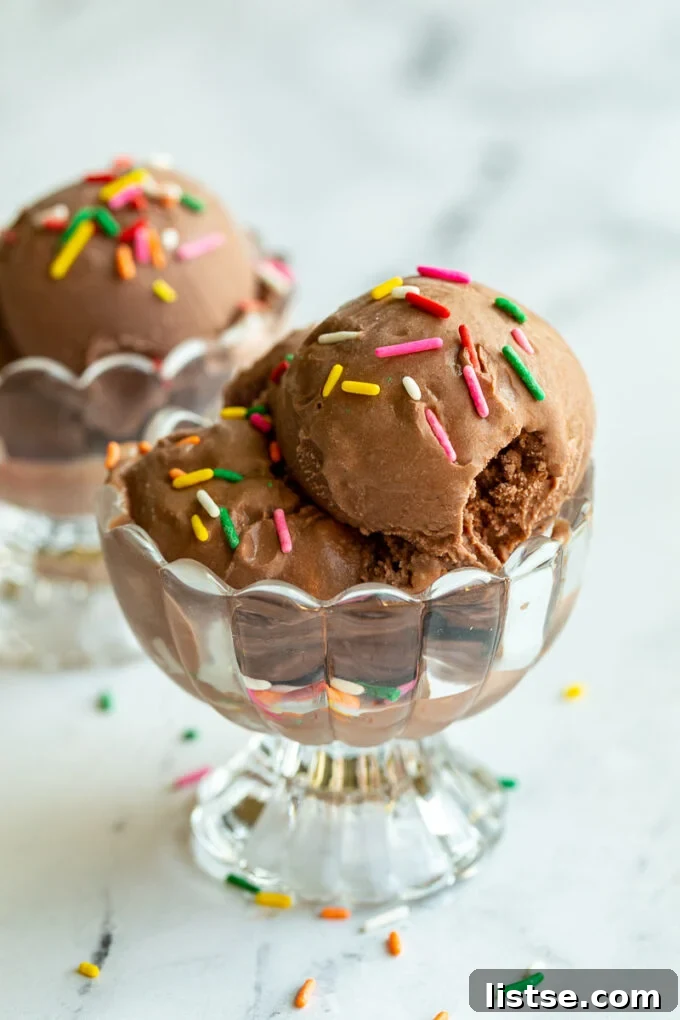
Discovering the Magic of the Ninja Creami
For a long time, I debated whether to invest in a Ninja Creami. I almost bought one 18 months ago, and honestly, I deeply regret waiting so long! This innovative ice cream maker has truly revolutionized my kitchen and my approach to homemade desserts. It takes frozen bases and processes them into incredibly creamy textures – from ice cream and gelato to sorbets and smoothie bowls – all with the touch of a button. While the Creami has been flying off the shelves and is often sold out, its popularity is a testament to its unparalleled performance. If you manage to get your hands on one, you’ll understand why it’s worth every penny and every moment spent waiting. I am genuinely obsessed with mine, and I’m thrilled to share recipes that highlight its incredible capabilities.
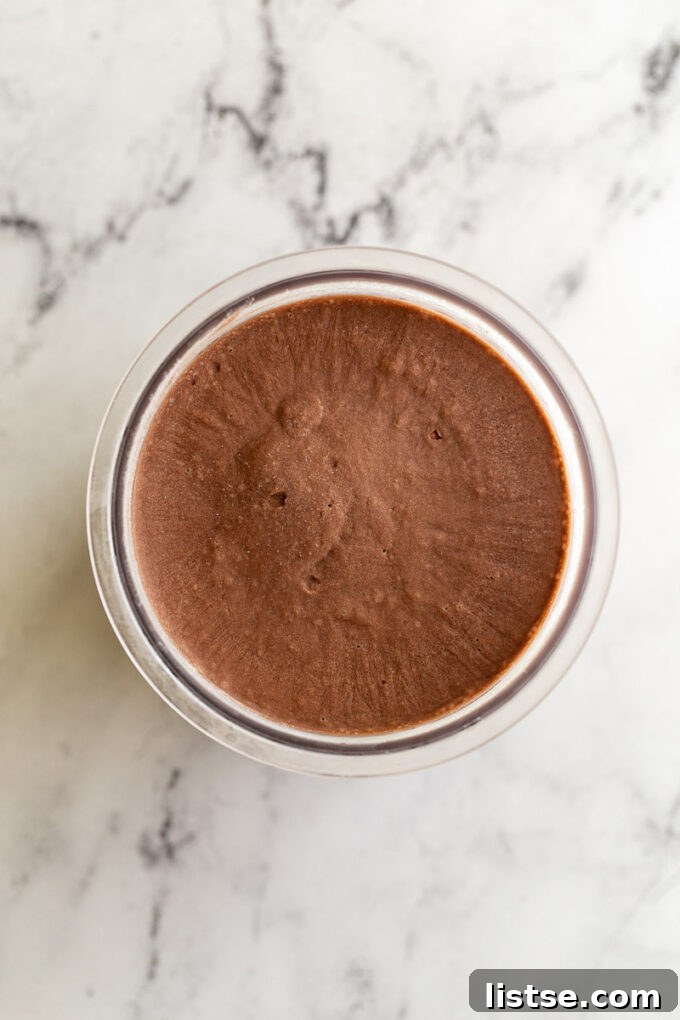
Why This Ninja Creami Chocolate Ice Cream Recipe is a Must-Try
Let’s dive into why this particular chocolate ice cream recipe is incredibly simple yet yields phenomenal results. After countless experiments and about six iterations, I’ve perfected a method that ensures the ultimate creamy texture and rich chocolate flavor. Many recipes suggest whisking the ingredients together, which can work, but for truly unparalleled creaminess, blending is the superior choice. It’s definitely worth dirtying your blender for these results – trust me on this! The difference in smoothness and consistency is remarkable, ensuring every spoonful is pure bliss. This recipe is designed for maximum flavor impact and an unbelievably smooth mouthfeel, making it stand out from other homemade chocolate ice cream options.
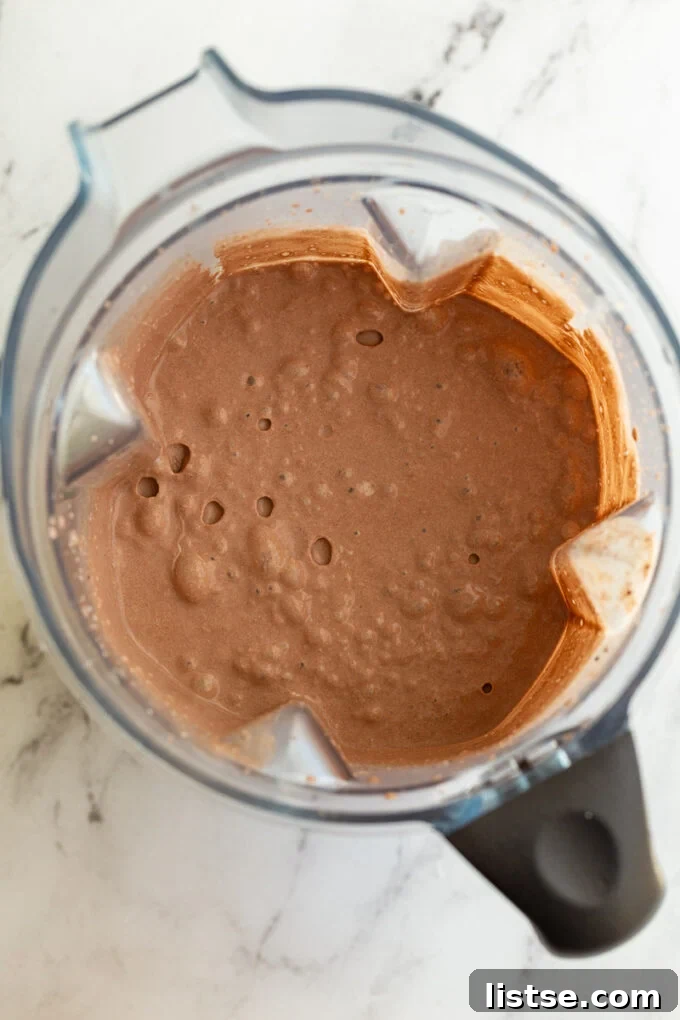
Crafting Your Dream Chocolate Ice Cream: Step-by-Step
The beauty of this Ninja Creami Chocolate Ice Cream recipe lies in its straightforward preparation. All you need to do is combine all the ingredients in your blender and process until they are perfectly smooth and fully incorporated. This usually takes no more than 30 seconds, thanks to the efficiency of a good blender. The key here is ensuring there are no lumps, especially from the cocoa powder or cream cheese, which could compromise the final texture. Once blended, pour this luscious chocolate mixture directly into your Ninja Creami pint. Then, the waiting game begins: freeze the mixture for a minimum of 12 hours, though for optimal results and the best texture, aiming for 24 hours or even longer is highly recommended. This extended freezing time ensures the base is thoroughly solid, which is crucial for the Creami’s processing power.
The Secret Ingredient for Extra Creaminess: Cream Cheese
While often optional in other recipes, I highly recommend including the softened cream cheese in this recipe. It’s not just for flavor; it plays a vital role in achieving that unbelievably creamy, non-icy texture. Cream cheese acts as an emulsifier and stabilizer, preventing large ice crystals from forming during the freezing process. This results in an ice cream that’s incredibly smooth and rich, with a subtle tang that complements the deep chocolate flavor beautifully. Make sure your cream cheese is softened – a quick 10-second microwave zap will do the trick if it’s straight from the fridge – to ensure it blends seamlessly into the mixture without any lumps.
The Importance of Quality Cocoa Powder
One discovery I made through my various tests is the significant impact of cocoa powder quality on the final flavor profile. I compared a cheaper brand (like Hershey’s) with a higher quality brand, and the difference was noticeable. A premium cocoa powder will lend a deeper, more complex, and truly decadent chocolate flavor to your ice cream. Dutch-processed cocoa, for instance, offers a darker color and a milder, less bitter chocolate taste, while natural cocoa powder has a fruitier, more acidic note. That being said, even with a standard brand like Hershey’s, the ice cream was still wonderfully delicious! So don’t hesitate if you only have common cocoa on hand, but if you want to elevate your experience, investing in a good quality cocoa is a worthwhile choice for any serious chocolate lover.
Tips for Ninja Creami Success and Storage
Once your chocolate ice cream base is frozen solid, it’s time for the Ninja Creami to work its magic. Place the pint into the outer bowl and secure it on the Creami base. Select the ‘Ice Cream’ setting. If you have a Deluxe Creami, you’ll be prompted to choose ‘Top’, ‘Bottom’, or ‘Full’ – for a whole pint, I always opt for ‘FULL’ unless I’m incorporating mix-ins. The Creami will churn the frozen block into a perfectly smooth, ready-to-eat ice cream. Sometimes, after the first spin, the ice cream might appear a bit crumbly or powdery. Don’t fret! Simply add a tablespoon or two of milk (or even a splash of heavy cream for extra richness) and select the ‘Re-spin’ function. This extra cycle usually transforms it into that desired creamy consistency. This re-spin feature is one of the Creami’s most brilliant aspects, ensuring perfect results every time.
For storing your delectable homemade ice cream, I highly recommend investing in dedicated ice cream containers. While you can keep it in the Creami pint, having separate containers frees up your pints for future creations. I personally bought THESE and find them incredibly useful. They’re designed to store ice cream perfectly in the freezer, keeping it fresh and ready for your next craving. Proper storage helps maintain the texture and flavor, preventing freezer burn and ensuring every scoop is as delightful as the first.
This Ninja Creami Chocolate Ice Cream recipe truly elevates homemade frozen desserts to an art form, making it accessible for everyone. I am absolutely thrilled for you to try this recipe and experience the rich, creamy goodness for yourself. Don’t forget to let me know what you think!
Ninja Creami Chocolate Ice Cream
Brita Britnell
5 mins
5 mins
6

Ingredients
- 2 tablespoons cream cheese, softened (if it’s coming out of the fridge, microwave it for 10 seconds)
- 3 ½ tablespoons cocoa powder
- ½ cup granulated sugar
- 1 ½ teaspoons vanilla extract
- 1 ¼ cup heavy whipping cream
- 1 ½ cups whole milk
Instructions
-
Add all of the ingredients to a blender and blend until creamy (this will only take 30 seconds).2 tablespoons cream cheese,
3 1/2 tablespoons cocoa powder,
1/2 cup granulated sugar,
1 1/2 teaspoons vanilla extract,
1 1/4 cup heavy whipping cream,
1 1/2 cups whole milk -
Pour the mixture into an empty Creami pint and place in the freezer for at least 12 hours (ideally 24+ hours).
-
Once ready to blend, place on your Creami base and process using the ice cream setting. If you have the Deluxe Creami, it asks you to first select top, bottom, or full. Process on FULL unless adding mix-ins.
-
Store in the freezer and ENJOY!
Notes
Nutrition
Calories: 296 kcal
Carbohydrates: 23 g
Protein: 4 g
Fat: 22 g
Saturated Fat: 14 g
Polyunsaturated Fat: 1 g
Monounsaturated Fat: 5 g
Cholesterol: 68 mg
Sodium: 53 mg
Potassium: 191 mg
Fiber: 1 g
Sugar: 21 g
Vitamin A: 893 IU
Vitamin C: 0.3 mg
Calcium: 116 mg
Iron: 0.5 mg
Nutrition information is automatically calculated, so should only be used as an approximation.
Tried this recipe?
Mention @foodwithfeeling or tag #foodwithfeeling!