
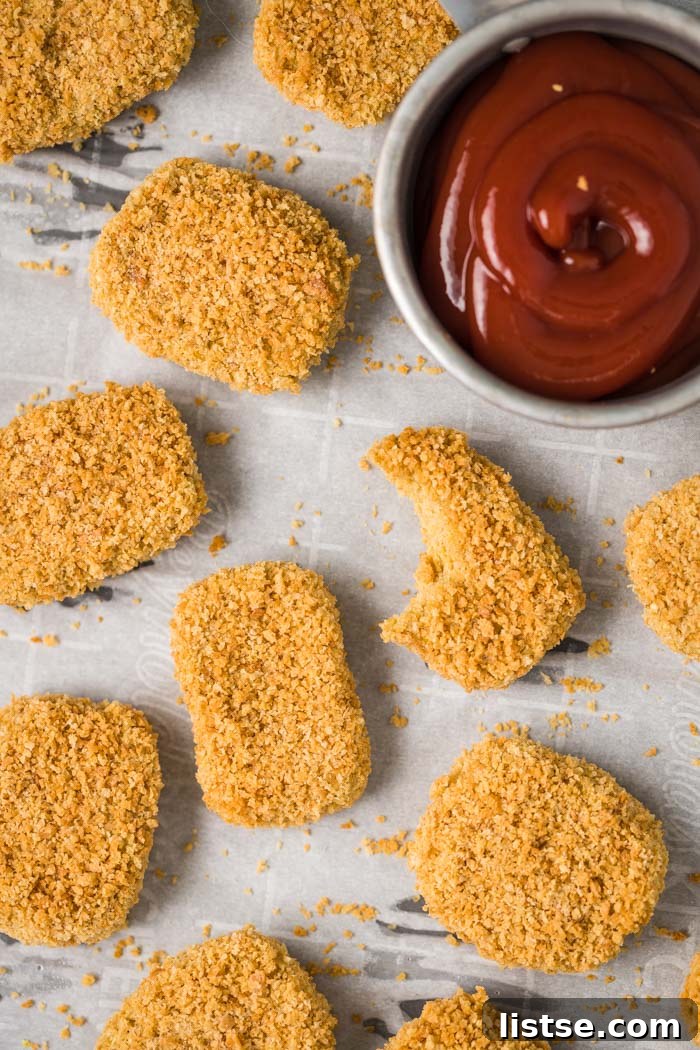
Welcome to the world of delicious, wholesome, and incredibly easy-to-make plant-based meals! If you’re searching for a fun, nutritious alternative to traditional chicken nuggets that both kids and adults will adore, look no further. Our EASY Vegan Chickpea Nuggets are a game-changer – perfectly crispy on the outside, tender on the inside, and bursting with savory flavor. These delightful nuggets are not only vegan but also naturally gluten-free, making them an inclusive option for nearly every diet. Get ready to transform your family’s mealtime with this simple yet satisfying recipe that promises to be a new household favorite!
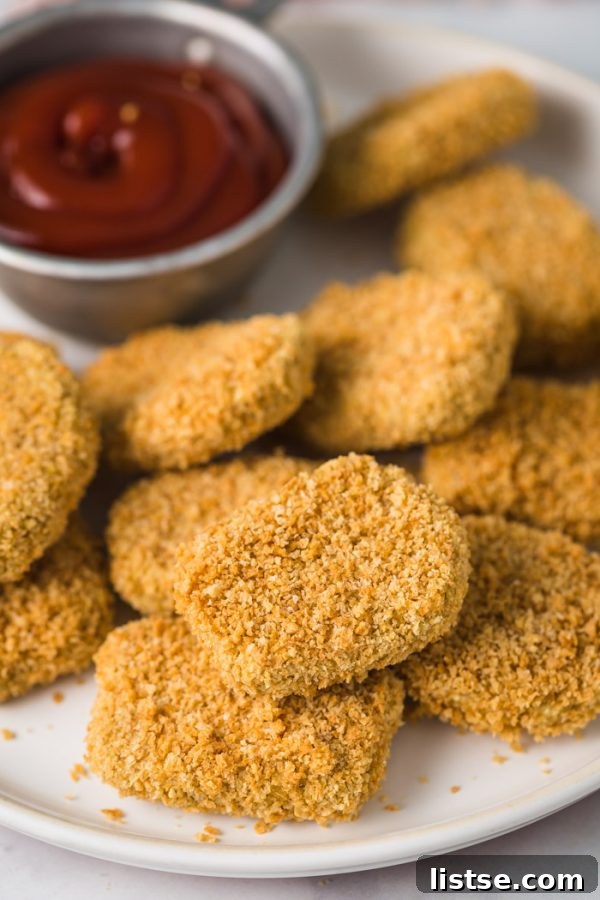
The Rise of Plant-Based Eating: Why Chickpea Nuggets?
In recent years, the shift towards plant-based eating has gained immense momentum, driven by health consciousness, environmental concerns, and ethical considerations. But for many families, finding delicious and convenient plant-based options, especially for children, can be a challenge. That’s where these vegan chickpea nuggets truly shine. They offer all the satisfying texture and craveable flavor of their meat-based counterparts, without any animal products.
From the moment my daughter, Jemma, began exploring solid foods, I embarked on a culinary quest for simple, healthy recipes she could easily enjoy independently. One day, while browsing the freezer aisle, I spotted a similar concept: chickpea nuggets. I instantly knew I had to create my own homemade version, ensuring it was packed with goodness and free from unnecessary additives. The result exceeded all expectations, quickly becoming a staple in our kitchen.
My primary goal for this recipe was unwavering simplicity. Initially, I considered incorporating finely diced vegetables into the chickpea mixture. However, I decided to keep this foundational recipe as straightforward as possible, reserving the veggie-packed version for a future culinary adventure – a thought that already excites me! This minimalist approach ensures that even beginner cooks can achieve perfect results, and it highlights the natural deliciousness of chickpeas.
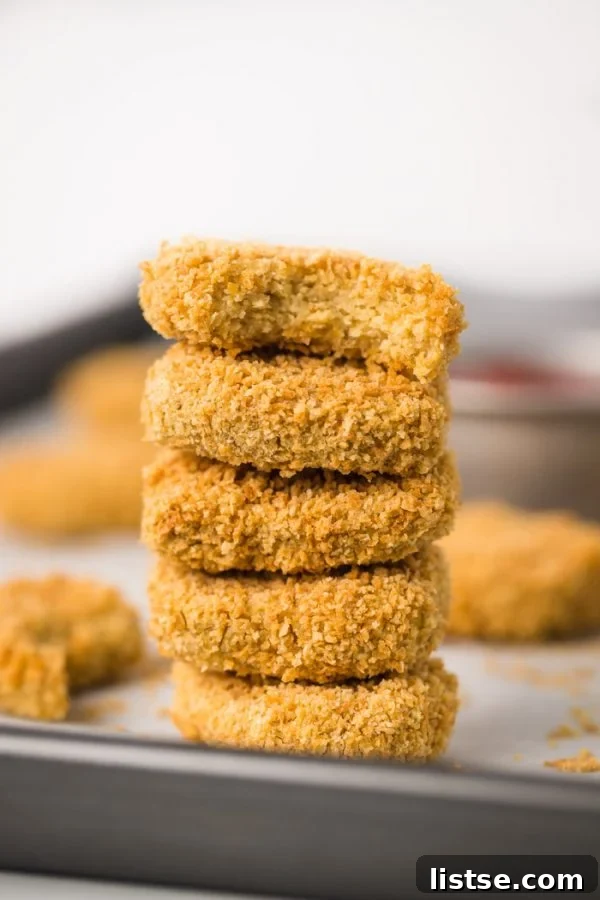
Unleashing the Magic of Simple Ingredients
The beauty of these chickpea nuggets lies in their humble yet powerful ingredient list. Each component plays a vital role in achieving that irresistible texture and flavor.
Chickpeas: Your Nutritional Powerhouse
Chickpeas, also known as garbanzo beans, are the star of this recipe and for good reason! They are an incredible source of plant-based protein, dietary fiber, and essential minerals like iron, folate, and manganese. Their creamy texture makes them ideal for blending into a “dough” that mimics the consistency of traditional nuggets. Beyond their nutritional benefits, chickpeas are incredibly versatile and form a fantastic base for a myriad of savory dishes.
The Vegan Breading Secret: Aquafaba
When developing the crispy coating for these vegan chickpea nuggets, I sought a plant-based alternative to the usual egg wash. That’s when I discovered the magic of aquafaba – the leftover liquid from a can of chickpeas! Instead of discarding this precious ingredient, I used it to dip the nuggets before rolling them in panko. I was initially unsure how well it would perform, but it proved to be a brilliant binder, adhering the panko beautifully and contributing to a wonderfully crisp exterior. If you’re not strictly vegan, a whisked egg can certainly be used as an alternative, but I highly recommend trying the aquafaba for a truly plant-powered experience.
Oat Flour: A Gluten-Free Marvel
Another key ingredient for achieving the perfect texture is oat flour. This gluten-free flour binds the chickpea mixture together, providing structure and a subtle, wholesome flavor. If you don’t keep oat flour in your pantry, there’s no need to buy a whole bag! You can easily make your own. Simply add about 2/3 cup of rolled oats to your food processor and blend until you achieve a fine flour consistency. For this particular recipe, a few small, unblended oat chunks are perfectly fine and even add a rustic touch.
Crafting Your Perfect Chickpea Nuggets: A Step-by-Step Guide
Making these chickpea nuggets is surprisingly straightforward. The process involves a few simple stages, culminating in a batch of golden, crispy, and utterly delicious plant-based bites.
Prepping for Perfection: Toasting Panko
The secret to achieving that irresistible golden-brown color and extra crunch on the outside of your nuggets begins with lightly toasting the panko breadcrumbs. This simple step amplifies their flavor and ensures a beautifully crisp finish. Preheat your oven to 375°F (190°C) and line a large baking sheet with parchment paper. Spread the panko crumbs evenly and toast them for about 3 minutes. Give them a good toss, spread them out again, and continue toasting for another 2-4 minutes. Keep a close eye on them during this stage, as panko can go from perfectly golden to burnt quite quickly! Once they’ve reached a lovely light brown hue, transfer them to a shallow bowl and set aside.
The Flax Egg Foundation
Our vegan binding agent comes in the form of a flax egg. This simple mixture replaces a traditional egg and helps hold the nugget dough together. In a small bowl, whisk together 1 tablespoon of flaxseed meal with 2 tablespoons of the reserved chickpea liquid (aquafaba). Allow this mixture to sit for about 5 minutes. During this time, the flaxseed meal will absorb the liquid and thicken, creating a gel-like consistency perfect for binding.
Blending & Shaping Your Nuggets
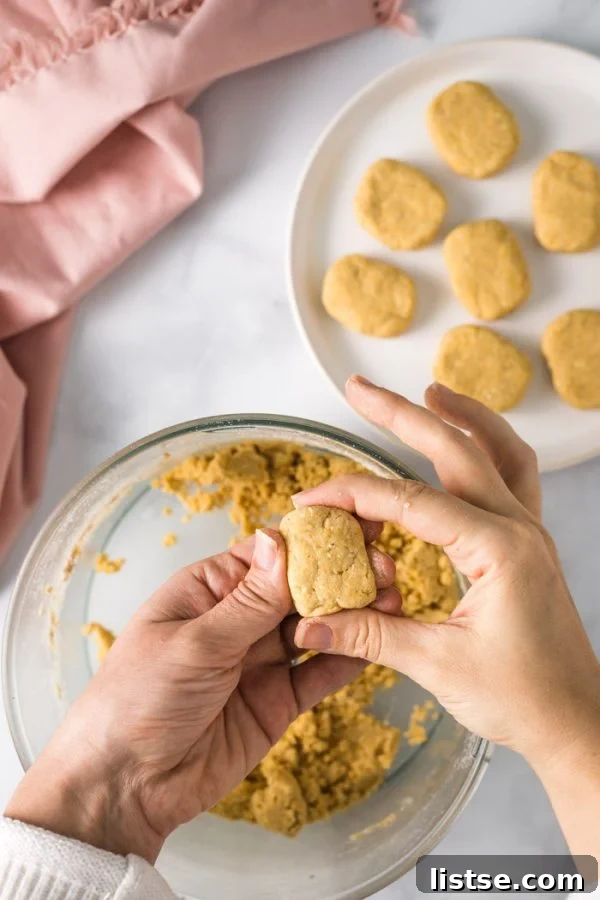
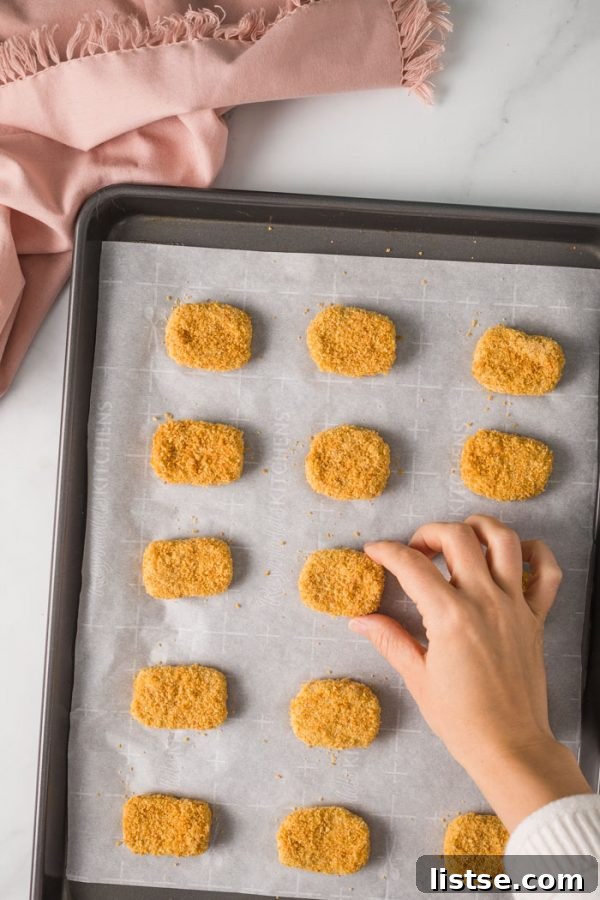
Now comes the fun part: creating the nugget dough! In the bowl of your food processor, combine the drained chickpeas, oat flour, the thickened flax egg mixture, garlic powder, and Adobo seasoning. Process these ingredients until they are fully combined and a cohesive, slightly sticky dough forms. The texture should be firm enough to shape. Take approximately 1.5 tablespoons of this chickpea dough for each nugget. I found the easiest way to shape them is to pat the dough into roughly 1/3-inch thick rectangles, then gently round the edges to achieve that classic nugget look. This recipe typically yields about 15 delightful nuggets.
The Art of Breading
With your nuggets shaped, it’s time for their crispy coating. This step is crucial for that satisfying crunch! One at a time, dip each nugget into the remaining chickpea liquid, ensuring it’s fully submerged. This provides the perfect adhesive for the toasted panko. Immediately after dipping, roll the wet nugget in the toasted panko bread crumbs you prepared earlier. Gently press the panko into the nugget with your fingers to ensure a thick, even coating that will stick firmly during baking.
Baking to Golden Perfection & Beyond
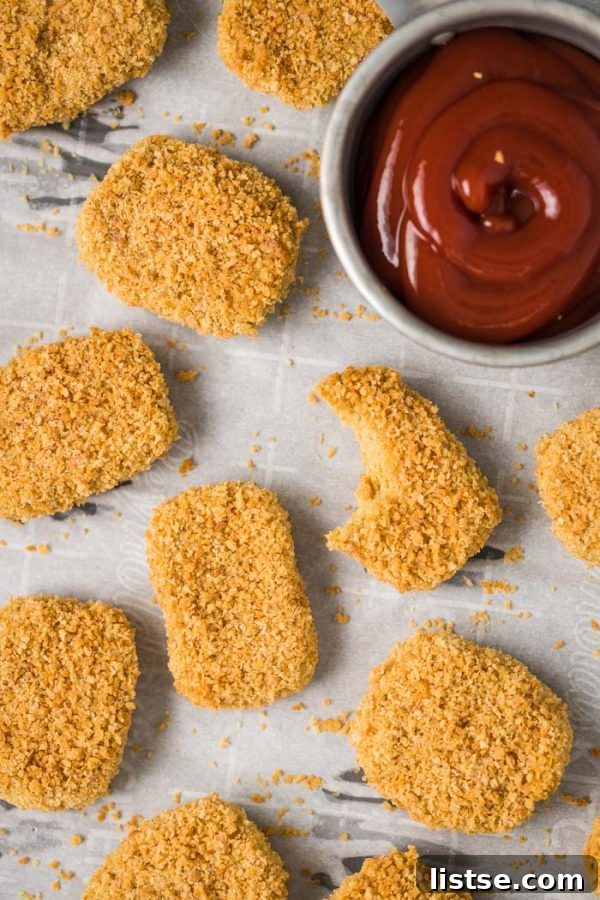
Once all your nuggets are breaded, place them on the prepared baking sheet. Bake them in your preheated oven for just 15 minutes. They will emerge beautifully golden brown and delightfully crispy. The aroma alone will have everyone rushing to the kitchen!
Freezing for Future Feasts
One of the best features of these chickpea nuggets is how well they freeze. I highly recommend making a large batch and freezing some for those busy weeknights when you need a quick, healthy meal solution. To freeze, allow the baked nuggets to cool completely. Then, arrange them in a single layer on a baking sheet and freeze for about an hour until solid. Transfer the frozen nuggets to an airtight freezer-safe bag or container. They can be stored for up to 2-3 months. When ready to eat, simply reheat them in the oven or air fryer until warmed through and crispy.
Customization and Flavor Variations
While this basic recipe is fantastic on its own, it also serves as a wonderful canvas for customization. As I mentioned, I’m already excited about creating a version with hidden veggies! You could finely grate carrots, zucchini, or spinach and mix them into the chickpea dough for an extra nutritional boost. Experiment with different spices too – a pinch of smoked paprika, a dash of onion powder, or a hint of cayenne for a subtle kick could transform the flavor profile. These nuggets are incredibly versatile, inviting your culinary creativity.
Chickpea Nuggets Recipe
These easy vegan and gluten-free chickpea nuggets are a delicious meat-free meal the whole family will love!
- Author: Brita Britnell
- Prep time: 15 mins
- Cook time: 15 mins
- Total time: 30 mins
- Yields: 15 nuggets
Ingredients
- 1 cup Panko bread crumbs (for a gluten-free option, use these)
- 15 ounce can of chickpeas, liquid reserved
- ½ cup oat flour*
- 1 tablespoon flaxseed meal
- ½ teaspoon garlic powder
- 1 teaspoon Adobo seasoning**
Instructions
- Start by toasting your bread crumbs. Preheat your oven to 375°F (190°C) and line a large baking tray with parchment paper. Spread the bread crumbs out in an even layer and toast for 3 minutes. Toss well, spread evenly again, and toast for another 2-4 minutes. You’ll want to watch them closely as they can go from browned to burned rather quickly. Once done, place in a shallow bowl and set aside.
- Drain the liquid from your chickpea can into a bowl and set aside.
- In a small bowl, mix together 2 tablespoons of the chickpea liquid with 1 tablespoon of flaxseed meal. Let sit for 5 minutes to thicken.
- In the bowl of a food processor, add the drained chickpeas, oat flour, garlic powder, the flaxseed meal mixture, and Adobo seasoning (or salt and pepper if using those instead). Process until fully combined into a dough. Taking about 1 1/2 tablespoons of the chickpea dough, form individual nuggets. I found it easiest to pat them into ~1/3 inch thick rectangles and then gently round the edges to get a more classic nugget look.
- One at a time, dip the nuggets into the reserved chickpea liquid so that it’s fully submerged and then roll it in the toasted panko breadcrumbs. Very gently press the panko into the nuggets so that it sticks better.
- Place the breaded nuggets on your prepared baking sheet and bake for 15 minutes. Serve warm and ENJOY!
Notes
- *If you don’t have oat flour, you can simply blend about 2/3 cup of rolled oats in a food processor until it’s a fine flour texture. Measure out 1/2 cup of the flour for this recipe.
- **If you do not have Adobo seasoning, you can simply replace it with 1 teaspoon of salt and 1/2 teaspoon of ground black pepper.
Dipping Delights: Perfect Pairings for Your Chickpea Nuggets
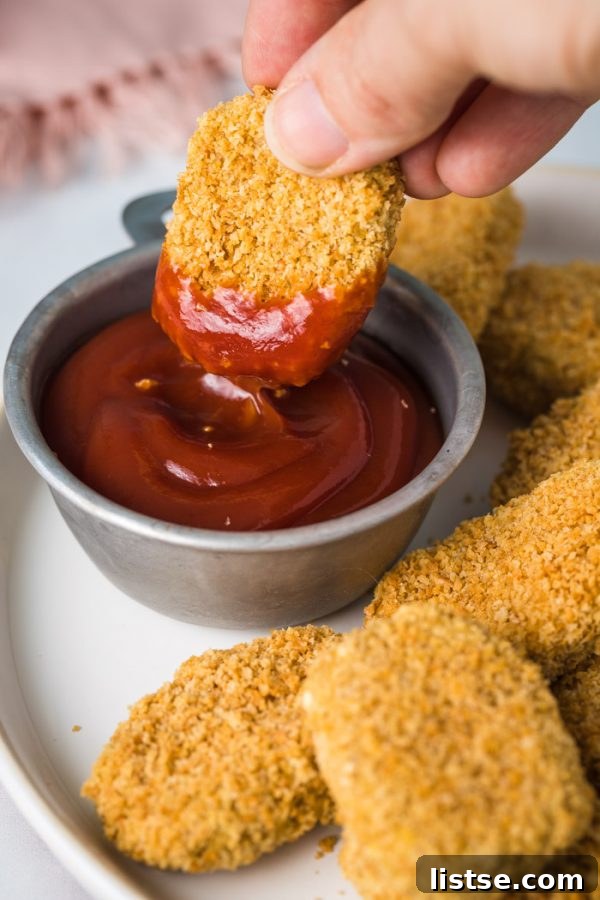
These vegan chickpea nuggets are delicious on their own, but they truly come alive with the right dipping sauce and side dishes. For a classic experience, serve them with ketchup, your favorite vegan ranch dressing, or a tangy BBQ sauce. For something a little different, try a sweet chili sauce, a creamy tahini dip, or a vibrant cilantro-lime dressing.
To create a complete and balanced meal, pair your nuggets with some healthy sides. A fresh green salad, roasted sweet potato fries, steamed broccoli, or a simple quinoa salad would complement them beautifully. They’re also fantastic as part of a fun finger-food platter for gatherings or as a quick, satisfying lunch.
Embrace the Versatility: More Than Just a Kids’ Meal
While these chickpea nuggets are a guaranteed hit with children, their appeal extends far beyond the kids’ table. They make an excellent adult-friendly appetizer, a quick and healthy component for lunchboxes, or a light dinner when served with a substantial side. Their plant-based nature and impressive nutritional profile make them a smart choice for anyone looking to incorporate more wholesome, meat-free options into their diet. They’re a testament to how creative and flavorful vegan eating can be, proving that healthy can indeed be incredibly delicious.
Conclusion: Your New Favorite Plant-Based Staple
In conclusion, these EASY Vegan Chickpea Nuggets are more than just a recipe; they are a delightful invitation to explore the possibilities of plant-based cooking. Simple to prepare, bursting with flavor, and incredibly versatile, they offer a healthy, meat-free, and gluten-free alternative that the entire family will embrace. Whether you’re a seasoned vegan, experimenting with plant-based meals, or simply looking for new ways to sneak in nutrient-rich chickpeas, this recipe is a must-try. Whip up a batch today, savor the deliciousness, and don’t forget to share your creations with us! Happy cooking!