
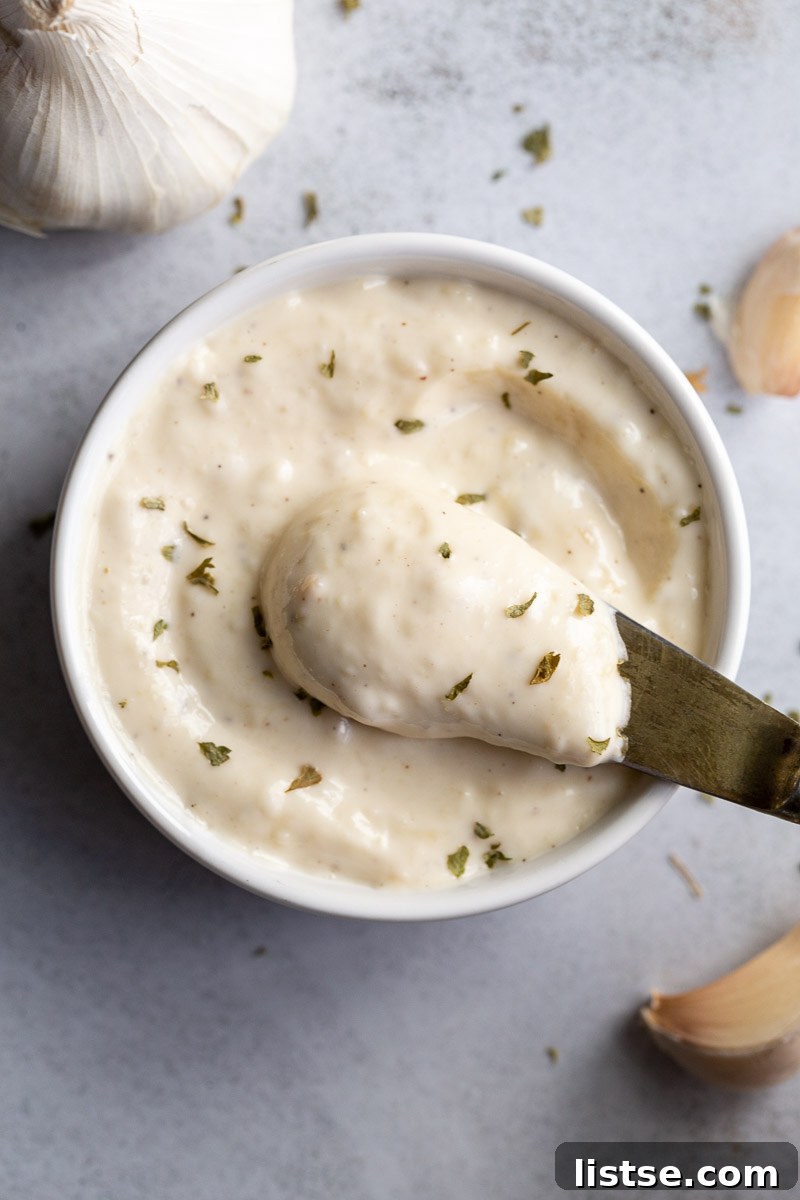
Roasted Garlic Aioli is a culinary masterpiece that transforms simple meals into gourmet experiences. This creamy, richly flavored, mayonnaise-based condiment is incredibly versatile, serving as an irresistible dipping sauce or a decadent spread. Its velvety texture and deeply savory taste elevate everything from delicate grilled fish and vibrant roasted vegetables to crispy French fries and hearty burgers. Forget plain mayonnaise; once you taste the magic of homemade roasted garlic aioli, there’s no turning back.
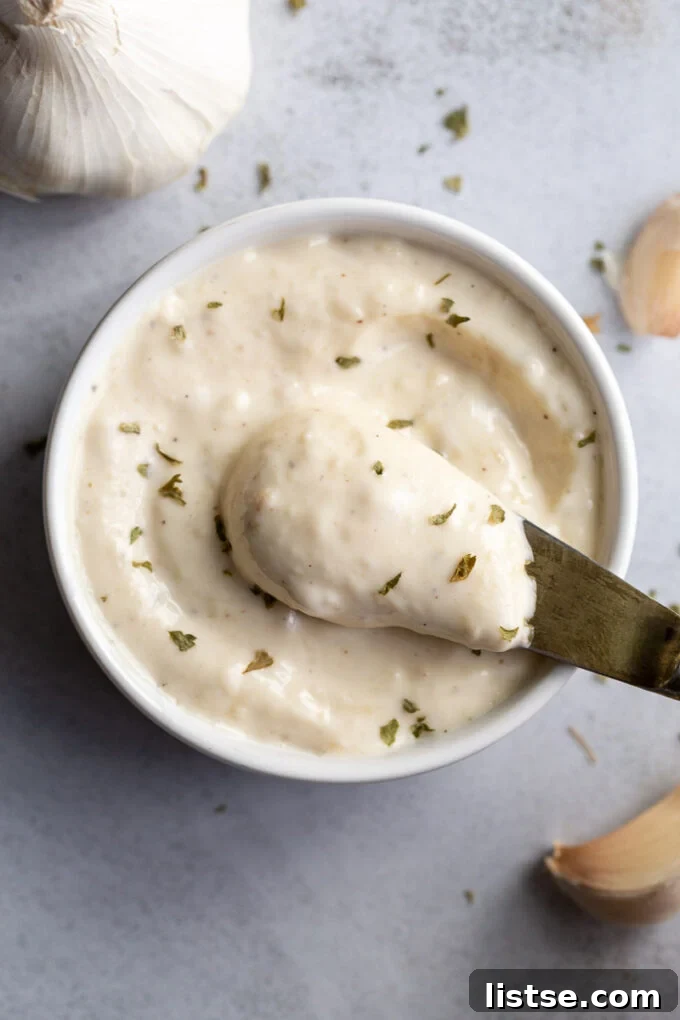
There’s a reason roasted garlic aioli becomes an instant obsession for anyone who tries it. Its complex yet approachable flavor profile makes it so addictive, you’ll find yourself reaching for it to enhance almost any dish. My family, for instance, adores this sauce not only as a superior alternative to everyday mayonnaise but also as a vibrant dip for everything from crispy fries to fresh garden vegetables. Believe me, this homemade delight truly goes above and beyond the humble jar of regular mayonnaise, offering a depth of flavor that’s both comforting and exciting.
What Exactly is Aioli? Unpacking the Creamy Delight
Traditionally, aioli is a Mediterranean sauce crafted by emulsifying raw garlic with olive oil, often seasoned with salt and a touch of lemon juice. The word “aioli” itself derives from “garlic and oil” in Catalan and Provençal. Authentic preparation involves slowly drizzling oil into mashed garlic while continuously whisking to create a stable emulsion, similar to how mayonnaise is made. This method can be quite a task, requiring patience and a steady hand to prevent the sauce from breaking.
To make this roasted garlic aioli recipe accessible and incredibly simple for home cooks, we’ve ingeniously bypassed the labor-intensive emulsification process. Our recipe uses a high-quality mayonnaise as the base, eliminating the need for raw eggs and the intricate oil-drizzling technique. This clever shortcut means you can achieve a wonderfully creamy, garlicky aioli with minimal effort. Once your garlic is beautifully roasted to perfection, all that’s left to do is stir all the ingredients together. The result is a lusciously smooth, deeply flavored aioli that rivals its traditional counterpart in taste, but not in complexity of preparation. After experiencing the rich, mellow flavor of this roasted garlic aioli, you might find yourself saying goodbye to plain mayonnaise for good, enchanted by its ease of preparation and superior taste.
The Magic of Roasted Garlic: Why It Matters
The cornerstone of this exceptional aioli is, of course, the roasted garlic. Roasting garlic transforms its pungent, sharp, and sometimes overwhelming raw flavor into something entirely different: sweet, nutty, and incredibly mellow. This process caramelizes the natural sugars within the garlic cloves, softening them to a butter-like consistency and mellowing their intensity.
Unlike raw garlic, which can sometimes overpower other ingredients, roasted garlic offers a sophisticated, nuanced flavor that enhances rather than dominates. It lends a subtle sweetness and a rich, earthy undertone to the aioli, creating a depth that is simply unattainable with raw garlic. Furthermore, many find roasted garlic to be easier on the digestive system than raw garlic, making this aioli a more palatable option for a wider audience. This simple step of roasting the garlic is what truly sets this aioli apart, infusing it with an unparalleled warmth and complexity that makes every bite memorable.
Essential Ingredients for Your Perfect Aioli
Crafting this irresistible roasted garlic aioli requires just a handful of straightforward ingredients, most of which you likely already have in your pantry. Each component plays a vital role in building the rich, balanced flavor profile that makes this condiment so extraordinary. Here’s a closer look at what you’ll need to create this versatile sauce:
- Garlic: This recipe demands a full head of garlic. Yes, a whole head! Don’t be intimidated; roasting transforms its potent bite into a sweet, mellow, and deeply aromatic essence that is the heart and soul of this aioli. Choosing a fresh, firm head of garlic will yield the best results.
- Olive Oil: You’ll use olive oil in two ways: a small amount to drizzle over the garlic before roasting, which helps in softening and caramelizing the cloves, and a bit more to achieve the perfect silky, saucy consistency when mixing the aioli. Extra virgin olive oil will lend a fruitier note, while a regular olive oil is perfectly fine for both steps.
- Mayonnaise: As the foundational base of our simplified aioli, the quality of your mayonnaise matters. Opt for your favorite brand, whether it’s a full-fat, low-fat, or even a high-quality vegan variety. Classic brands like Hellmann’s or Duke’s are excellent choices for their creamy texture and balanced flavor. However, it’s crucial to steer clear of “Miracle Whip” or similar salad dressings, as they contain different ingredients and a distinctly sweet flavor profile that won’t give you the true aioli experience.
- Fresh Lemon Juice: A squeeze of freshly squeezed lemon juice is indispensable. It brightens the rich, savory flavors of the aioli with a tangy zest, cutting through the richness and adding a refreshing lift. Fresh lemon juice offers a vibrancy that bottled juice simply cannot replicate.
- Black Pepper: A generous pinch of freshly ground black pepper adds a subtle kick and aromatic depth. Grinding your own pepper ensures maximum flavor and fragrance compared to pre-ground varieties.
- Worcestershire Sauce: This might seem like an unexpected addition, but Worcestershire sauce is a secret weapon. It delivers a profound umami (savory) flavor, adding complexity and depth that ties all the ingredients together beautifully. If you’re making a vegan version, ensure your Worcestershire sauce is plant-based, as some traditional varieties contain anchovies.
- Cayenne Pepper (Optional): For those who appreciate a little warmth and a subtle kick, a pinch of cayenne pepper is an excellent optional addition. It provides a gentle heat that complements the roasted garlic without overwhelming it. Adjust the amount to your preferred spice level.
Simple Steps to Your Homemade Roasted Garlic Aioli
Creating this delicious roasted garlic aioli is surprisingly straightforward, thanks to our simplified approach. Follow these easy steps to bring this creamy condiment to life in your kitchen.
- Prepare the Garlic for Roasting: Begin by preheating your oven to 400 degrees F (200 degrees C). Take your full head of garlic and carefully slice off about a quarter inch from the top, just enough to expose the tops of the individual cloves. This allows the heat to penetrate and the olive oil to infuse each clove. Place the garlic head onto a piece of aluminum foil large enough to wrap it completely. Drizzle 1 teaspoon of olive oil over the exposed garlic cloves. Wrap the foil securely around the garlic head, creating a sealed packet to trap moisture and flavor during roasting.
- Roast the Garlic to Perfection: Place the foil-wrapped garlic directly onto an oven rack or, for easier handling, set it on a small baking tray before placing it in the oven. Roast for approximately 55-65 minutes. The garlic is ready when the cloves are incredibly soft, appear slightly browned, and have a wonderfully sweet, fragrant aroma. Once roasted, carefully remove the garlic from the oven and let it cool completely to the touch. This cooling step is crucial as it makes the garlic much easier to handle and prevents it from cooking your mayonnaise base.
- Assemble the Aioli: Once the roasted garlic is cool enough to handle, gently squeeze the softened cloves out of their papery skins directly into a medium-sized mixing bowl. Discard the empty skins. Using a fork or a small spatula, thoroughly mash the roasted garlic until it forms a relatively smooth paste. You can also press it through a garlic press for an even finer consistency.
- Combine and Mix: Add the remaining ingredients to the bowl with the mashed roasted garlic: the remaining olive oil, ½ cup of mayonnaise, 1 teaspoon of fresh lemon juice, ¼ teaspoon of freshly ground black pepper, and ½ teaspoon of Worcestershire sauce. If desired, now is the time to add an optional pinch of cayenne pepper for a touch of heat.
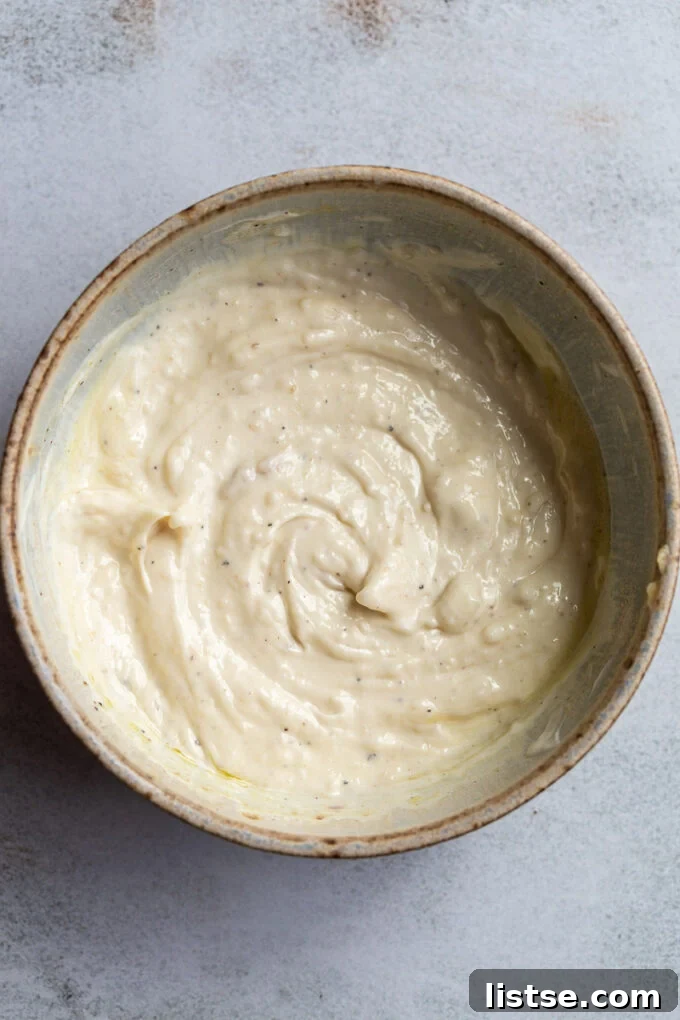
- Achieve Creamy Consistency: With a spoon or a whisk, mix all the ingredients together thoroughly. Stir until the aioli is creamy, well-combined, and most of the garlic chunks are no longer visible. For an exceptionally smooth aioli, you can transfer the mixture to a small food processor or use an immersion blender and pulse briefly until completely smooth. Taste and adjust seasonings as needed, adding more lemon juice for tang, pepper for spice, or a tiny pinch of salt if your mayonnaise is unsalted.
- Serve and Savor: Your homemade roasted garlic aioli is now ready to be enjoyed! Serve it immediately as a dip, a spread, or an accompaniment to your favorite dishes. It pairs beautifully with everything from classic crab cakes to a hearty veggie sandwich.
Creative Variations and Customizations for Your Aioli
One of the best aspects of this roasted garlic aioli recipe is how easily it can be customized to suit your personal taste or dietary preferences. Don’t hesitate to get creative with these delicious variations:
- Make it Vegan: To transform this already fantastic sauce into a plant-based delight, simply ensure you use a good quality vegan mayonnaise as your base. Additionally, double-check that your Worcestershire sauce is vegan, as many traditional versions contain anchovies. There are several excellent vegan Worcestershire sauce brands available, or you can opt for a splash of tamari or coconut aminos for a similar umami kick.
- Add a Spicy Kick: If you love a bit of heat, augmenting this recipe with additional spices is a breeze. Beyond the optional cayenne pepper, consider stirring in a pinch of smoked paprika for a smoky warmth, a dash of hot sauce like sriracha or tabasco, or even some finely minced fresh jalapeño or serrano pepper for a brighter, spicier note.
- Lighter Option: For those mindful of calories or fat intake, a lighter version of this aioli is easily achievable. Simply replace the regular mayonnaise with a light mayonnaise or even a fat-free variety. While the texture and taste might be slightly different due to varying fat content, if you are accustomed to lighter condiments, you’ll barely notice the difference, and the roasted garlic flavor will still shine through beautifully.
- Herbal Infusion: Elevate your aioli with fresh herbs. Finely chopped fresh parsley, chives, cilantro, dill, or a combination of your favorites can add a wonderful freshness and vibrant color. Stir them in just before serving for the best flavor and appearance.
- Mustard Zing: A teaspoon of Dijon mustard can add an extra layer of complexity and a subtle tangy depth, enhancing the overall flavor profile.
Endless Culinary Possibilities: How to Enjoy Your Aioli
The versatility of roasted garlic aioli is truly astounding. Once you have a batch on hand, you’ll discover countless ways to incorporate its rich, savory flavor into your meals. It’s so delicious and addictive, you might find yourself adding it to almost everything! Here are some of our favorite options for serving this incredible sauce:
- Elevated Sandwich or Burger Spread: Transform an ordinary sandwich, wrap, or burger into a gourmet creation. Spread a generous layer of aioli on your bread, bun, or tortilla for an instant flavor upgrade. It’s particularly fantastic on grilled chicken sandwiches, veggie burgers, or a classic BLT.
- Tangy Dipping Sauce: This aioli is a dream for dipping. Serve it alongside roasted vegetables like asparagus, broccoli, or Brussels sprouts, or with a platter of fresh crudités such as carrots, celery, and bell peppers. It’s also sensational with crispy chicken tenders, onion rings, or even crunchy breadsticks.
- The Ultimate Fry Sauce: Say goodbye to plain ketchup! Roasted garlic aioli is the perfect accompaniment for your favorite French fries, sweet potato fries, or even homemade potato wedges. Its creamy texture and bold flavor make every bite utterly satisfying.
- Perfect Pairing with Proteins: Whether you’re enjoying fish, chicken, or steak, a dollop of roasted garlic aioli can significantly enhance the dish. It’s particularly sublime with grilled salmon, baked cod, roasted chicken, or seared steak, adding a luxurious creaminess and depth of flavor.
- Creative Culinary Uses: Don’t limit yourself to dips and spreads! Try swirling a spoonful into mashed potatoes for an extra garlicky punch, adding it to deviled eggs for a richer flavor, or even spreading a thin layer on pizza crust before adding toppings for a savory base.
Storage Best Practices for Freshness
Proper storage is key to enjoying your homemade roasted garlic aioli at its best. Store any leftovers in an airtight container in the refrigerator. When stored correctly, your aioli will remain fresh and flavorful for up to one week. The flavors often deepen and meld beautifully after a day or two in the fridge, making it an excellent condiment to prepare ahead of time. However, I do not recommend freezing roasted garlic aioli. The mayonnaise base tends to separate and lose its creamy texture upon thawing, resulting in an undesirable consistency. For the best experience, enjoy it fresh within its recommended refrigerated shelf life.
Frequently Asked Questions About Roasted Garlic Aioli
-
Can I use a food processor for a smoother aioli?
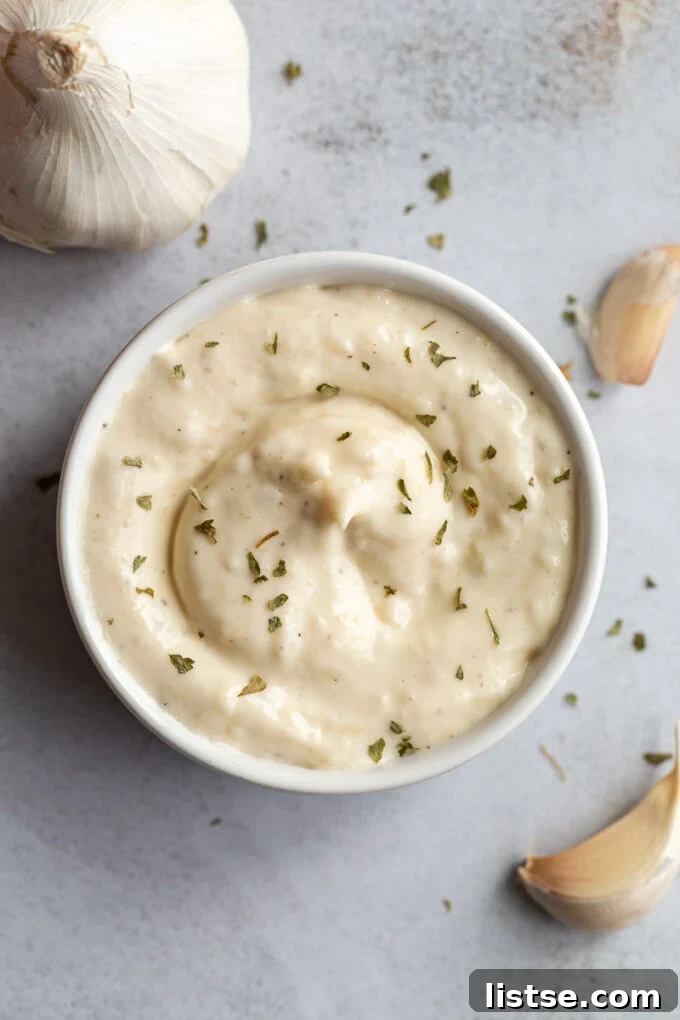
Absolutely! While mashing with a fork creates a lovely rustic texture, for an exceptionally smooth and velvety aioli, you can combine all the ingredients in a small food processor or use an immersion blender. Pulse until completely smooth, scraping down the sides as needed. -
How long does roasted garlic last?
Roasted garlic cloves, if stored properly in an airtight container in the refrigerator, can last for about 5-7 days on their own. When incorporated into the aioli, the aioli itself should be consumed within one week. -
What can I substitute for Worcestershire sauce if I don’t have it?
If you don’t have Worcestershire sauce, or need a vegan alternative, you can try a small dash of soy sauce or tamari for an umami boost. A tiny bit of balsamic vinegar can also add a subtle depth, though the flavor profile will be slightly different. -
My aioli is too thick/thin. How can I fix it?
If your aioli is too thick, gradually stir in a teaspoon of water, milk (dairy or non-dairy), or more olive oil until you reach your desired consistency. If it’s too thin, you can try chilling it in the refrigerator for a bit, as it often thickens slightly when cold. If it’s significantly too thin, you might need to add a bit more mayonnaise. -
Can I use raw garlic instead of roasted garlic?
You can, but it will result in a very different aioli. Raw garlic aioli is much more pungent, sharp, and spicy. The roasting process sweetens and mellows the garlic, giving this aioli its signature smooth and rich flavor. For the best “Roasted Garlic Aioli,” roasting is key.
Explore More Delicious Sauce Recipes:
- Vegan Tartar Sauce
- Vegan Nacho Cheese Sauce
- Simple Pomodoro Sauce
- Peanut Sauce
- White Wine Pasta Sauce
I genuinely hope you take the opportunity to make this incredible roasted garlic aioli. It’s a game-changer for so many dishes and truly a joy to prepare. If you do end up making this sauce (or any of my other recipes!), please let me know! I absolutely love seeing your culinary creations. Don’t forget to tag me on Instagram @foodwithfeeling – your kitchen adventures inspire me!