
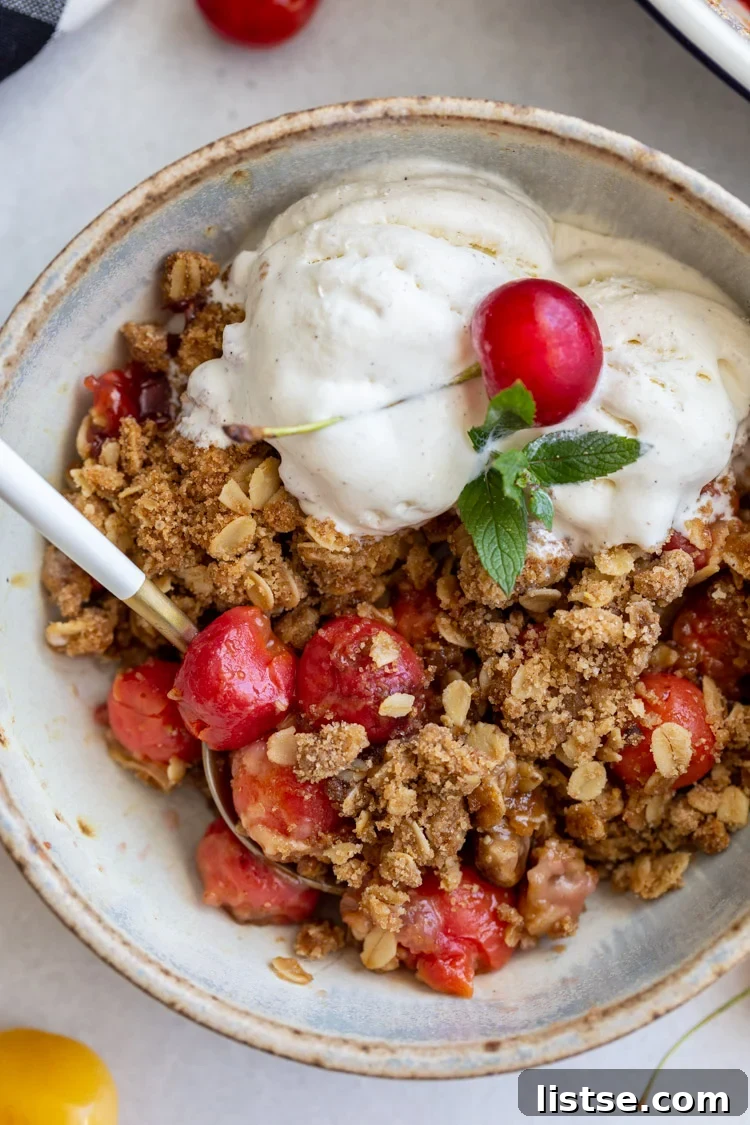
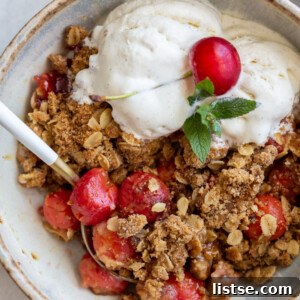
Welcome to the ultimate guide for creating the most delectable and easy Cherry Crisp – a truly timeless and comforting summer dessert. This old-fashioned recipe perfectly balances sweet and tart flavors, crowned with a gloriously buttery and crisp crumble topping made from rolled oats and rich brown sugar. Imagine serving it warm, fresh from the oven, with a generous scoop of melting vanilla ice cream – pure bliss!
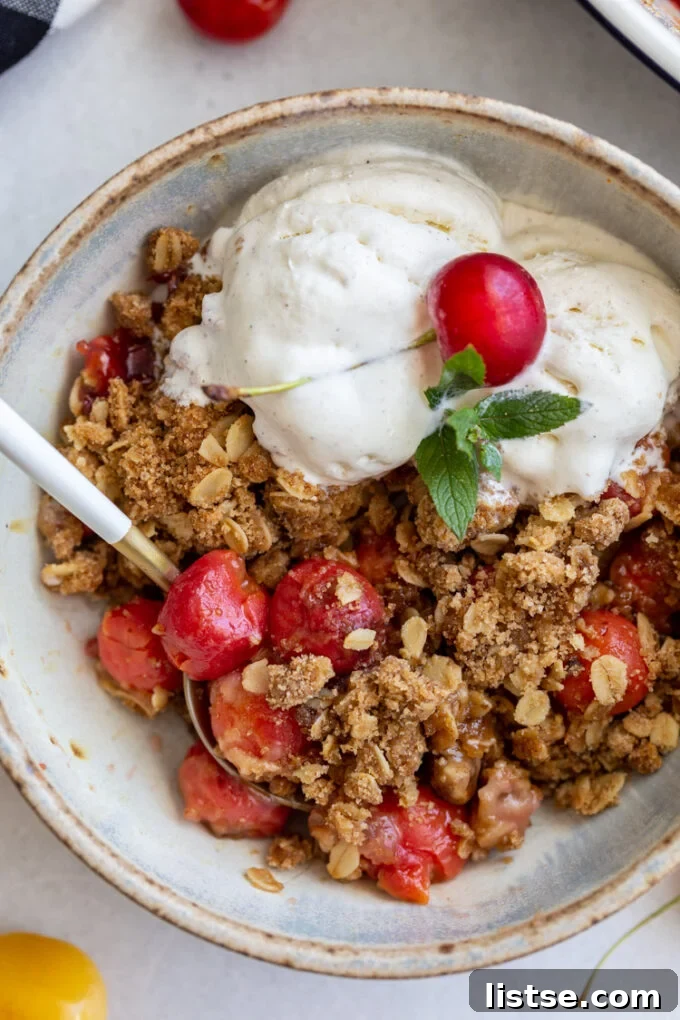
As cherry season graces us with its vibrant bounty, many of us seek the perfect way to utilize these juicy, delicious summer fruits. Look no further! This simple homemade cherry crisp recipe is an absolute must-try, guaranteed to become a family favorite and a staple in your summer baking repertoire.
If you’re already a devotee of traditional apple crisp, prepare to fall in love with its summery cousin. This version features a luscious filling bursting with juicy tart cherries, complemented by an irresistible, golden-brown sugar and oatmeal crumble topping. The harmony of sweet and tart notes creates an unforgettable flavor experience that epitomizes summer indulgence.
Fruit crisps hold a special place in my heart as one of my all-time favorite desserts. Not only are they incredibly delicious and satisfying, but they are also wonderfully forgiving and fuss-free to prepare. There’s no need for precise decoration or intricate presentation; this dessert consistently emerges from the oven bubbling with fruit juices, golden-brown, and beautifully rustic. And when you crown it with a dollop of creamy vanilla ice cream, it transforms into an impressive centerpiece that will undoubtedly captivate your guests.
What Exactly is a Fruit Crisp? Unpacking Dessert Distinctions
Fruit crisps are often confused with their close relatives: cobblers and crumbles. While all three are delightful fruit-based baked desserts often served warm, they each boast unique topping characteristics that set them apart. Think of them all as cousins to a traditional fruit pie, but with distinctly different “crusts” on top.
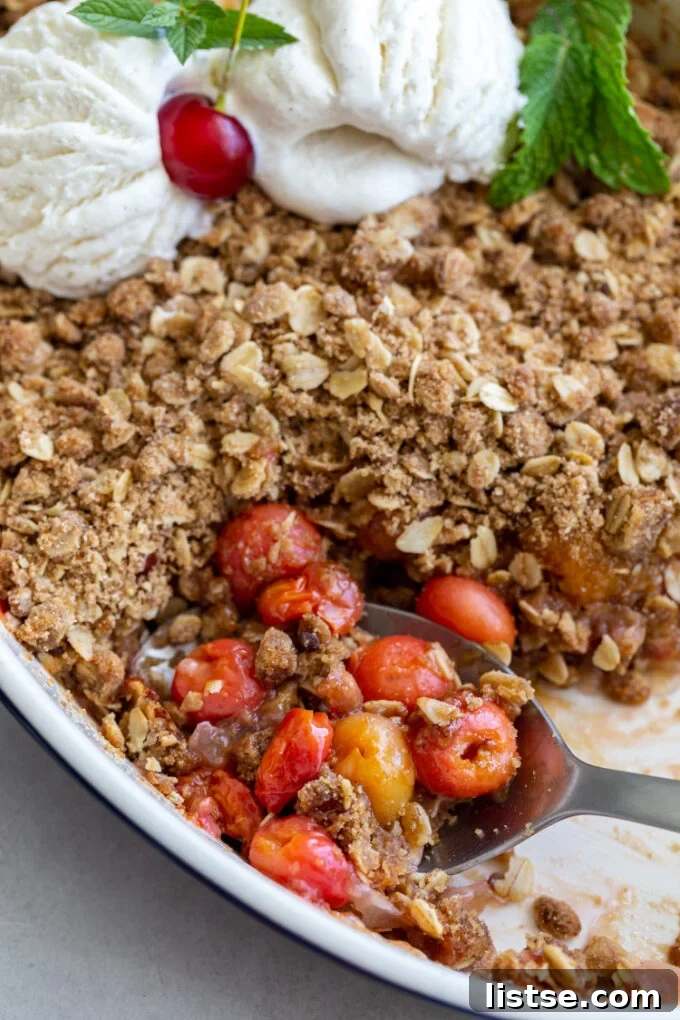
- Crisp Topping: The defining feature of a fruit crisp is its streusel-like topping, which typically includes rolled oats and sometimes chopped nuts. When baked, the oats crisp up, creating a wonderfully crunchy, textured contrast to the soft, warm fruit filling. This is the essence of what makes a “crisp” truly live up to its name.
- Crumble Topping: A crumble, while similar to a crisp, usually features a topping made primarily from flour, butter, and sugar (often brown sugar). Unlike a crisp, a crumble topping bakes up softer and more cake-like, without the distinct crunch provided by oats. The texture is more uniform and crumbly, hence the name.
- Cobbler Topping: Cobblers stand out with a sweet biscuit or cake-like topping that is dropped over the fruit filling in dollops, creating a “cobbled” or irregular appearance. These toppings can range from light and fluffy to dense and scone-like, offering a different textural experience than crisps or crumbles.
Mastering the Easy Cherry Crisp Recipe
Crafting this perfect cherry crisp is surprisingly straightforward, involving just two main components: the vibrant cherry filling and the irresistible crisp oat topping. You’ll find a full list of ingredients and precise measurements in the recipe card at the end of this article, but let’s break down the magic that happens with each part.
- The Juicy Cherry Filling: The heart of this dessert is a simple yet profoundly flavorful cherry mixture. Freshly pitted cherries are gently tossed with maple syrup for natural sweetness, a splash of lemon juice to enhance their tartness and brightness, cornstarch to create a perfectly thick and luscious sauce, and finally, vanilla and almond extract for a depth of aromatic flavor that beautifully complements the cherries. This combination ensures a juicy, vibrant, and utterly delicious fruit base.
- The Golden Oat Topping: Elevating the humble cherry filling to dessert stardom is our signature oat crumble. This topping is a harmonious blend of rolled oats, flour (oat flour for extra depth, or all-purpose for convenience), brown sugar for a rich, caramel-like sweetness, melted butter to bind everything and ensure that golden-brown finish, a pinch of salt to balance the flavors, and a hint of cinnamon for warm spice. As these ingredients bake over the bubbling cherries, they transform into a magical, crisp, and buttery layer that truly makes this dessert shine.
Step-by-Step Guide: How to Make Cherry Crisp
Preparing this homemade cherry crisp is an incredibly rewarding process, and surprisingly quick! Follow these simple steps for a perfect outcome every time.
- Prepare Your Baking Dish and Oven: Begin by preheating your oven to 350 degrees F (175 degrees C). Lightly grease a 2-quart baking dish to prevent sticking and ensure easy serving.
- Craft the Cherry Filling: In a large mixing bowl, combine your pitted cherries with the maple syrup, fresh lemon juice, cornstarch, vanilla extract, and almond extract. Toss these ingredients gently but thoroughly until the cherries are evenly coated. The cornstarch will act as a thickener, ensuring your cherry sauce isn’t too runny. Once mixed, pour the entire cherry mixture, including all the delightful juices, into your prepared baking dish. Spread it evenly to create a uniform layer.
- Assemble the Oat Topping: In a separate medium-sized mixing bowl, whisk together the dry ingredients for your crumble topping: rolled oats, flour (oat or all-purpose), packed brown sugar, salt, and ground cinnamon. Once combined, pour in the melted butter and mix with your hands or a fork until coarse crumbles form and all dry ingredients are moistened. Evenly sprinkle this buttery oat topping over the cherry mixture in the baking dish, ensuring the fruit is mostly covered.
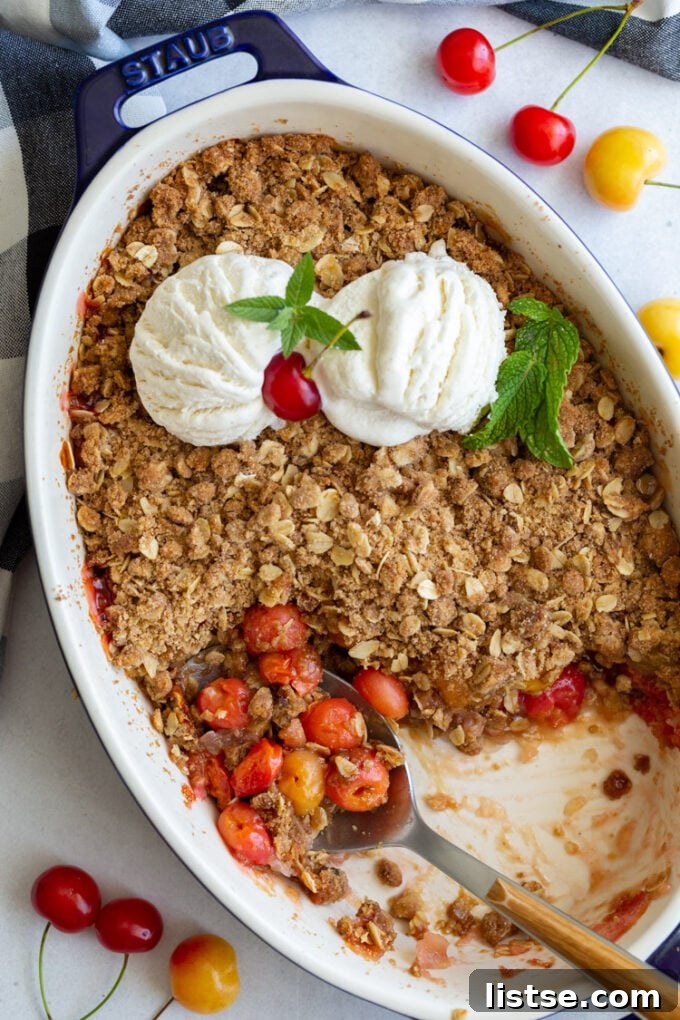
- Bake to Golden Perfection: Carefully place your cherry crisp in the preheated oven. Bake for approximately 30-35 minutes. You’ll know it’s ready when the cherry filling is visibly bubbling around the edges, the cherries themselves are tender, and the oat crumble topping has turned a beautiful golden brown and is wonderfully crisp.
- Cool Slightly and Serve: Allow the crisp to cool for about 10-15 minutes after removing it from the oven. This brief cooling period allows the fruit juices to settle and thicken slightly, making for a cleaner, more enjoyable serving experience. Serve warm, and as highly recommended, pair it with a generous scoop of creamy vanilla ice cream for an unparalleled dessert experience. Enjoy every single bite!
How to Serve Your Delicious Cherry Crisp
While this easy cherry crisp is absolutely divine on its own, especially when still warm, its true potential is unleashed with the right accompaniments. The classic pairing, of course, is a generous scoop of rich, creamy vanilla ice cream. The cold, melting ice cream against the warm, sweet-tart fruit and crunchy topping creates a symphony of flavors and textures that is simply irresistible.
But don’t stop there! Consider other delightful additions: a cloud of freshly whipped cream, a drizzle of warm custard, or even a dollop of Greek yogurt for a slightly tangier counterpoint. For a unique brunch treat, I’ve even used warm cherry crisp as a topping for my fluffy vegan waffles. The combination was every bit as incredible as you might imagine, adding a gourmet touch to a breakfast staple. This versatile dessert is perfect for summer gatherings, cozy family dinners, or simply a sweet treat to brighten any day.
Fruit Variations and Customizations for Your Crisp
While fresh cherries create a truly spectacular fruit crisp, the beauty of this dessert lies in its adaptability. Don’t feel limited to just cherries! You can easily substitute or combine other fruits to create your own unique crisp masterpiece. Simply use equal parts of your favorite fruits. Here are some fantastic ideas to inspire you:
- Berries Galore: Sliced strawberries, blueberries, blackberries, or raspberries all make excellent crisp fillings, either on their own or mixed together for a vibrant berry medley.
- Stone Fruits: Beyond cherries, consider ripe plums, nectarines, peaches, or apricots. Their juicy sweetness pairs wonderfully with the oat crumble.
- Apple or Pear: For a more traditional crisp, sliced apples (like Granny Smith for tartness or Honeycrisp for sweetness) or pears are always a hit, especially with a hint of cinnamon or nutmeg in the filling.
- Rhubarb: A classic pairing, rhubarb’s tartness is beautifully balanced when combined with strawberries or raspberries in a crisp.
Beyond the fruit, feel free to customize the topping too! Adding about ½ cup of chopped nuts – pecans, almonds, or walnuts – to the crumble topping provides an extra layer of crunch and rich flavor. You can also experiment with different spices like a pinch of nutmeg or cardamom to complement your chosen fruit. For a richer, more complex flavor in the filling, a tiny splash of brandy or kirsch (cherry liqueur) can be a delightful addition, especially when using tart cherries.
Storage and Freezer Options for Your Cherry Crisp
One of the many advantages of this homemade cherry crisp is how well it stores, allowing you to enjoy its deliciousness for days to come or even prepare it in advance. Here’s how to best store and freeze your fruit crisp:
Storing Leftover Fruit Crisp
Because the crumble topping contains melted butter, it’s best to refrigerate any leftover cherry crisp to maintain its freshness and quality. While it will keep well at room temperature for a day, refrigerating it will extend its deliciousness for 3-4 days. To reheat individual servings, simply microwave them for about 30-45 seconds until warmed through. If you wish to reheat the entire dish, place it (uncovered) in a preheated 350 degrees F (175 degrees C) oven for 10-15 minutes, or until it’s heated through and the topping is crisp again.
Freezer Options for Long-Term Enjoyment
Cherry crisp is an excellent candidate for freezing, whether baked or unbaked. When properly stored, frozen cherry crisp will last beautifully for 3 to 4 months. This makes it perfect for meal prepping or having a comforting dessert on hand for unexpected guests.
- Freezing Unbaked Crisp: If you’re looking to prepare ahead, assemble the crisp directly in a freezer-safe and ovenproof baking pan. Once assembled, wrap the pan securely first with plastic wrap, then with aluminum foil. This double layer of protection helps prevent freezer burn and keeps excess moisture out. Label clearly with the date.
- Freezing Baked Crisp: Allow your baked cherry crisp to cool completely to room temperature before freezing. This prevents ice crystals from forming. Once cooled, wrap it tightly in freezer-safe packaging, such as plastic wrap followed by aluminum foil, or place it in an airtight freezer container.
- Thawing Instructions: To enjoy your frozen crisp, whether baked or unbaked, transfer it to the refrigerator and allow it to thaw overnight. Once thawed, an unbaked crisp can be baked according to the original recipe instructions. A previously baked crisp can be reheated in a 350 degrees F (175 degrees C) oven for approximately 20-30 minutes, or until thoroughly warmed and the topping is crisp again.
Making Cherry Crisp Ahead of Time
For convenience, you can prepare the cherry filling and the crisp topping separately up to one day in advance. Store each component in airtight containers in the refrigerator. When you’re ready to bake, simply spread the cherry filling in your dish, sprinkle the crumble topping over it, and bake as directed in the recipe. This method is ideal for entertaining or busy days, allowing you to quickly assemble and bake a fresh dessert with minimal effort.
Tips for the Best Cherry Crisp Every Time
Achieving a perfectly balanced and texturally delightful cherry crisp is easy with a few simple considerations:
- Choose Your Cherries Wisely: While any cherries will work, tart cherries (like Montmorency) offer the most classic crisp flavor, balancing the sweetness of the topping beautifully. They are very seasonal, typically available for only a few weeks in summer. Tart cherries aren’t ideal for snacking but are perfect for baking. If using sweet cherries (like Bing), you might want to slightly reduce the maple syrup in the filling to prevent it from becoming overly sweet. If using frozen cherries, thaw them first and drain any excess liquid before mixing with other filling ingredients to avoid a watery crisp.
- Don’t Overmix the Topping: When preparing the crumble, mix until the ingredients are just combined and form coarse crumbles. Overmixing can develop the gluten in the flour, leading to a tougher rather than crispier topping.
- Ensure a Bubbly Filling: Always look for the fruit filling to be bubbling around the edges of the dish. This indicates that the cornstarch has properly activated and thickened the juices, and the fruit is tender. If the topping browns too quickly, you can loosely tent the dish with foil for the last few minutes of baking.
- The Power of Almond Extract: Don’t skip the almond extract! It might seem like a small amount, but almond extract has a magical way of enhancing the natural flavor of cherries, bringing out a deeper, more complex fruitiness.
- Pitting Cherries: Invest in a cherry pitter if you plan to make cherry desserts frequently. It’s a game-changer and makes the process much quicker and cleaner. Otherwise, a chopstick or a pastry tip can work in a pinch.
As always, I’d love to hear from you if you try out this amazing homemade cherry crisp recipe! Please feel free to leave a comment below with your thoughts, or even better, snap a photo and tag me on Instagram @foodwithfeeling! I always enjoy seeing the wonderful creations you make from the blog!
More Delightful Summer Desserts to Explore:
- Kiwi Watermelon Popsicles
- Strawberry Milkshake
- Strawberry Brownies
- Cherry Crumble Pie
- Chocolate Cherry Coffee Cake
Cherry Crisp Recipe
By Brita Britnell
Prep Time: 10 mins | Cook Time: 30 mins | Total Time: 40 mins
Pin Recipe | Print Recipe
Ingredients
For the Cherry Filling:
- 2 ½ pounds of cherries, pitted (about 5 cups measured)
- ¼ cup of maple syrup
- 2 tablespoons of lemon juice
- 1 tablespoon of cornstarch
- 1 teaspoon of vanilla extract
- ¼ teaspoon of almond extract
For the Crumble Topping:
- 1 cup of rolled oats
- ¾ cup of oat flour (can substitute with all-purpose flour if desired)
- 1 cup of brown sugar, loosely packed
- ⅓ cup of vegan butter, melted
- ½ teaspoon of salt
- ½ teaspoon of cinnamon
Instructions
- Preheat the oven to 350 degrees F (175 degrees C). Lightly grease a 2-quart baking dish.
- In a large bowl, toss together the pitted cherries along with the maple syrup, lemon juice, cornstarch, vanilla extract, and almond extract. Pour the cherry mixture and all its juices into your prepared baking dish, spreading evenly.
- In another bowl, mix together the crumble topping ingredients: rolled oats, flour, brown sugar, melted butter, salt, and cinnamon. Stir until well combined and a coarse crumble forms. Sprinkle the topping evenly over the cherries in the baking dish.
- Bake for 30-35 minutes, or until the cherries are tender and bubbling, and the crumble topping is lightly browned and crispy.
- Let the crisp cool slightly before serving. It is best enjoyed warm, preferably with a scoop of vanilla ice cream! Enjoy!
Notes
I used tart cherries for this recipe, but any type of cherry will work. Tart cherries are very seasonal and typically only available for a few weeks each year. While not ideal for snacking, their intense flavor makes them perfect for baked goods like crisps and pies.
Tried this recipe? Mention @foodwithfeeling or tag #foodwithfeeling!