Indulge in Nostalgia: The Ultimate Guide to Easy Homemade Strawberry Pop Tarts
Long weekends often inspire culinary adventures, and for me, that frequently means diving headfirst into the delightful world of breakfast foods. There’s something uniquely satisfying about starting the day with a homemade treat, especially when it evokes a sense of childhood nostalgia. This time, my inspiration came from a rather unexpected place: my husband’s car, which recently revealed an astonishing collection of store-bought Pop Tart wrappers. It was a clear sign that a homemade intervention was needed!
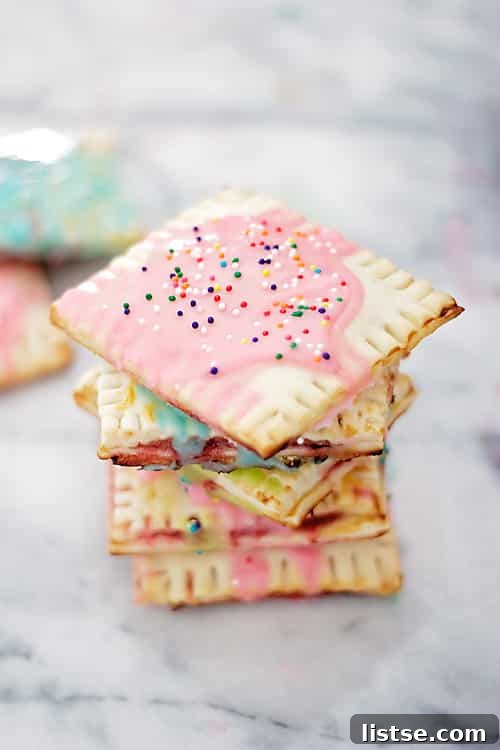
Why Go Homemade? The Unbeatable Taste and Freshness
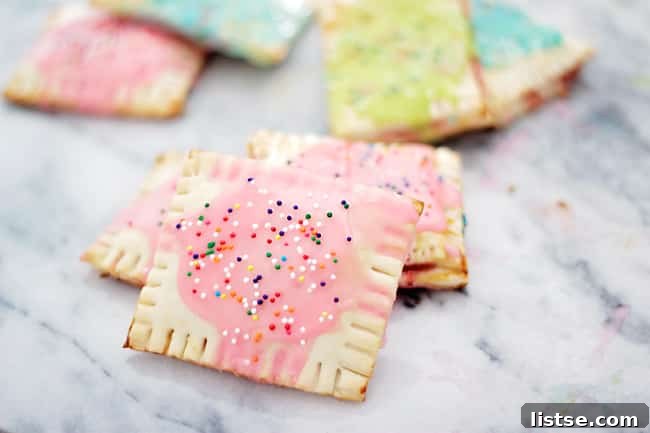
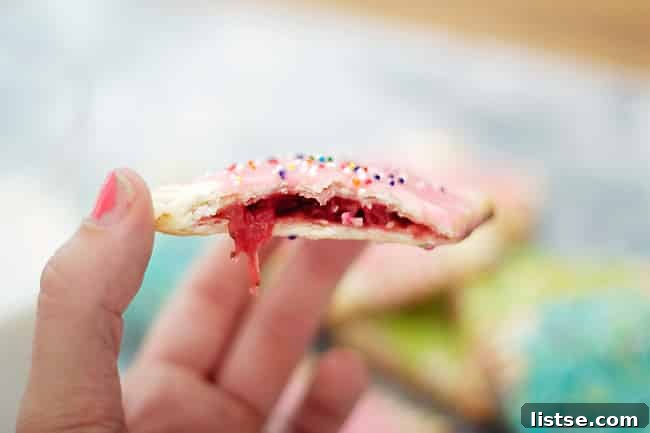
For years, Pop Tarts have been a quick, convenient breakfast option for many, including my husband. But while they satisfy a craving in a pinch, they often fall short in terms of fresh flavor and flaky texture. That’s where homemade Pop Tarts shine. Crafting them at home allows you to control every ingredient, ensuring a superior taste that store-bought versions simply cannot match. Imagine a golden, buttery crust encasing a vibrant, fruit-packed filling, all topped with a sweet, perfectly set glaze. It’s a world away from the often dry pastry and artificially flavored fillings found in packets.
Beyond the taste, there’s the sheer joy of the baking process. It’s a therapeutic activity that fills your home with incredible aromas and results in a truly personalized treat. Plus, it’s a wonderful way to reduce waste – no more endless foil wrappers piling up! Making these pastries yourself means you can adjust the sweetness, experiment with different fillings, and even add a personal touch with sprinkles or a unique glaze. It transforms a simple breakfast item into a delightful culinary experience.
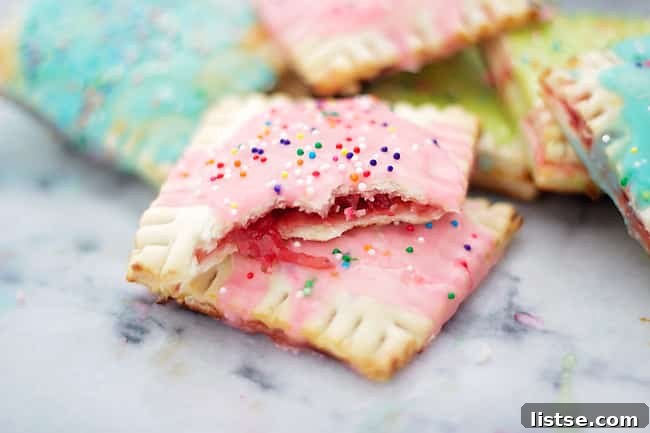
The Smart Shortcut: Embracing Store-Bought Pie Crusts
While I often enjoy the process of making things entirely from scratch, sometimes a little shortcut can make all the difference, especially on a busy morning or when you’re looking for an easy baking project. For these homemade Pop Tarts, I opted for store-bought pie crusts, and believe me, it’s a game-changer! Don’t let anyone tell you that using pre-made dough compromises flavor; these Pop Tarts are still incredibly delicious and, arguably more importantly, incredibly easy to prepare.
Using pre-made pie crusts cuts down significantly on prep time and effort. There’s no need to measure flour, cut in butter, or worry about chilling the dough. You simply unroll, cut, and assemble. This convenience makes homemade Pop Tarts accessible to even the most novice bakers. If you’re feeling ambitious and prefer to make your own pastry dough from scratch, go for it! For those seeking a truly exceptional homemade crust, I highly recommend checking out Joy the Baker’s pastry dough recipe. But for a quick, satisfying, and utterly delicious result, store-bought is perfectly acceptable and highly recommended.
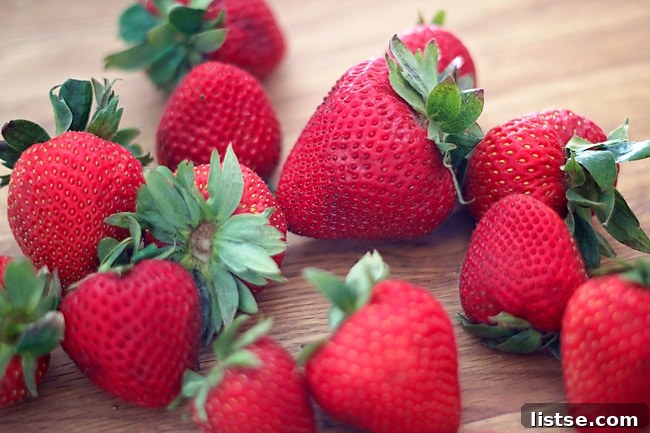
Seasonal Delights: Crafting the Perfect Strawberry Filling
When it comes to fillings, fresh, ripe fruit is always the best choice. Here in Tennessee, strawberries are bursting with flavor right now, practically being given away at local markets. Naturally, these sweet, juicy berries became my star ingredient for these pastries. Their bright, slightly tart flavor perfectly complements the rich, flaky crust and sweet glaze. Of course, you can easily substitute other berries or fruits based on your preference or what’s in season.
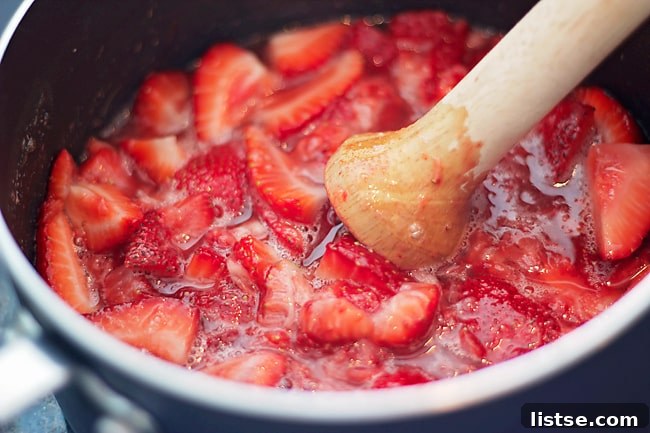
Creating the strawberry filling is a simple process that yields incredible results. We begin by cutting our fresh strawberries into quarters to help them break down evenly. These are then combined in a pot with a touch of sugar and honey. The sugar enhances the natural sweetness of the berries, while the honey adds a lovely depth of flavor and helps create a jam-like consistency. After a good mashing to release their juices, the mixture simmers gently for about 45 minutes, requiring frequent stirring to prevent sticking and ensure a thick, luscious filling. This slow simmer allows the flavors to meld beautifully, creating a rich, intensely strawberry-flavored jam that forms the heart of our Pop Tarts.
Step-by-Step Guide to Crafting Your Delicious Homemade Pop Tarts
Preparing the Dough and Filling
While your strawberry filling is simmering away, it’s time to prepare your pie dough. As mentioned, if you’re using store-bought crusts, this step is wonderfully straightforward: simply open the box and unroll them onto a lightly floured surface. If you’re opting for homemade dough, ensure it’s rolled out to a consistent thickness, about 1/8 inch. Next, using a knife or a pastry wheel, cut the dough into even rectangles. Don’t stress too much about perfect uniformity; you can always trim them slightly later for a neater finish. Remember, you’ll need two rectangles for each Pop Tart, one for the base and one for the top.
Assembling the Pastries
Once your dough rectangles are ready, take a whisked egg and lightly brush it around the edges of half of your pastry rectangles. This egg wash acts as a crucial adhesive, helping to seal the two layers of dough together and prevent any delicious filling from escaping during baking. When your strawberry filling has thickened and cooled slightly, generously spoon about 1 tablespoon onto the center of each pastry rectangle that you just brushed with egg wash. Don’t be shy with the filling, but leave a small border around the edges for sealing. A little spillage is okay; it just means more flavor!
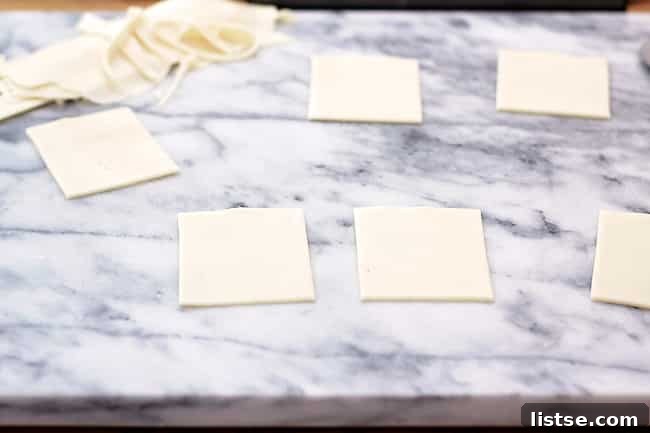
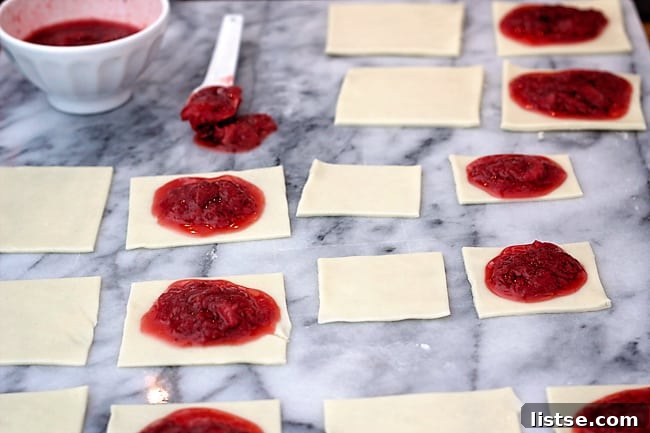
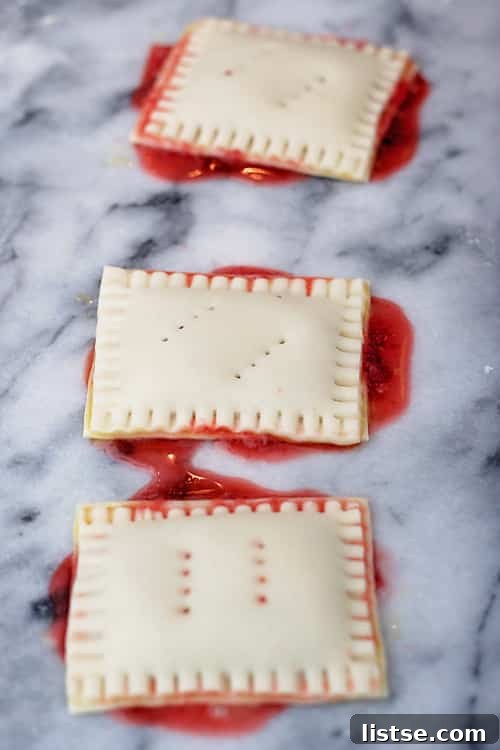
Now for the magic! Carefully place the remaining un-filled pastry rectangles on top of the filled ones, ensuring the egg-brushed sides are facing down towards the filling. Gently align the edges. To create a secure seal, use the tines of a fork to press firmly around the entire perimeter of each Pop Tart. This not only seals the edges but also creates that classic crimped Pop Tart look. Finally, poke a few small holes in the top of each pastry with your fork. These vents are essential for allowing steam to escape during baking, preventing the Pop Tarts from puffing up excessively and ensuring a perfectly flaky crust.
Baking to Golden Perfection and Glazing
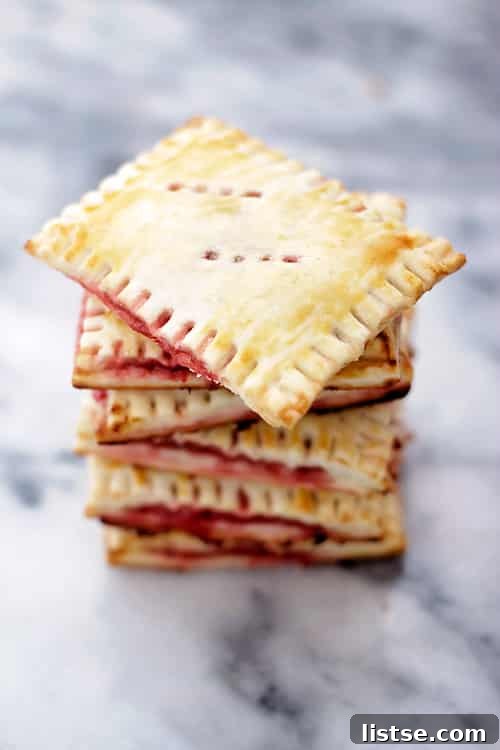
Once assembled, carefully transfer your homemade Pop Tarts to a baking sheet lined with parchment paper. This prevents sticking and makes cleanup a breeze. Bake them in a preheated oven at 425°F (220°C) for 10-15 minutes, or until they are beautifully golden brown and the crust looks flaky. Baking time may vary slightly depending on the exact size and thickness of your pastries, so keep an eye on them. Once baked, remove them from the oven and let them cool completely on a wire rack while you prepare the simple, yet essential, glaze.
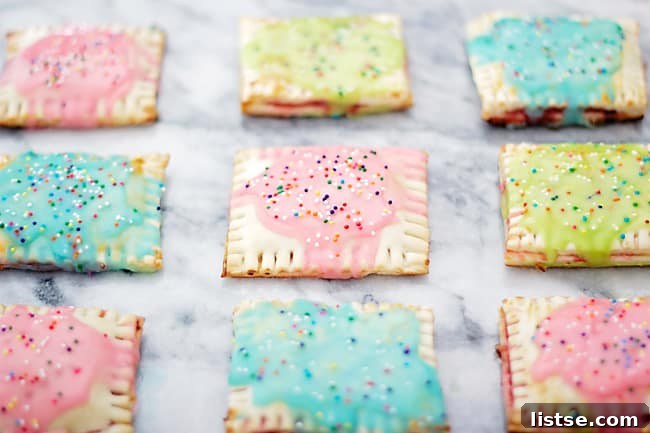
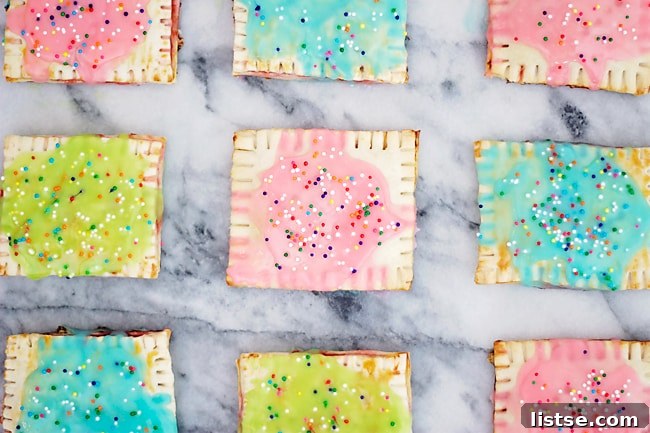
The glaze is just as straightforward as our pie crust shortcut. In a medium bowl, combine 1 cup of confectioners’ sugar. Gradually add milk, a little at a time, stirring continuously until the sugar is thoroughly dissolved and the glaze reaches a thick, pourable consistency. The key is to add milk slowly to achieve the desired thickness; too much too soon will result in a runny glaze. If you desire a pop of color, a tiny drop of food coloring can be mixed in at this stage, though the natural white glaze is equally charming.
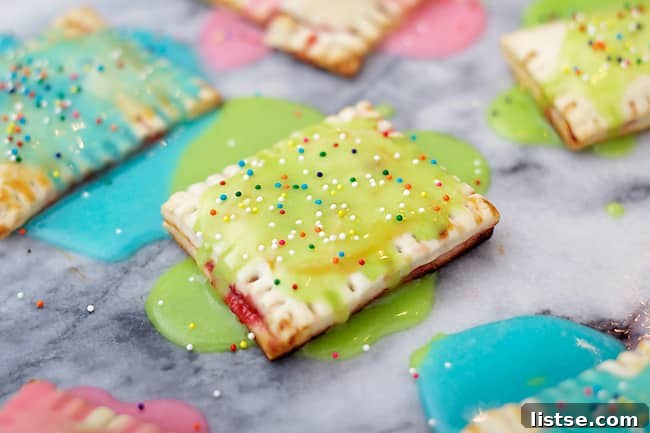
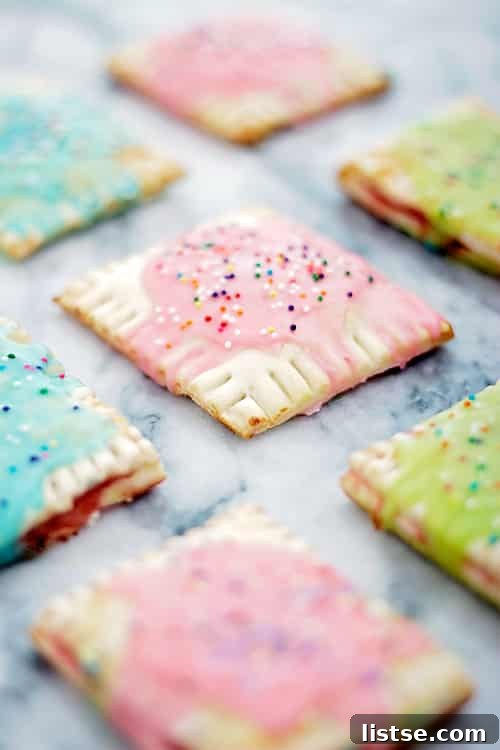
For the perfect finish, drizzle a thin layer of icing onto the top of each cooled Pop Tart. Patience is key here; allow this first layer to set for a few minutes until it’s slightly dry. This initial thin layer acts as a base, preventing subsequent layers from simply sliding off the sides (a mistake I may have learned from personal experience!). Once the first layer has firmed up, add another layer of glaze until you’re happy with its thickness and coverage. Before the final layer fully sets, don’t forget the ultimate fun touch: a generous sprinkle of your favorite sprinkles! This adds a festive touch and a bit of extra sweetness.
Tips for Perfect Pop Tarts and Creative Variations
To ensure your homemade Pop Tarts are consistently delightful, here are a few extra tips:
- Don’t Overfill: While it’s tempting to load up on filling, too much can cause the pastries to burst during baking. A tablespoon is usually just right for standard-sized Pop Tarts.
- Chilling the Dough: If your store-bought pie crusts become too warm and difficult to handle, pop them back into the refrigerator for 10-15 minutes to firm up. This will make cutting and sealing much easier.
- Even Baking: Ensure your oven is fully preheated before baking. If your oven tends to have hot spots, rotate the baking sheet halfway through the baking time for even browning.
- Cool Completely Before Glazing: Applying glaze to warm Pop Tarts will cause it to melt and run off, resulting in a messy and uneven finish. Patience is a virtue here!
These homemade strawberry Pop Tarts are fantastic as is, but don’t hesitate to get creative with variations:
- Other Fruit Fillings: Substitute strawberries with blueberries, raspberries, cherries, or even finely diced apples mixed with cinnamon for a classic fall flavor. Adjust sugar content based on the sweetness of the fruit.
- Chocolate Delights: For chocolate lovers, a Nutella filling or a simple chocolate ganache (melted chocolate with a touch of cream) would be divine.
- Savory Options: While Pop Tarts are traditionally sweet, you could venture into savory territory with fillings like cheese and ham, or a spinach and feta mixture for a more adult-friendly breakfast or snack.
- Different Glazes: Experiment with lemon zest in your glaze for a citrusy kick, or add a hint of almond extract for a different flavor profile. A chocolate drizzle instead of a classic glaze is also an option.
- Storage: Store your homemade Pop Tarts in an airtight container at room temperature for up to 3 days, or in the refrigerator for up to a week. They can also be frozen for longer storage (up to 1 month) and reheated in a toaster or oven.
Homemade Strawberry Pop Tarts Recipe
Description
These homemade strawberry Pop Tarts are easy to make, incredibly delicious, and far superior to anything you’ll find in a store-bought box. Perfect for a special breakfast or a delightful snack!
Ingredients
- 1 box of 2 pie crusts (store-bought or homemade)
- 2 cups of fresh strawberries, cut into quarters
- ½ cup granulated sugar
- 2 ½ tablespoons honey
- 1 large egg, beaten (for egg wash)
- 1 cup confectioners’ sugar
- Milk (as needed for glaze)
- Sprinkles (optional, for topping)
Instructions
- Preheat your oven to 425°F (220°C). Line a baking sheet with parchment paper.
- Prepare the Strawberry Filling: In a medium saucepan, combine the quartered strawberries, ½ cup granulated sugar, and honey. Mash the berries gently with a fork or potato masher to release their juices.
- Bring the mixture to a simmer over medium heat, then reduce heat to low and continue to simmer for about 45 minutes, stirring often, until the mixture thickens into a jam-like consistency. Remove from heat and let cool slightly.
- Prepare the Dough: Unroll the pie crusts onto a lightly floured surface. Using a knife or pastry wheel, cut each crust into 6 even rectangles, for a total of 12 rectangles. (You will need two rectangles per Pop Tart).
- Assemble the Pop Tarts: Lightly brush the edges of 6 of the pastry rectangles with the beaten egg wash.
- Spoon approximately 1 tablespoon of the cooled strawberry filling onto the center of each of the egg-washed pastry rectangles, leaving a small border around the edges.
- Place the remaining 6 un-filled pastry rectangles on top of the filled ones, egg-washed sides facing down. Gently press the edges together to seal.
- Using a fork, crimp all around the edges of each Pop Tart to ensure a secure seal and create a decorative border. Poke a few small holes in the top of each pastry with the fork to allow steam to escape during baking.
- Bake: Carefully transfer the assembled Pop Tarts to the prepared baking sheet. Bake for 10-15 minutes, or until the crust is golden brown and flaky. Baking time may vary depending on size.
- Remove from the oven and transfer the baked Pop Tarts to a wire rack to cool completely.
- Make the Glaze: In a medium bowl, whisk together the confectioners’ sugar. Gradually add milk, a teaspoon at a time, stirring until the sugar is fully dissolved and the glaze reaches a thick, smooth, and pourable consistency. Add food coloring if desired.
- Glaze the Pop Tarts: Drizzle a thin layer of glaze over each cooled Pop Tart. Allow the first layer to set for a few minutes. Once slightly dry, add an additional layer of glaze until you are happy with the thickness.
- Before the glaze fully hardens, sprinkle with your favorite sprinkles (if using).
- Enjoy your delicious homemade strawberry Pop Tarts!
There you have it – a truly rewarding baking project that brings a classic breakfast treat to a whole new level. These homemade strawberry Pop Tarts are not just a snack; they’re a small gesture of love, a nod to nostalgia, and a testament to the fact that sometimes, making it yourself just tastes better. Go ahead, bake a batch, and save at least a few for sharing (or don’t, I won’t tell!). Your taste buds, and perhaps your husband’s car, will thank you!