
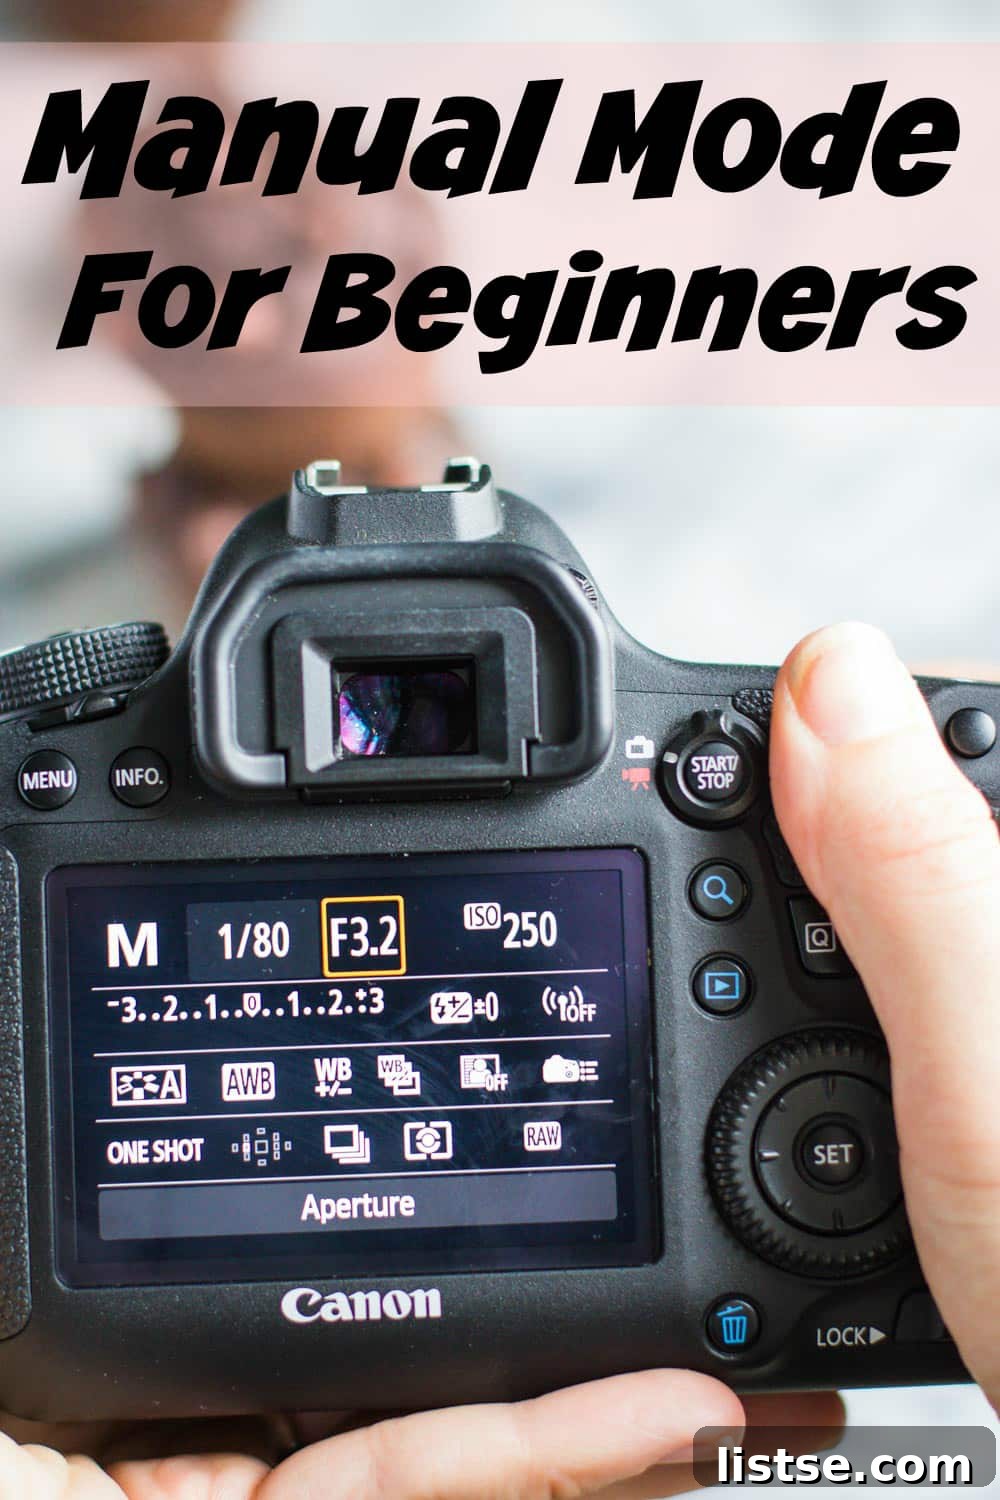
Mastering Manual Mode: A Beginner’s Guide to DSLR Photography
Welcome back to another deep dive into the fascinating world of photography! Today’s topic is a crucial one for anyone looking to elevate their images, whether you’re capturing mouth-watering dishes or cherished family moments. We’re going to unlock the power of manual mode on your DSLR camera. This guide is comprehensive, so settle in with a warm drink and get ready to transform your photography skills.
For many, myself included, food photography is an absolute highlight of food blogging. Yet, it can also be the most intimidating and frustrating aspect when you’re just starting out. Over time, I’ve received countless questions about photography, and my consistent top piece of advice remains: learn manual mode on your DSLR camera. It’s truly a game-changer that grants you unparalleled creative control and will dramatically improve the quality of your photos. This tutorial is designed to demystify manual mode and empower you to take stunning, professional-looking pictures.
Having used a DSLR for several years, with minimal prior photography experience, I’ve come to understand and apply the fundamental principles of manual mode, particularly in the realm of food photography. While my specific shooting style might not be universal (and I’ll elaborate on that later), I’ve discovered a myriad of adaptable techniques to make manual mode work seamlessly for any aspiring photographer. This article will thoroughly explore the exposure triangle – the core concept behind manipulating light – enabling you to consistently produce beautiful images that perfectly match your artistic vision.
Why Manual Mode is Essential for Better Photography
Shooting in manual mode offers you complete control over your camera’s settings and, consequently, the light that enters your lens. Unlike automatic modes that make educated guesses, manual mode allows you to consciously dictate how your camera interprets a scene. This level of precision is invaluable for achieving specific creative effects and adapting to diverse shooting conditions.
Consider a few scenarios: If you’re photographing a fast-moving subject, like a child playing or a pet in action, you can adjust the shutter speed to freeze their motion with incredible clarity. Conversely, if you desire a sense of movement, such as the silky flow of a waterfall or the dynamic pour of a sauce, manual mode enables you to introduce intentional blur. The ability to manipulate light and motion is at the heart of compelling photography, and manual mode is your key to unlocking this creative freedom. It moves you from merely documenting a scene to actively crafting an image.
To illustrate the dramatic difference manual mode can make, let’s look at a direct comparison. The image on the left was captured using the camera’s default auto settings, while the image on the right utilized my custom manual settings:
The difference is often astounding. Automatic settings prioritize a “correct” exposure, which doesn’t always translate to the most aesthetically pleasing or creatively desired outcome. Manual mode empowers you to override these defaults and create photographs that truly reflect your artistic vision, ensuring proper lighting, focus, and motion capture.
The Exposure Triangle: Shutter Speed, Aperture, and ISO
At the heart of manual mode photography lies the “Exposure Triangle.” This fundamental concept describes the three primary settings you’ll adjust to control the brightness and overall appearance of your photos: 1) Shutter Speed, 2) Aperture, and 3) ISO. Learning to understand how these settings interact and how to manipulate them in relation to each other is key to producing balanced, beautiful, and unique images, even when faced with challenging lighting conditions. Mastery of the exposure triangle is the foundation for creative control.
Let’s break down each component of the exposure triangle to understand its individual role and impact on your photographs.
Shutter Speed: Controlling Light and Motion
Shutter speed refers to the duration for which your camera’s shutter remains open, allowing light to reach the sensor. It’s essentially how quickly your camera takes a picture. Measured in fractions of a second (e.g., 1/100, 1/250, 1 second), a faster shutter speed means the shutter opens and closes very quickly, while a slower shutter speed means it stays open for a longer period.
When selecting your shutter speed, there are three critical factors to consider:
a) Light: This is perhaps the most straightforward relationship. A slower shutter speed (e.g., 1/30s, 1s) allows more light to enter the camera sensor, resulting in a brighter exposure. Conversely, a faster shutter speed (e.g., 1/500s, 1/1000s) lets in less light, leading to a darker photo. In dimly lit environments, you’ll often need to use slower shutter speeds to gather enough light for a well-exposed image.
b) Motion: Shutter speed is your primary tool for controlling how motion is depicted in your photos. If your subject is stationary, like a meticulously arranged plate of food, motion blur isn’t a significant concern. However, for moving subjects, a fast shutter speed is essential to “freeze” the action. For instance, capturing children playing or a bird in flight typically requires shutter speeds of 1/400th of a second or faster. For dynamic food shots, like syrup pouring over pancakes, I might increase my shutter speed slightly, perhaps to 1/250th, to capture the subtle movement without excessive blur.
c) Camera Shake: Even slight movements of your hands can introduce blur into your photos, especially at slower shutter speeds. This “camera shake” can be frustrating. I recommend experimenting to discover your comfortable handheld limit. Some photographers can comfortably shoot handheld at 1/50th of a second, while others require a tripod for anything below 1/125th. If camera shake is an issue, you have two main solutions: either increase your shutter speed significantly to capture the image quickly before shake becomes apparent, or utilize a tripod with a remote shutter release to completely eliminate any movement.
The example below clearly demonstrates the impact of shutter speed on motion. A shutter speed of 1/80th emphasizes the falling motion of the chocolate chips, creating a dynamic feel. In contrast, 1/500th of a second effectively freezes the chips in mid-air, making them appear sharp and distinct. It’s important to note that when adjusting shutter speed for these examples, I also made corresponding changes to ISO and aperture to maintain consistent overall brightness, highlighting the specific effect of shutter speed on motion.
PS- this amazing muffin recipe is courtesy of Beth over at Eat Within Your Means. HERE is the base recipe for the muffins and this YUMMY vegan, gluten-free Chocolate Hazelnut recipe will be coming soon (I was doing a little recipe testing for her).
Lower Shutter Speeds: More light, increased motion blur, higher risk of camera shake.
Higher Shutter Speeds: Less light, reduced motion blur, lower risk of camera shake.
Aperture: Controlling Depth of Field and Bokeh
Aperture, often referred to as the “f-number” (e.g., f/2.8, f/8, f/16), dictates two crucial aspects of your photograph: the depth of field and the amount of light entering your lens. In simple terms, aperture controls how much of your photo appears in sharp focus versus how much is beautifully blurred. It’s the mechanism within your lens that opens and closes, much like the iris of an eye, to regulate light.
One of the most popular effects created by aperture is “bokeh” – the aesthetic quality of the blur produced in the out-of-focus parts of an image. It’s that creamy, dreamlike background often seen in portraits and food photography, drawing the viewer’s eye directly to the sharp subject.
Understanding the f-number scale is key: a wide aperture corresponds to a lower f-number (e.g., f/1.8, f/2.8, f/4). This means the lens opening is larger, allowing significantly more light to reach the sensor, resulting in a brighter photo. A wide aperture also produces a shallow depth of field, where only a small portion of the image is in sharp focus, and the foreground and background are beautifully blurred. This is ideal for isolating your subject, like a single perfect pastry on a plate.
Conversely, a small aperture corresponds to a higher f-number (e.g., f/11, f/16, f/22). Here, the lens opening is much smaller, restricting the amount of light and leading to a darker photo. A small aperture creates a wider depth of field, meaning a larger portion of your scene, from foreground to background, will appear in sharp focus. This is often desired for landscapes or group photos where you want everything crisp and clear.
The sequence of photos below illustrates the visual transformation across a range of apertures, from a very wide f/1.4 to a relatively small f/14:
It’s crucial to remember that as I adjusted the aperture for these examples, I simultaneously modified the other settings of the exposure triangle (shutter speed and ISO) to maintain a relatively consistent overall brightness in each photo. Had I only changed the aperture, the images would have progressively darkened, with the f/14 shot likely appearing almost black due to the significantly reduced light intake.
Even a few f-stops can make a world of difference. Observe these two photos, taken with identical ISO and shutter speed settings, where aperture is the sole variable:
The impact on depth of field and the overall feel of the photo is undeniable. Mastering aperture allows you to guide the viewer’s eye and add artistic flair to your images, making it an indispensable tool for creative photography.
Wide Aperture (Lower f-number): Shallow depth of field, blurred background/foreground (bokeh), more light.
Small Aperture (Higher f-number): Wider depth of field, more of the scene in focus, less light.
ISO: Controlling Sensor Sensitivity and Image Grain
ISO represents your camera sensor’s sensitivity to available light. In essence, it’s a digital amplification of light. A low ISO setting (e.g., ISO 100, ISO 200) means the sensor is less sensitive to light, requiring more actual light for a proper exposure. Conversely, a high ISO setting (e.g., ISO 800, ISO 1600, ISO 3200+) increases the sensor’s sensitivity, allowing you to capture images in dimmer conditions.
There are two fundamental principles to remember about ISO:
a) Raising your ISO increases the brightness of your photos: In situations where you can’t open your aperture further or slow down your shutter speed, increasing ISO is an effective way to achieve a brighter exposure without compromising motion or depth of field.
b) Raising your ISO also introduces digital noise or “grain” into your photo: This grain manifests as speckles or blotches, particularly noticeable in darker areas of your image. While a little grain can sometimes add character, excessive noise can detract from image quality, making photos appear less sharp and professional.
Here’s a practical illustration of how different ISO settings affect your final image:
Adjusting your ISO is often the quickest and easiest way to compensate for challenging low-light situations. When I need an immediate boost in brightness for my photos, ISO is typically my first go-to setting. However, it’s crucial to know your camera’s limitations and your personal tolerance for noise. For food photography, I generally try to keep my ISO at or below 800. Beyond this point, the grain becomes too prominent for my liking, affecting the clean, crisp look I aim for in my culinary images. Modern cameras handle higher ISOs much better, but the principle of balancing brightness with image quality remains.
Low ISO: Lower sensitivity to light, darker photos, minimal grain (cleaner image).
High ISO: Higher sensitivity to light, brighter photos, increased grain (digital noise).
My Preferred Food Photography Settings
Understanding the exposure triangle is just the first step; applying that knowledge to specific genres like food photography requires practice and a feel for what works best. Based on my experience, these are the settings I most commonly gravitate towards when capturing delicious dishes:
Shutter Speed: My shutter speed typically hovers around 1/80th of a second. This allows for ample light without introducing significant motion blur for static food subjects. On particularly dark days, I might push it as low as 1/50th of a second – a setting some consider risky for handheld shooting without a tripod, but it works for my steady hands! When I’m capturing “action” shots, such as a drizzle of sauce or a sprinkle of herbs, I’ll increase my shutter speed to the 1/200th to 1/250th range to crisply freeze the slight motion.
Aperture: My aperture selection is highly influenced by the food itself, the ambient lighting, and my creative mood. I generally prefer images with a rather shallow depth of field, which effectively isolates the food and creates that appealing bokeh. This means almost all my photos are taken within the f/2.8 to f/4.0 range. The only instances where I venture above this are when I want more elements in the background to be in sharper focus – for example, if a product label or a specific prop adds to the story – in which case I might adjust my aperture up to about f/7.0.
ISO: My goal is always to keep the ISO as low as possible, ideally at 100, to minimize grain and achieve the cleanest image quality. While this rarely happens perfectly, my average ISO typically ranges around 200. On exceptionally cloudy days or in dimly lit indoor environments, I’m willing to increase my ISO up to 800. However, I rarely go higher than that, as the resulting grain becomes too noticeable and detracts from the professional aesthetic I aim for in my food photography.
Continue Your Photography Journey: Recommended Resources
The insights shared here provide a solid foundation for understanding manual mode. However, the journey of photography is continuous, and there are many excellent resources available to help you deepen your knowledge and refine your skills. When I was learning food photography, two blogs were exceptionally instrumental in my development:
- Minimalist Baker. Dana’s expertise greatly contributed to my food photography skills. While her original ebook has evolved, her Food Photography School is an exceptional resource. I have personally invested in it and frequently refer back to its comprehensive lessons. This program offers a fantastic extension to the fundamental concepts we’ve discussed here, diving deeper into styling, lighting, and advanced techniques. Her approach and style are truly inspiring, and I wholeheartedly recommend her Food Photography School for anyone serious about elevating their culinary visuals.
- Click it Up a Notch. Courtney’s blog is a treasure trove for improving photography skills across various genres. Her posts are incredibly helpful and I often revisit her site for guidance and inspiration. She provides a wealth of excellent (and free!) resources. I highly recommend spending time exploring her blog. Her ebook, The Unexpected Everyday, is particularly valuable for beginners looking to master everyday photography, from capturing vibrant food to candid shots of children, and everything in between. It’s an excellent resource for solidifying your understanding of manual mode and effectively utilizing your camera’s capabilities. Additionally, she offers The Styled Photographer, an ebook focused on developing your unique photographic style. This resource is perfect for those who’ve grasped the technical basics and are ready to infuse more personal artistry into their work. I highly recommend both!
Start Practicing: Patience is Your Best Tool
No matter how thoroughly these concepts are explained, truly internalizing them takes time, practice, and patience. It’s a natural learning curve, so please, don’t get discouraged if it doesn’t click immediately. My best advice is simple: practice. Then practice some more, and when you think you’re done, keep practicing. Even after several years in food photography, I continually discover new techniques and ways to utilize my camera to its fullest potential.
One technique that significantly accelerated my learning process was consistently switching between automatic and manual modes. I would begin by taking a picture in auto mode, noting the settings the camera chose, and then immediately switch to manual. I’d then use the auto-settings as a starting point, making deliberate adjustments based on my creative goals for the photo – perhaps a shallower depth of field, more light, or sharper motion. This comparative approach was immensely helpful for about six months until I gained the confidence to make adjustments independently.
I also recommend focusing on one element of the exposure triangle at a time. For example, during my first year with a DSLR, I largely ignored ISO. Trying to simultaneously master shutter speed, aperture, and ISO can be overwhelming. Instead, pick one setting, like aperture, and spend an entire shooting session just experimenting with how it affects your photos. This focused practice will build a deeper understanding of each setting’s impact.
Finally, create a simple cheat sheet to keep with you whenever you’re shooting. A quick reference to remind you of what each setting does can be incredibly helpful. Remember these core principles:
Shutter Speed
Lower Shutter Speeds: More light, increased motion blur, higher risk of camera shake.
Higher Shutter Speeds: Less light, reduced motion blur, lower risk of camera shake.
Aperture
Wide Aperture (Lower f-number): Shallow depth of field, blurred background/foreground (bokeh), more light.
Small Aperture (Higher f-number): Wider depth of field, more of the scene in focus, less light.
ISO
Low ISO: Lower sensitivity to light, darker photos, minimal grain (cleaner image).
High ISO: Higher sensitivity to light, brighter photos, increased grain (digital noise).
I sincerely hope this guide to manual mode photography has been helpful and empowering! I plan to share more photography-related content in the near future, including an updated post featuring advanced “Food Photography Tips and Tricks for Beginners.”
Please don’t hesitate to reach out via email at ANY time if you have questions. I absolutely love discussing photography and would be thrilled to assist you on your journey. Additionally, I offer personalized one-on-one photography lessons via Skype if you’re looking for tailored guidance and direct conversation about your photography challenges and goals.
***Some of the links above are affiliate links, meaning that if you choose to purchase one of the recommended products, I may earn a small commission at no additional cost to you. Rest assured, any profits are put to good use, often towards investing in new photography gear like a high-quality 100mm macro lens!