
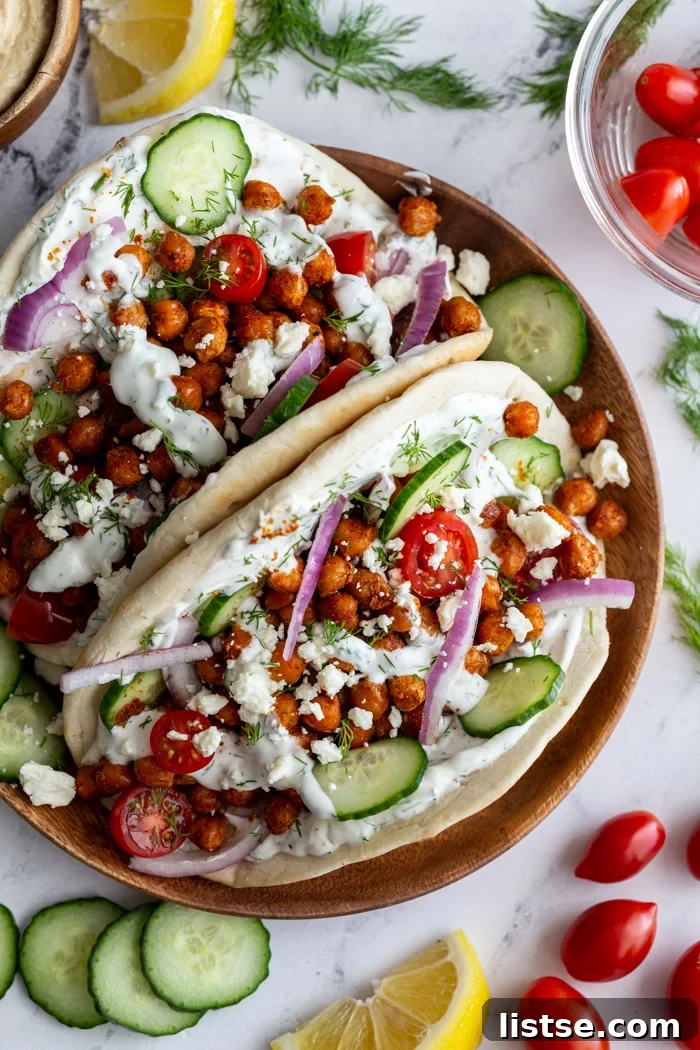
Craving the vibrant flavors of a classic gyro but looking for a plant-based twist? These Chickpea Gyros offer an incredibly satisfying, flavorful, and easy-to-make vegetarian alternative that will quickly become a favorite in your kitchen. Forget complicated preparations; this recipe brings the essence of Greek street food right to your table with minimal effort, making it perfect for busy weeknights or a delightful weekend meal.
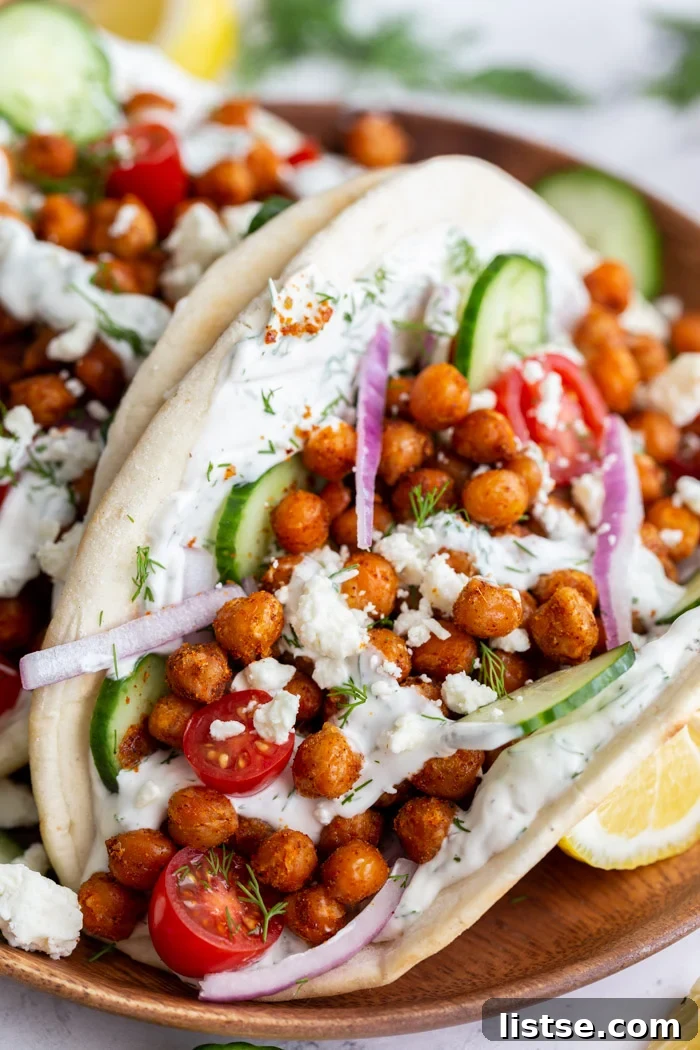
Discovering the Delight of Vegetarian Gyros
The beauty of a gyro lies in its harmonious combination of savory protein, fresh vegetables, and creamy sauce, all wrapped in warm, fluffy pita bread. While traditional gyros typically feature seasoned meat, this chickpea version proves that plant-based ingredients can deliver just as much, if not more, flavor and texture. Chickpeas, when cooked to crispy perfection and seasoned with aromatic Greek-inspired spices, offer a remarkably similar experience to their meaty counterparts, providing a hearty and filling core for your gyro.
This recipe has garnered immense excitement, especially amongst my community on Instagram, precisely because of its incredible simplicity paired with undeniable deliciousness. It’s a dish that genuinely excites people, proving that healthy eating doesn’t have to sacrifice taste or convenience. I’m thrilled to share this go-to recipe with you, and I have a feeling it will earn a permanent spot in your culinary repertoire.
Crafting the Perfect Crispy Chickpeas: Three Versatile Methods
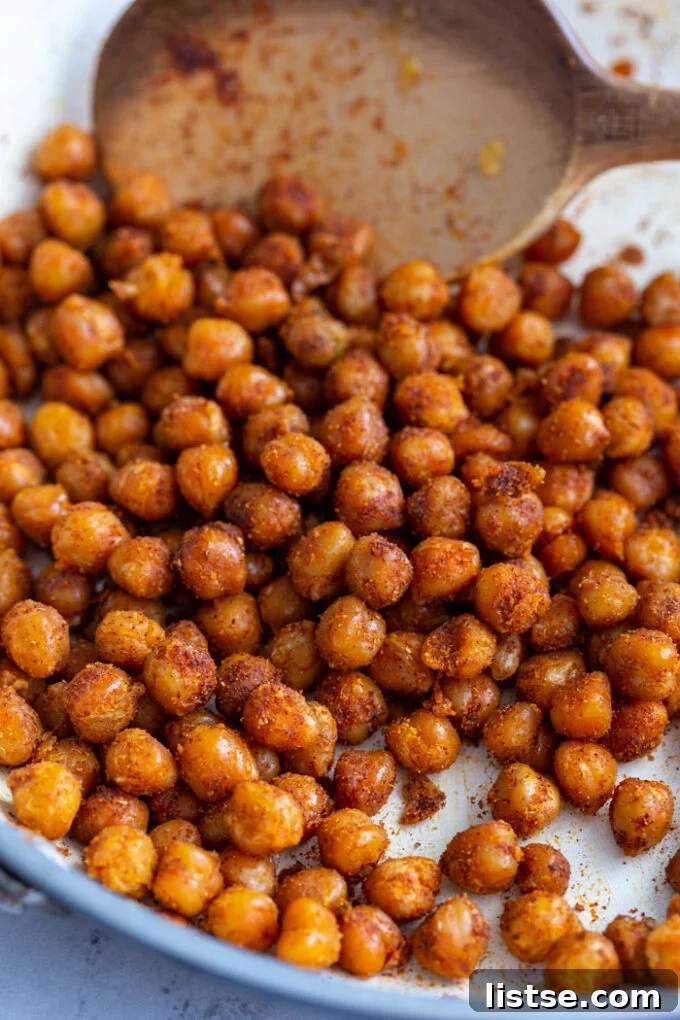
The star of these vegetarian gyros is undoubtedly the crispy, perfectly seasoned chickpeas. Achieving that golden, slightly crunchy exterior is key to replicating the authentic gyro experience. While pan-frying is a fantastic and straightforward method, offering a quick route to crispiness, I understand that sometimes you might prefer other cooking techniques. Here are three reliable ways to get your chickpeas wonderfully crisp:
- Pan-Frying (Quick & Easy Method): This is my preferred method for its speed and minimal cleanup. Simply heat a tablespoon of olive oil in a large skillet over medium heat. Once shimmering, add your drained and thoroughly dried chickpeas. Cook for about 10 minutes, stirring frequently, until they begin to turn golden brown and develop a delightful crisp. Then, introduce your chosen spices – paprika, cumin, and garlic powder – and cook for just another 2 minutes to allow the flavors to bloom and adhere to the chickpeas. The dryness of the chickpeas before cooking is paramount for achieving crispness, so don’t skip that critical step!
- Air Frying (For Maximum Crispiness): For those who own an air fryer and are chasing the crispiest possible texture, this method is a game-changer. Air frying circulates hot air around the chickpeas, creating an incredibly crunchy exterior with less oil. You can adapt my detailed instructions for Crispy Air Fryer Chickpeas here. Just remember to apply the specific spice blend from this gyro recipe to infuse them with that essential Greek flavor. This method is remarkably efficient and consistently yields super crispy results, often being the crispiest of the three.
- Oven Roasting (Hands-Off & Batch Friendly): If you prefer a more hands-off approach or are preparing a larger batch, oven roasting is an excellent choice. Toss your dried chickpeas with olive oil and the spices, then spread them in a single layer on a baking sheet. Roast them in a preheated oven until they are golden and firm. For precise temperatures and times, refer to my Oven Roasted Chickpeas guide. As with the other methods, ensure you use the recommended spices from this gyro recipe to maintain the intended flavor profile.
No matter which cooking method you choose, the ultimate goal remains the same: perfectly seasoned, delightfully crispy chickpeas that will anchor your delicious gyro. Remember, the key to success is ensuring the chickpeas are as dry as possible before they hit the heat, which encourages browning and crisping rather than steaming.
Essential Ingredients for an Authentic Taste Experience
Creating an unforgettable chickpea gyro is all about balancing textures and flavors to evoke that classic Mediterranean essence. Here’s a closer look at the key components that bring this vegetarian masterpiece to life:
- Chickpeas: The versatile foundation of our gyro! One 15-ounce can, thoroughly drained, rinsed, and then dried, provides the perfect amount for our crispy, savory filling.
- Aromatic Spices: A carefully selected blend of ½ teaspoon cumin, 1 teaspoon paprika, and ¼ teaspoon garlic powder infuses the chickpeas with that distinctive, warm, and earthy flavor synonymous with Mediterranean cuisine. Add ¼ teaspoon fine sea salt and freshly cracked black pepper to taste for perfect seasoning.
- Pita Bread: The soft, chewy, and slightly elastic vehicle that holds all the deliciousness. Warm pita bread is essential for a true, comforting gyro experience.
- Tzatziki Sauce: This creamy, cool, and tangy cucumber-yogurt sauce is an absolute must-have for an authentic gyro. It provides a refreshing contrast to the spiced chickpeas and fresh vegetables. You can find a fantastic homemade tzatziki recipe here, or for ultimate convenience, opt for a good quality store-bought version (a personal favorite shortcut!). For a vegan chickpea gyro, simply choose a dairy-free tzatziki made with a thick, plain plant-based yogurt.
- Fresh Toppings: These components add crucial crunch, freshness, and vibrant color. Essential toppings include thinly sliced cucumber, juicy cherry tomatoes (halved or quartered), thinly sliced red onion for a zesty bite, and a generous sprinkle of fresh dill for aromatic brightness.
- Feta Cheese (Optional but Highly Recommended): A sprinkle of crumbled feta adds a salty, tangy kick that truly elevates the flavors. If you’re creating a vegan chickpea gyro, I highly recommend Violife’s delicious vegan feta alternative – it’s impressively authentic!
- Lettuce: Provides a fresh, crisp base and a textural contrast within the warm pita.
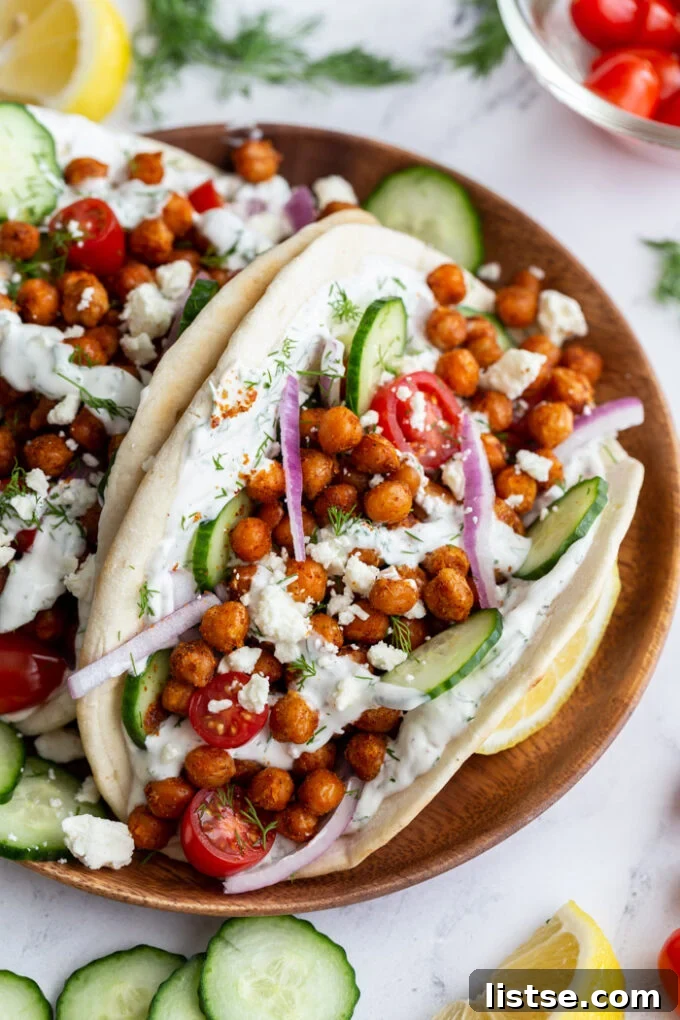
Assembling Your Perfect Chickpea Gyro
Once your chickpeas are crispy and all your vibrant toppings are prepped, assembling your chickpea gyro is the final, delightful step. It’s a quick and customizable process, allowing you to build each gyro exactly to your liking. Here’s how to bring all these incredible flavors and textures together:
- Warm the Pita Bread: Start by gently warming your pita bread. You can do this easily in a dry skillet over medium heat for about 30 seconds to 1 minute per side, in the microwave for a few seconds, or briefly in the oven. A warm, pliable pita is much easier to fold and enhances the overall eating experience.
- Spread the Tzatziki: Liberally spread a generous layer of creamy, cool tzatziki sauce over the entire surface of the warm pita. This acts as both a burst of flavor and a delicious “glue” to hold all your fresh ingredients in place.
- Add Your Crispy Chickpeas: Spoon a hearty portion of your freshly spiced, crispy chickpeas onto the center of the pita. Ensure an even distribution so you get a savory, crunchy bite in every mouthful.
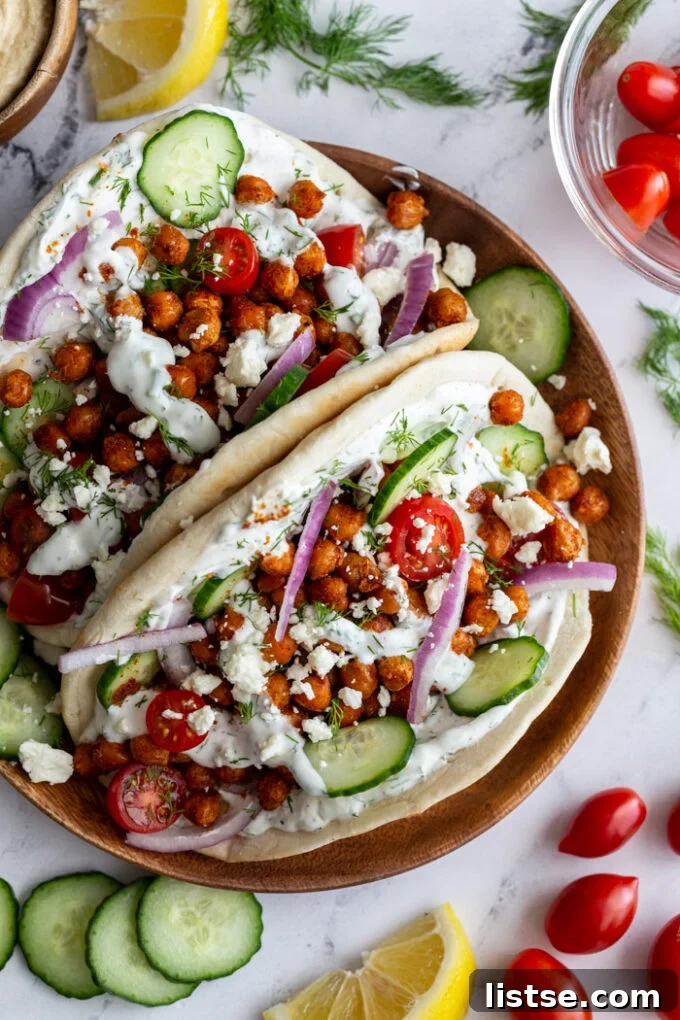
- Pile on the Fresh Toppings: Now, layer on your fresh, vibrant toppings. Start with a bed of shredded lettuce, then add the refreshing sliced cucumbers, juicy cherry tomatoes, and tangy red onion. Don’t be shy – these fresh elements are crucial for balancing the richness of the chickpeas and the creaminess of the tzatziki.
- Finish with Feta & Dill: If using, crumble a little feta cheese (dairy or vegan alternative) over the top of the toppings. A sprinkle of fresh dill adds a final burst of aromatic freshness, beautifully enhancing the Mediterranean flavor profile.
- Fold and Enjoy: Carefully fold or roll your pita, securing all the delicious fillings inside. Take a big, satisfying bite and savor the incredible combination of crispy, creamy, fresh, and tangy flavors.
These gyros are designed to be enjoyed immediately, allowing you to experience the chickpeas at their crispiest. However, they are also wonderfully versatile for meal prep, ensuring you can enjoy a wholesome, flavorful meal even on your busiest days.
Meal Prep & Storage Tips for Effortless Eating
One of the many advantages of these chickpea gyros is their adaptability for meal prepping, making healthy eating convenient throughout your week. While the ultimate experience involves freshly made, crispy chickpeas, you can prepare many components in advance to make assembly a breeze.
- Crispy Chickpeas: Cook the chickpeas as directed and allow them to cool completely. Store them in an airtight container in the refrigerator for up to 3-4 days. While they may lose some of their initial crispness over time, a quick reheat in a dry skillet or an air fryer can revive some of their desired texture just before serving.
- Tzatziki Sauce: Homemade tzatziki can be prepared up to 3 days in advance and stored in a sealed container in the fridge. Store-bought tzatziki will also keep well according to its package instructions. Always give it a good stir before using.
- Chopped Vegetables: Slice your cucumbers, tomatoes, and red onion ahead of time. To maintain their freshness and prevent them from making other ingredients soggy, store each vegetable separately in airtight containers in the refrigerator.
- Pita Bread: Keep pita bread in its original packaging or an airtight bag at room temperature. For the best texture and pliability, warm it briefly just before you’re ready to assemble and eat your gyro.
When you’re ready to eat, simply combine the prepped ingredients on a warm pita. This makes for a quick, healthy, and incredibly satisfying lunch or dinner solution throughout your busy week. The components travel well separately, allowing for a fresh assembly at your desk or on the go, ensuring a delicious and healthy meal is always within reach.
More Delicious Chickpea Recipes to Explore
If you’ve fallen in love with the versatility and deliciousness of chickpeas through this gyro recipe, you’re in luck! Chickpeas are a true pantry hero, offering endless possibilities for healthy, flavorful, and satisfying meals. Their mild flavor and hearty texture make them perfect for absorbing a variety of seasonings and fitting into diverse culinary traditions. Here are some more fantastic chickpea-centric recipes from my collection that I highly recommend you try:
- Ranch Chickpea Salad
- Curried Chickpea Salad
- Chickpea Stuffed Sweet Potatoes
- Peanut Sauce Chickpea Wraps
- Chickpea Pot Pie
- Chickpea Noodle Soup
- Coconut Chickpea Curry
Easy Chickpea Gyro
Brita Britnell
5 minutes
15 minutes
20 minutes
2 large servings

Ingredients
- 15 ounces chickpeas (for the crispy chickpeas), 1 can, drained and rinsed
- 1 tablespoon olive oil
- ½ teaspoon cumin
- 1 teaspoon paprika
- ¼ teaspoon garlic powder
- ¼ teaspoon fine sea salt
- Freshly cracked black pepper to taste
- Serving suggestions:
- • 2-4 pitas (you can either make 2 hefty gyros or 4 smaller ones)
- • 2 tbsp tzatziki sauce*
- • 6 cherry tomatoes, halved
- • 1 handful red onion, sliced thin
- • 1 tbsp feta cheese, crumbled (Violife makes a delicious vegan version!)
- • 12 slices cucumber
- • fresh dill, chopped
- • lettuce, shredded
Instructions
-
Rinse and drain the can of chickpeas thoroughly. Pat them completely dry with a paper towel or a clean, lint-free kitchen towel. This step is crucial for achieving maximum crispiness.
-
In a large skillet, heat 1 tablespoon of olive oil over medium heat. Once the oil is hot and shimmering, add the dried chickpeas. Cook, stirring frequently, for about 10 minutes until the chickpeas begin to turn golden brown and develop a crispy exterior.
-
Add the cumin, paprika, garlic powder, salt, and black pepper to the skillet. Continue to cook for an additional 2 minutes, stirring constantly, to ensure the spices are evenly distributed and toasted, enhancing their flavor. Remove the chickpeas from the heat.
-
To assemble your delicious gyros, warm your pita bread slightly. Spread a generous amount of tzatziki sauce over the pita.
-
Top the tzatziki-smeared pita with the freshly cooked crispy chickpeas. Then, add your desired fresh toppings, such as shredded lettuce, sliced cucumber, cherry tomatoes, and red onion.
-
Finish with a sprinkle of crumbled feta cheese (or vegan feta) and fresh dill. Fold or roll the pita to create your gyro and serve immediately for the best experience. ENJOY!
Notes
*Alternative cooking methods for crispy chickpeas: You can also achieve wonderfully crispy chickpeas by following my instructions for Air Fryer Chickpeas HERE or Oven Roasted Chickpeas HERE. Just use the spice blend from this gyro recipe to keep the flavor consistent.
Nutrition
Carbohydrates: 34g,
Protein: 13g,
Fat: 15g,
Saturated Fat: 3g,
Polyunsaturated Fat: 3g,
Monounsaturated Fat: 7g,
Cholesterol: 10mg,
Sodium: 1062mg,
Potassium: 517mg,
Fiber: 10g,
Sugar: 2g,
Vitamin A: 896IU,
Vitamin C: 13mg,
Calcium: 155mg,
Iron: 4mg
Nutrition information is automatically calculated, so should only be used as an approximation.
Tried this recipe?Mention @foodwithfeeling or tag #foodwithfeeling!
There you have it – a vibrant, delicious, and incredibly satisfying plant-based alternative to a beloved classic. These Easy Chickpea Gyros are more than just a meal; they’re an experience, bringing together fresh ingredients, aromatic spices, and a delightful blend of textures. Whether you’re a long-time vegetarian, looking to incorporate more plant-based meals into your diet, or simply searching for a quick and flavorful dinner idea, this recipe is guaranteed to impress. Don’t hesitate to give it a try this week!
If you do whip up these amazing gyros or any other recipes from my kitchen, I’d absolutely love to see your creations! Please remember to tag me on Instagram and share your thoughts in the comments below. Your feedback and photos not only make my day but also help inspire other home cooks in our growing community. Happy cooking!