Photography
Food Photography Tips for Beginners from the Pantry
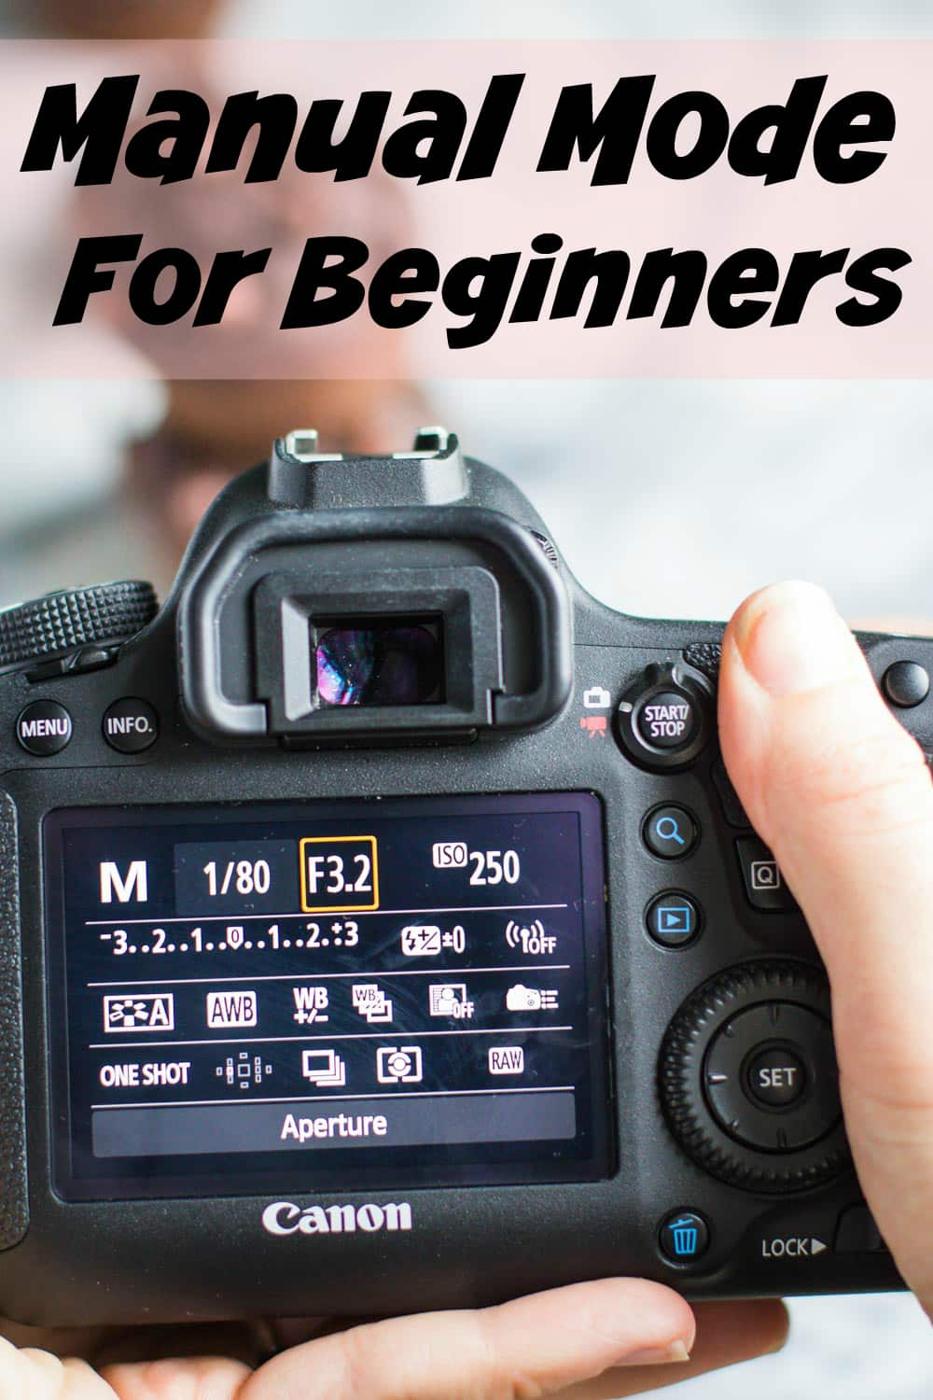
[Update!!: I’ve published a new post Manual Mode for Beginners that is something you should surely check out. Shooting in
It’s been only over a year now since I posted my first recipe on B.Britnell. I’ve learned SO so much in that time and sometimes can’t believe how far my photography has come. That being said, I’m still learning a lot and am always looking for ways to improve and learn more.
I want to offer some tips that I have learned along the way that have vastly improved my food photography. Additionally, I re-photographed my Kale and Quinoa Patty recipe which was the first recipe that I ever posted and the pictures were quite….beginner.
Tips to Improve Your Food Photography:
1) Shoot with proper lighting: I know this probably isn’t anything new to you but it’s at the top of the list because lighting can completely make or break a picture. A HUGE part of this is shooting your pictures during the day in natural light. This is hard for many bloggers because, like me, you probably have a day job. So, your only options for photographing recipes during the day is on the weekends. As someone who has a recipe specific blog, this is difficult but it’s also something that I’ve made a priority.
When you’re shooting a recipe, open up as many windows (and doors if possible) around the area that you are taking the pictures. I truly like to take pictures of the whole process when photographing a recipe. So, I make sure that I’m letting as much light into my kitchen as possible.
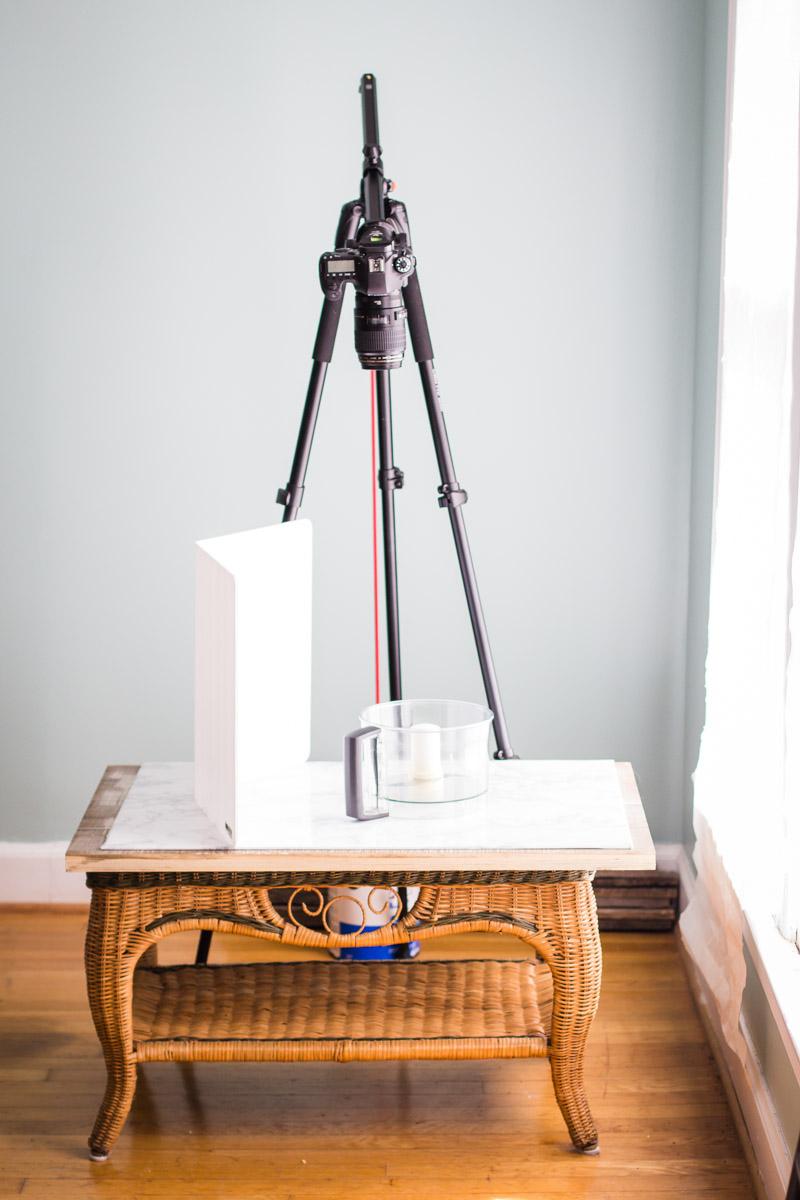
When photographing the final product, ie the image that people will want to share with others on facebook and pinterest etc, set everything up in front of a large window. I have a huge double window in my home office. I set everything up in front of that window and take a lot of my pictures in my office.
If taking pictures during the day doesn’t work for your schedule (as it often doesn’t with mine) then I’d suggest investing in some lighting gear. I wrote a post about all of my gear HERE.
The 2 pictures above were, believe it or not, taken with the same DSLR camera. The main difference in the 2 pictures is that I learned how to shoot in proper lighting AND I learned how to adjust the manual settings on my camera.
2) Be Organized: photographing recipes used to be a hugely stressful thing for me when I first started. Now I’ve learned to have a plan! Aside from making sure that I know how the recipe will work and making sure that I have all the ingredients, I also map out a plan for how I envision the pictures will look. I always first decide what colors and style I want for the pictures. If it’s a summer recipe then I will likely set up a white backdrop/ table setting with pastel napkins. Right now, with it being fall, I’ve been using a lot more darker colors in my pictures. I go ahead and decide what dishes I might use and what silverware. If I’m going to have any kind of props (drinking glasses, silverware, extra scraps of food around the dish) then I go ahead and have that ready.
Essentially, I try and get the whole scene set up before I even start cooking and even snap a few pictures to make sure it all looks right. Otherwise, I’ll be overly stressed out trying to cook and take pictures and set up the reliable shot all at the same time.
3) Tell a story: Maybe this is simply me but A REGULAR HERE recipe posts that kind of tell a story with the pictures. Even simply one picture can tell a whole story and A regular here that.
If it’s a breakfast recipe (my go-to kind of recipe!) then I’ll almost always have a cup of coffee or tea in my shots. I want it to look like my recipes are recipes that the average person would cook on a leisurely Saturday morning while they’re chatting with family and sipping on coffee.
Another way to tell a story is by dishes and utensils. I often leave empty/ dirty dishes in a picture because I think it helps tell the story and it adds a charming touch of imperfection to the shot.
4) Garnish!: You will not believe the difference a little garnish makes. This is similar to the last tip; garnishing your food truly helps tell a good story. This doesn’t even have to be green herbs. Take this pie for example. I took this picture and realized it needed a little something. I grabbed a graham cracker and with no real rhyme or reason, I crumbled it on top of both the pie and the surrounding area. Worth keeping what a difference that made in the picture.
It helps a food picture a lot, I think, to place the ingredients around the final product. For example, if you use a recipe with cinnamon. You obviously can’t see the cinnamon in the food but by placing some cinnamon sticks in the picture, or dusting the food with a bit of ground cinnamon, the picture tells a different story.
Dana from Minimalist Baker does this SO well. (In fact, I find all of her food photography ridiculously inspiring.) She has a Food Photography E-book that I bought when I first started and I surely learned a lot from it. That e-book has since been replaced by their Food Photography School which I haven’t actually checked out yet but I TRULY want to.
5) Be Inspired: I often look online for inspiration. I’m not saying to copy what other people do but, for example, if I’m going to photograph a popcorn recipe, I’ll often first look at how other people have photographed popcorn recipes. Again, I’m not copying these but you might find some great inspiration for how to style it.
As a new photographer, I feel as if I’m still trying to settle into my own style. Are there certain photographers who you find truly inspiring? (no truly, I want to know!)
6) Invest in some backdrops: I think food photography is so much simpler with a couple good backdrops. This doesn’t mean that you need to go out and buy a chic new rustic kitchen table (although, I TRULY still want to do that). A good chunk of my food photographs are taken on foam boards and scrapbook paper (all of which is ESPECIALLY cheap). Here are some pictures that I’m proud of which I took on either $2 foam boards, white printer paper, or 30¢ pieces of scrapbook paper.
Cutting boards or pastry boards also offer a great background for pictures. Something about a marble pastry board always looks good in my opinion.
Another backdrop that I genuinely love is a good rustic looking table. Again, this doesn’t mean that you need to go out and buy a new table! I built a small table prop for ~$20 that’s 3 foot x 3 foot and double sided so that I have a white table option and a dark wood table option. I also love this prop because it’s straightforward to move, store, and I can put it anywhere in the house that I want. The lighting is better in different parts of my house at different times during the day so being able to move this “table” around is quite convenient.
Here are a few pictures that I am proud of taken on my faux-table top:
Something else that I have been meaning to do, but haven’t yet, is paint some large poster boards various colors so that I have even more backdrops to choose from. Again, this would be truly cheap, fun, and provide a bigger space to work with than I’m allowed with the scrapbook paper.
7) Napkins. This kind of goes along with backdrops but I wanted it to be its own point. WORTH KEEPING a good napkin in a food photo. I think it can make ALL the difference in a picture.
Take the Pumpkin Spice Nuts recipe that I posted earlier this week. I truly struggled with how to photograph these almonds and pecans. I actually tried 3 different setups before deciding on a truly simple setup on my counter-top. I used a little dish that I got from Goodwill for $.99 and a simple napkin that I got on sale at World Market for $2. (Speaking of which, World Market is a GREAT place to get dishes and props for food photography. I’d say that at least 75% of the dishes and props you see in my pictures are from either Worlds Market or Goodwill.)
I often use napkins when I need a simple pop of color in a photo.
8) If you’re using a DSLR, LEARN MANUAL!! This is another tip that I’m sure you’ve heard 100 times. That’s because shooting in manual mode genuinely is vastly superior to shooting in auto. The trick to manual mode is simply practice. I would say it took me about 4 months of constantly shooting in manual mode before I genuinely got comfortable with it. And even now, I’m still figuring some things out ~14 months later. However, it’s SO worth it and you’ll love all of the things that you are able to do once you learn manual mode better.
There are a lot of great resources out there to help with manual mode. I recommend THIS ONE.
9) Invest in a good lens! If you’re using the kit lens that came with your camera then you need to buy a new lens ASAP. What almost everyone will tell you is that the nifty fifty 50mm lens is a welcome place to start. This is the lens that I took a TON of my food photography pictures on. I borrowed a 50mm 1.8 lens from a friend and ended up using it for a particularly long time before finally buying my own (except I splurged and got the 50mm 1.4). This lens is reliable and not only good for food photography but also great for everyday pictures and portraits.
If you’re in the market for a new lens, read THIS POST that I wrote for advice on camera gear.
10) Show mid-meal shots: This is probably part of “tell a story” but whatever. A regular here mid-meal pictures where the food is half eaten or at least has a bite or 2 taken out of it. Not only are these fun but it also gives the viewer a different perspective/ view of the food that they (hopefully) are now dying to make.
Even better, in my opinion, is a photo of someone actually eating the food. However, even on my blog, those rarely happen:) I got brave HEREand HEREthough.
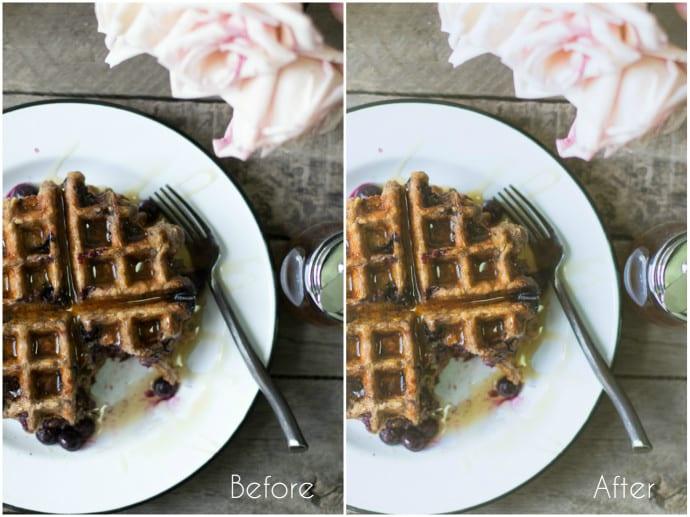
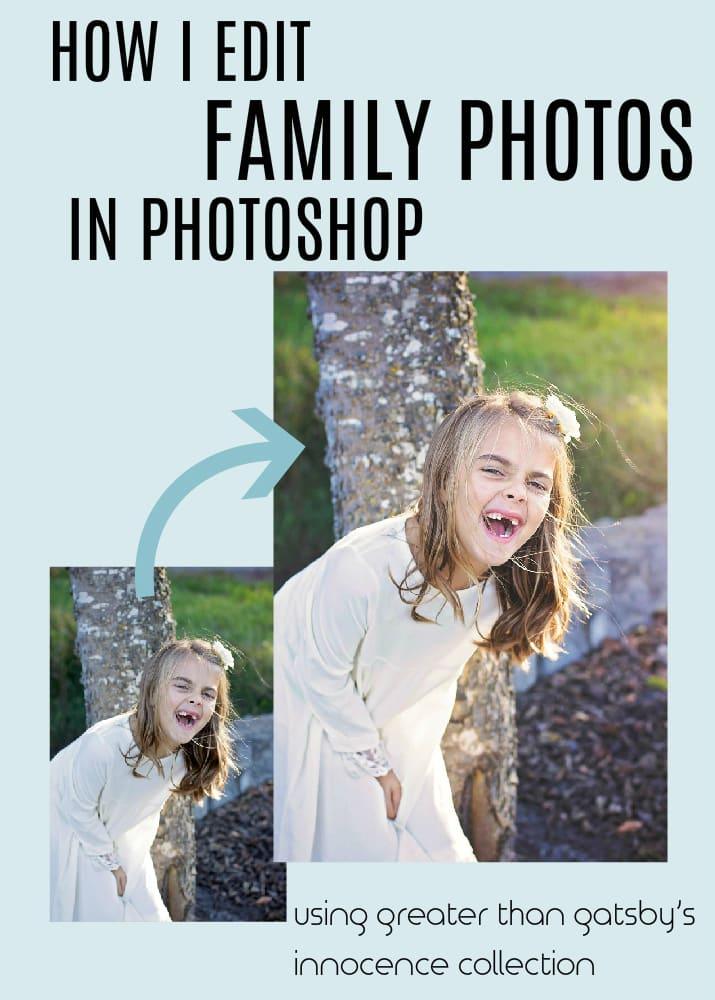
11) Edit. This is genuinely simply a bonus to make your pictures look even better. I’m a big advocate for doing everything you can PRE-processing so that particularly little editing is actually needed. However, I use the Greater Than Gatsby Actions for pretty much all of my editing and A REGULAR HERE them. I genuinely couldn’t recommend them enough.
I wrote a full post on my editing process with these actions that you can read HERE.
Well, there you have it. I hope these tips were helpful!! If you have any questions or if you have any other tips for food photography, please leave them in the comments!!