
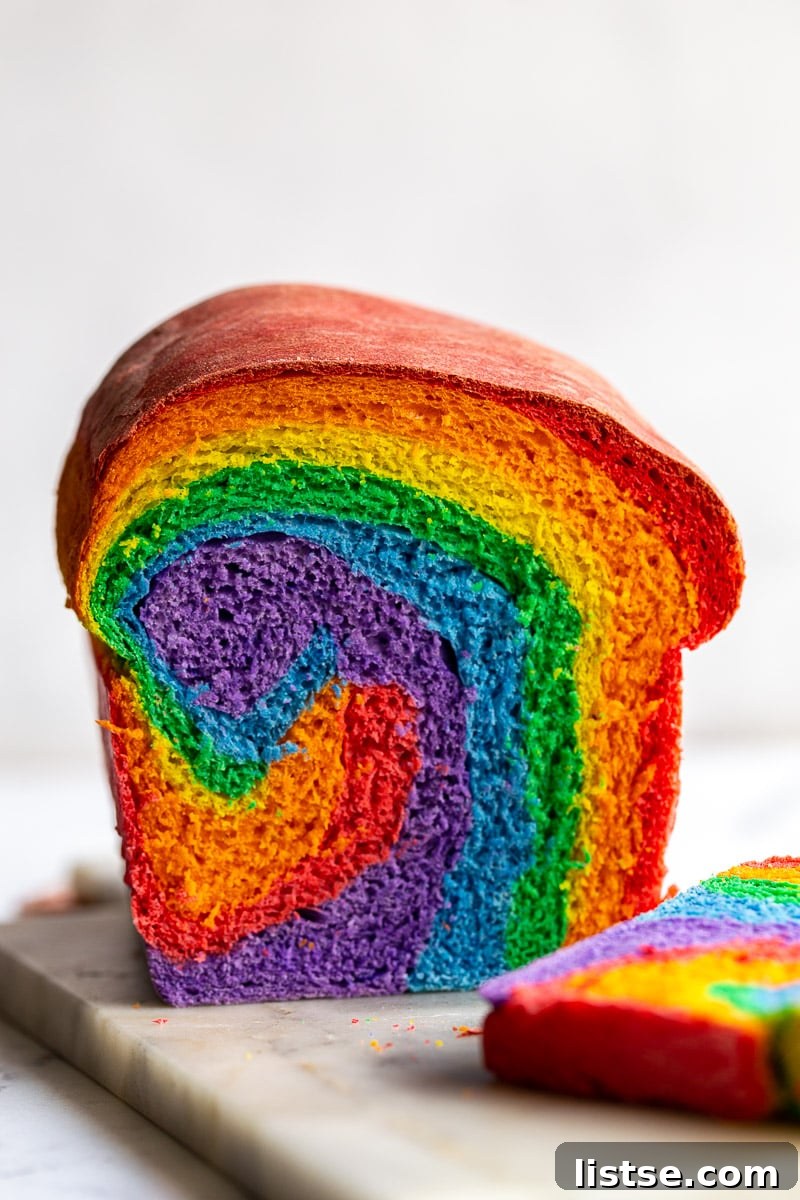
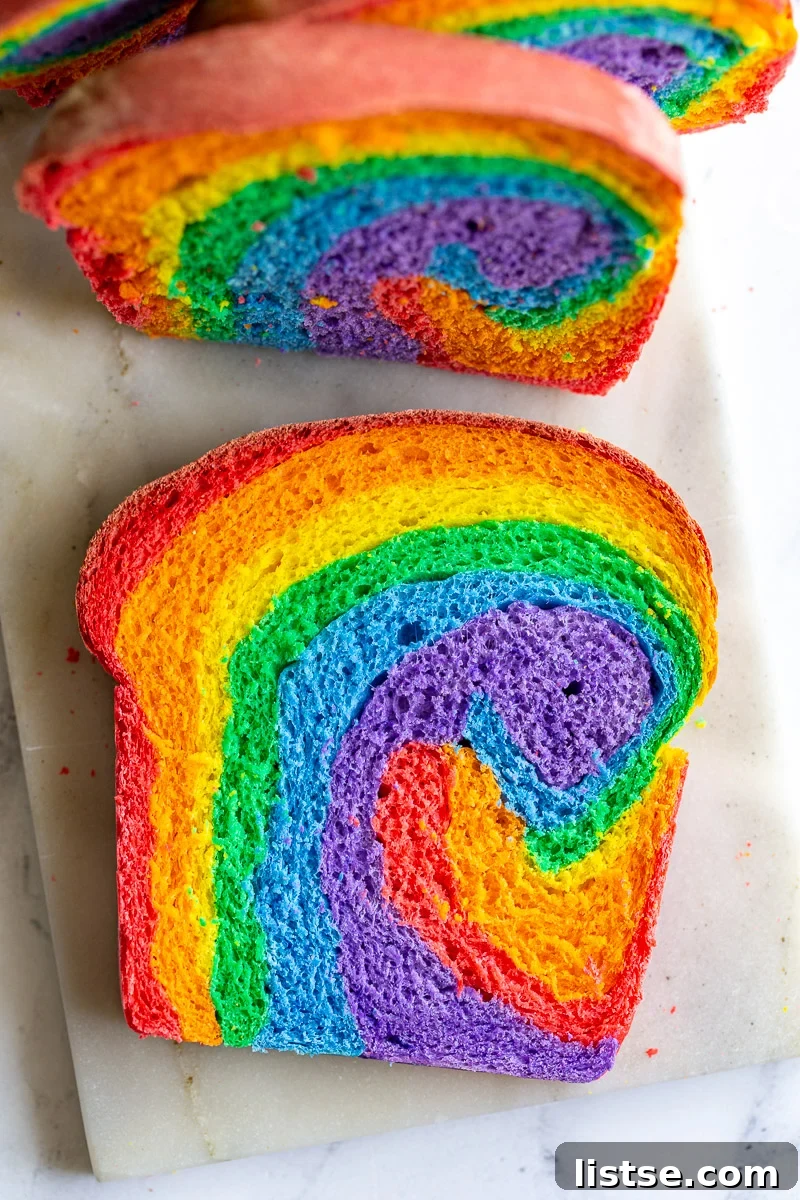
For countless years, I’ve embraced and celebrated Pride Month, finding joy in its spirit of unity and self-expression. However, this year holds a truly special significance for me, as it marks my first time celebrating as a fully out gay woman. This profound personal milestone has filled me with an incredible sense of liberation and happiness, making this year’s festivities all the more meaningful. To commemorate this joyous occasion, I’ve embarked on a delightful culinary journey: creating a brand new rainbow-themed recipe every single week throughout the year. And what better way to kick off this vibrant series than with this mesmerizing tie-dye Rainbow Bread? Just look at its stunning swirls – isn’t it simply gorgeous?
Do you recall having bread like this when you were a child? I have vivid memories of spotting these technicolor loaves at Kroger, instantly captivated by their vibrant hues. I’d beg my parents, wide-eyed and hopeful, to buy one for me. I always thought it was the coolest thing ever – a truly magical treat that stood out from all the ordinary bread. Then, at some point during my childhood, these colorful loaves seemed to vanish from store shelves, leaving a small, sad void in my nostalgic heart. It’s a wonderful feeling to finally bring that childhood wonder back to life by recreating this iconic treat as an adult. The process of making this bread has been a delightful blend of culinary creativity and a heartfelt tribute to those cherished memories.
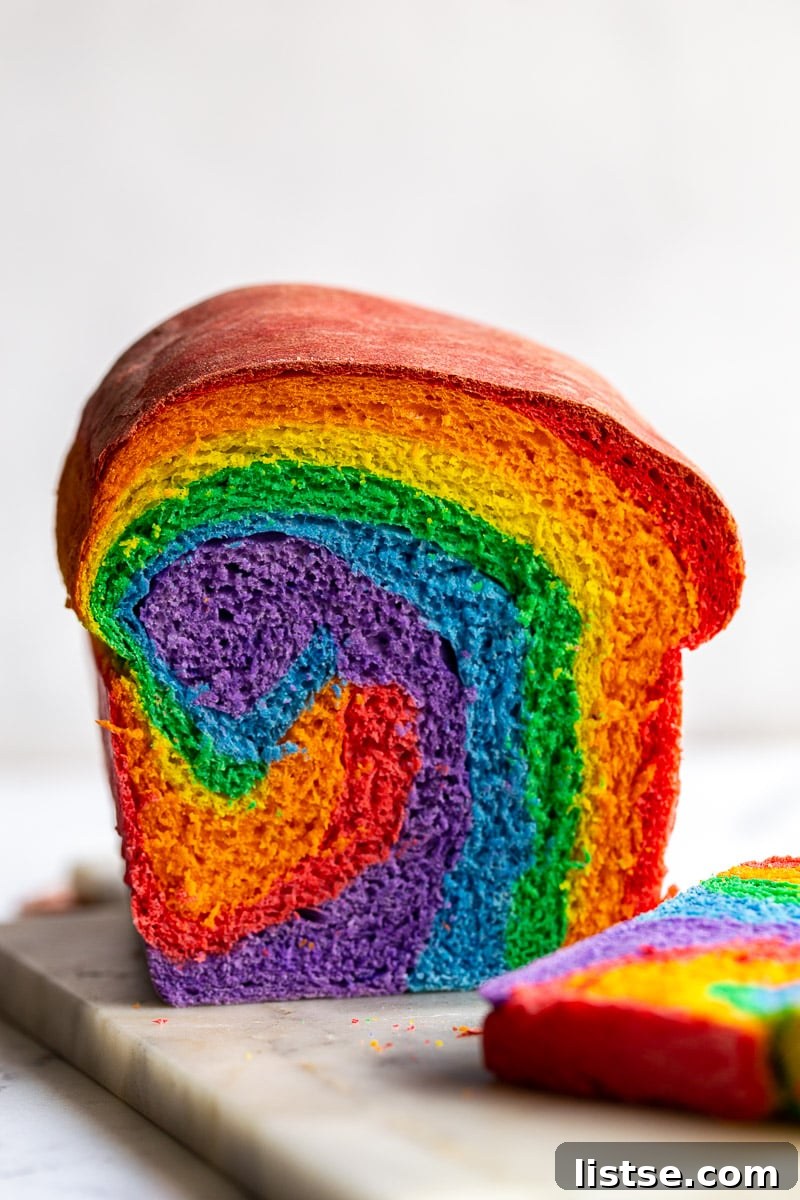
At its heart, this recipe is a classic, comforting white sandwich bread, but with an exciting and beautiful twist: a kaleidoscope of food coloring representing the full spectrum of the rainbow. When I first envisioned this project, I admit I anticipated it being quite a challenge. The idea of evenly coloring six different portions of dough seemed daunting. However, I was pleasantly surprised! While it does require a little extra time and patience to meticulously mix in each color, the overall process is incredibly straightforward and surprisingly easy. It’s a fantastic baking project that delivers a spectacular visual payoff with a familiar, comforting taste. The result is a soft, fluffy loaf that’s as delightful to look at as it is to eat, perfect for brightening up any meal or celebration.
This homemade Rainbow Bread is not just a treat for the eyes; it’s a testament to simple ingredients coming together to create something truly extraordinary. It’s perfect for adding a touch of whimsy to breakfast, elevating a simple sandwich, or serving as a vibrant centerpiece for special occasions. Imagine slicing into a loaf and revealing those beautiful, swirling colors – it’s guaranteed to bring smiles and spark conversations. This recipe proves that you don’t need complex techniques to achieve impressive results in your kitchen. With just a few basic baking skills and a dash of creativity, you can transform everyday bread into a work of edible art.
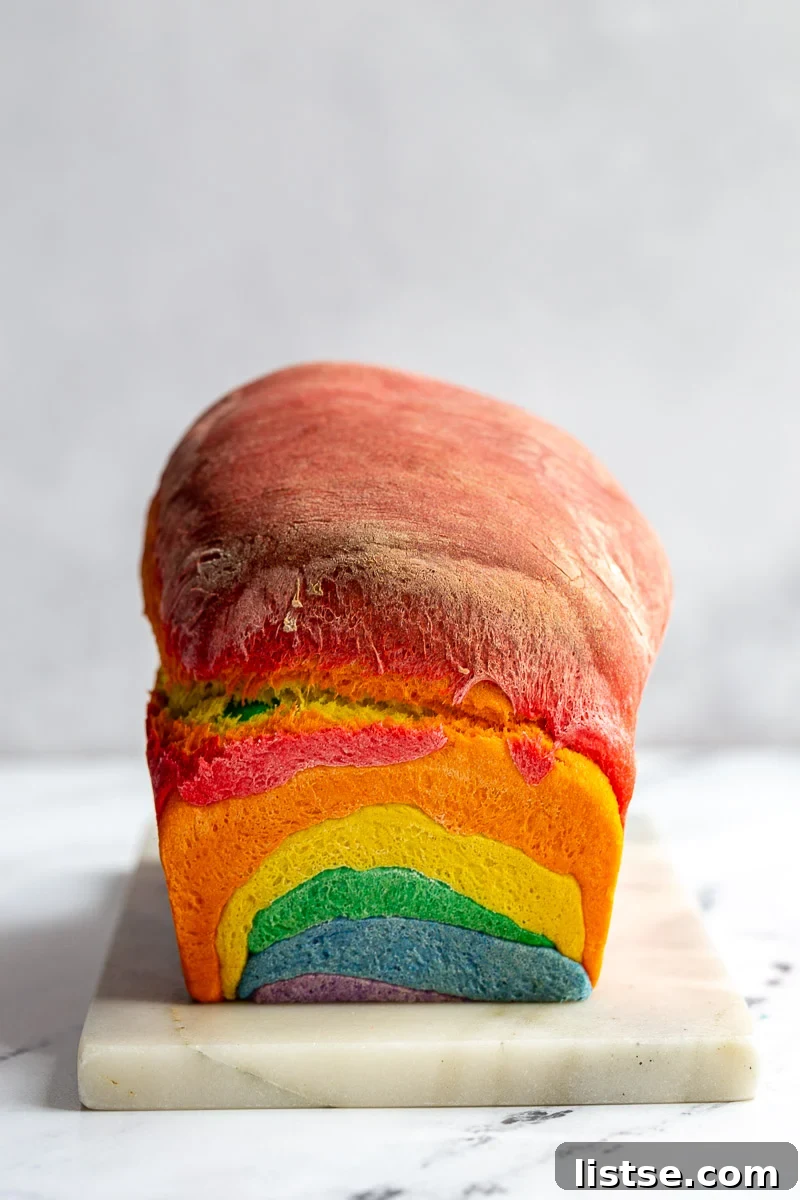
How to Make This Stunning Rainbow Tie-Dye Bread
Creating this eye-catching rainbow bread is a fun and rewarding process that’s easier than you might think. While the detailed measurements and steps are laid out in the recipe card below, let’s walk through a visual overview to give you a clear understanding of the journey from simple dough to a vibrant loaf.
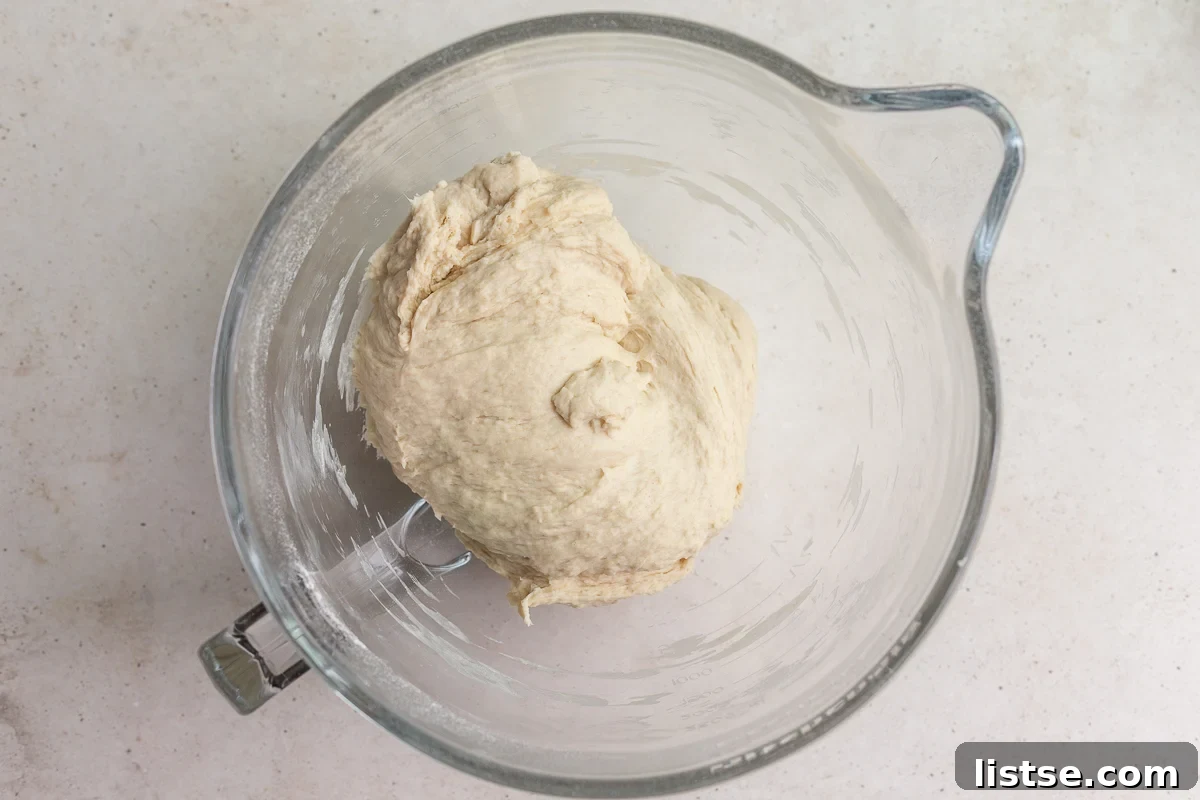
1. Prepare the Dough. This recipe begins with a very forgiving and traditional yeast dough. You can easily bring it together using a stand mixer fitted with a dough hook, which makes the kneading process effortless, or if you prefer a more hands-on approach, you can mix and knead it in a large bowl by hand. The key is to ensure all ingredients are well combined and the dough achieves a smooth, elastic texture. Proper kneading is crucial for developing the gluten, which gives the bread its signature soft and chewy crumb.
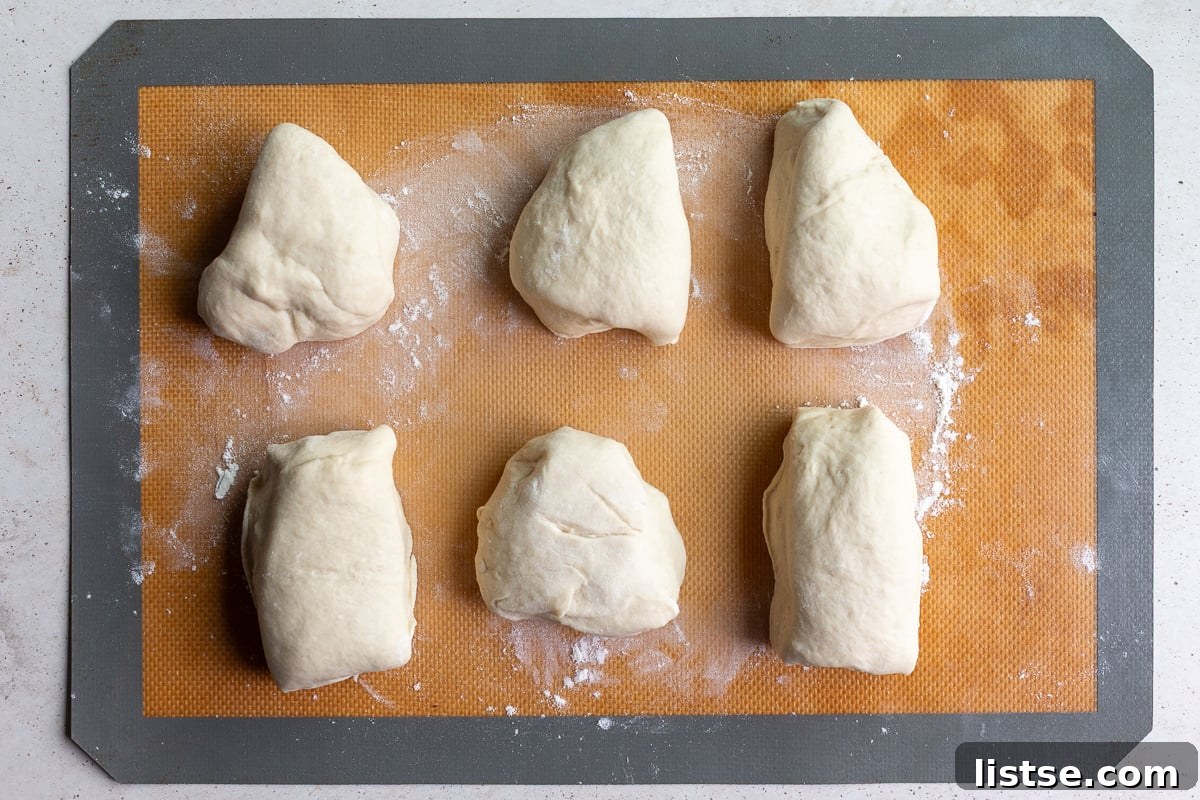
2. Allow to Rise and Divide. Once your dough has undergone its initial rise – a crucial step where the yeast works its magic, causing the dough to double in size – gently punch it down to release the air. Then, carefully divide the dough into six relatively even pieces. Don’t stress too much about them being perfectly identical in weight or size for this particular recipe; a slight variation will only add to the charming, rustic nature of your tie-dye effect. The goal is simply to have distinct portions for each color of the rainbow.
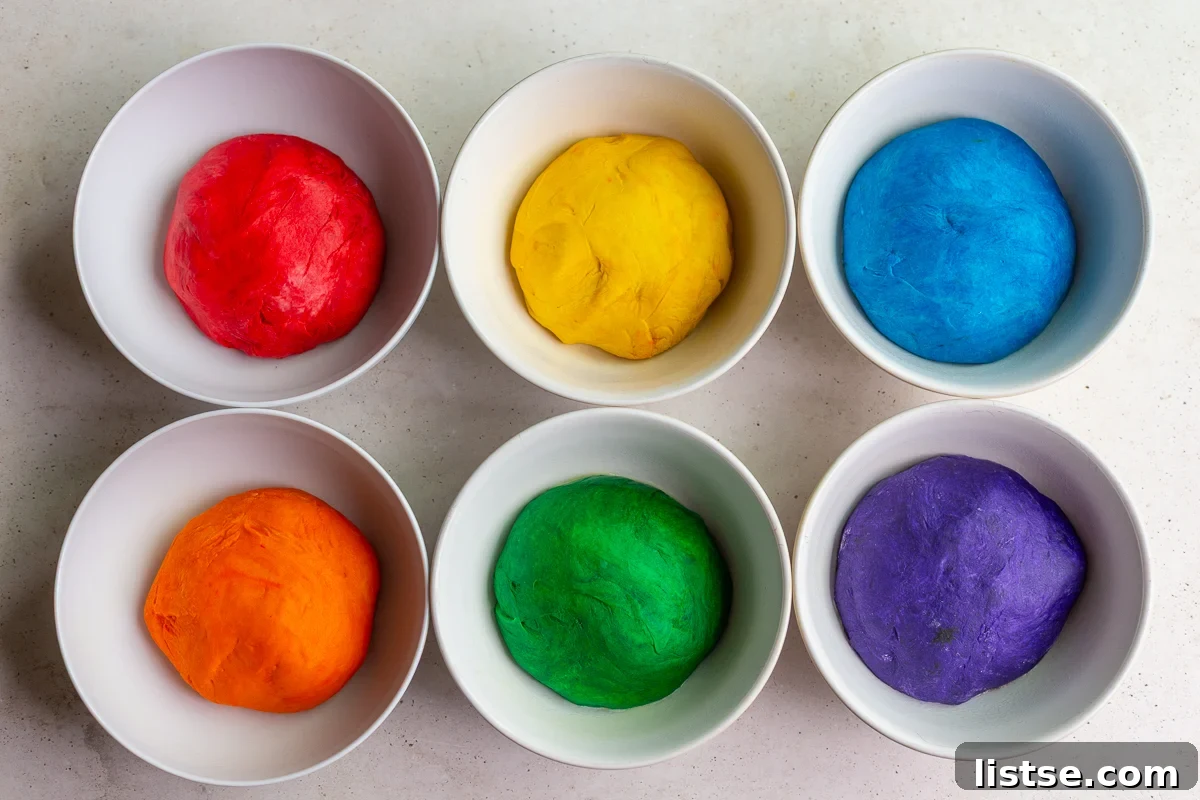
3. Infuse with Color. This is where the magic truly happens! I highly recommend using gel food dye for its superior vibrancy and concentration, which yields much richer colors than traditional liquid food coloring. Working with one dough portion at a time, add a few generous squirts of your chosen gel color. Then, gently fold the dough over itself repeatedly to incorporate the coloring. It might take about 3-5 minutes of careful kneading per portion to ensure the food dye is thoroughly and evenly mixed, resulting in a smooth, beautifully colored dough. Patience here is key to achieving those vivid shades.
A Pro Tip: To avoid staining your hands with the vibrant dyes, which can be quite stubborn, I strongly suggest wearing kitchen-grade gloves during the coloring process. This simple step will save you from colorful hands and ensures a cleaner, more enjoyable baking experience. Once each portion is colored, place them in separate, lightly greased bowls to prepare for the second rise.
Choosing the Best Food Dye for Vibrant Rainbow Bread
When embarking on a project as visually striking as rainbow bread, the type of food coloring you use makes all the difference. I experimented with a few different varieties for this recipe, and I can confidently say that gel food coloring emerged as the undisputed champion. Unlike liquid food coloring, which can dilute your dough and result in paler, less distinct colors, gel food coloring is highly concentrated. This means you need less product to achieve brilliantly vibrant hues, without significantly altering the dough’s consistency or moisture content. The result is a truly spectacular, eye-popping rainbow effect that really stands out.
The specific gel food coloring I personally used and recommend is this one from Amazon. It delivered fantastic, rich colors that were relatively easy to incorporate into the dough. However, many other reputable brands of gel food dyes will work just as well. Look for brands that are known for their strong pigments and ease of use in baking applications. Investing in a good quality gel food coloring set will elevate your rainbow bread from pretty to absolutely breathtaking, ensuring each slice is a delightful burst of color.
Visual Guide: Watch the Rainbow Bread Recipe Video
Sometimes, seeing a recipe in action makes all the difference. To help you perfect your Rainbow Bread, I’ve put together a comprehensive video tutorial. This video guides you through each step, from activating the yeast to shaping the colorful dough and achieving that perfect bake. It’s especially helpful for visualizing the kneading process for each colored dough portion and, most importantly, how to stack and roll the different colors to create that stunning tie-dye effect that makes this bread so unique. Don’t hesitate to watch the video for visual cues and extra tips that will ensure your rainbow bread turns out beautifully every time.
Rainbow Bread Recipe
Print Recipe
Celebrate the rainbow with this easy-to-make RAINBOW Bread! It’s a classic white bread recipe with a fun twist (literally!). It’s simple to make and such a fun baking project kids and adults alike will love.
Video Tutorial
Ingredients
- 2 ¼ teaspoon active dry yeast (1 packet)
- 1 cup lukewarm water*
- 1 tablespoon honey*
- 19.5 oz all-purpose flour (about 4 ⅓ cups)
- ½ cup lukewarm water
- 1 ¼ tsp fine sea salt
- 2 tablespoons honey*
- ½ tablespoon white vinegar
- 2 tablespoons unsalted butter, melted and cooled slightly
- Gel food coloring (I used red, orange, yellow, green, blue, and purple)
Instructions
- In the bowl of a stand mixer (or a large mixing bowl if kneading by hand), combine the first 1 cup of lukewarm water, 1 tablespoon of honey, and the active dry yeast. Stir gently to dissolve the yeast and allow the mixture to sit undisturbed for 10 minutes. During this time, the yeast should activate, creating a foamy layer on top. This foam indicates your yeast is alive and ready to work!
- Once the yeast is activated, add the all-purpose flour, the remaining ½ cup of lukewarm water, fine sea salt, the remaining 2 tablespoons of honey, white vinegar, and the slightly cooled melted butter to the bowl. If using a stand mixer, attach the dough hook and start mixing on low speed until a shaggy dough forms, usually within about a minute. Increase the speed slightly (to setting 3 on most stand mixers) and continue to knead the dough for 5 minutes. If kneading by hand, turn the dough out onto a lightly floured surface and knead vigorously for about 8-10 minutes until it becomes smooth and elastic.
- Turn the dough out onto a clean, lightly floured surface. Using a dough scraper or sharp knife, divide the dough into 6 roughly equal pieces. Remember, they don’t need to be perfectly exact; slight variations will enhance the unique tie-dye effect.
- Now for the fun part: coloring the dough! Work with one section of dough at a time. Put on your kitchen-grade gloves to protect your hands from staining. Add a few drops (start with 3-5 drops, you can always add more) of your desired gel food coloring to the dough. Fold the dough over the coloring to encapsulate it in the middle. Continue to fold and gently knead the dough for about 3-5 minutes until the color is fully and evenly incorporated and the dough feels smooth again. Be thorough to avoid streaks of white. If you find the color isn’t vibrant enough, add a few more drops and continue kneading. If you have a food processor, you can use it for this step, wiping down the bowl between each color to prevent mixing.
- Repeat this coloring process with the remaining 5 sections of dough, using a different rainbow color for each. Once all portions are colored, lightly grease 6 separate bowls. Place each colored dough ball into its own bowl, cover them with plastic wrap or a clean kitchen towel, and let them rise in a warm place for 1.5 to 2 hours, or until each dough ball has roughly doubled in size.
- Once risen, gently deflate each colored dough ball and turn it out onto a lightly floured surface. Using a rolling pin, press each dough ball into an oval shape, aiming for a length roughly equivalent to your 8×4 inch loaf pan. Carefully stack the colored ovals on top of each other, gently pressing down on the layers to encourage them to seal together. Starting from one of the long ends, tightly roll up the stacked dough into a log (refer to the video tutorial for a clear demonstration of this technique). Place the rolled dough seam-side down into a greased 8×4 inch loaf pan. Cover the pan again and let the dough undergo its second rise for another 1 hour.
- Approximately 30 minutes before you plan to bake, pre-heat your oven to 375 degrees F (190 degrees C). Bake the rainbow bread for 45-55 minutes. The bread is ready when the top is beautifully golden brown and a thermometer inserted into the center reads approximately 195 degrees F (90 degrees C).
- Once baked, remove the loaf from the oven and carefully transfer it to a wire rack to cool completely before attempting to slice it. Slicing warm bread can lead to a gummy texture. Store any leftover rainbow bread in an airtight container at room temperature for up to 5 days, and enjoy this delightful, colorful creation!
Notes for Success
Water Temperature: The lukewarm water should be between 98-100 degrees F (37-38 degrees C). This temperature is ideal for activating active dry yeast without killing it. If the water is too cold, the yeast won’t activate; too hot, and it will be destroyed.
Honey Substitution: If you prefer, you can easily substitute the honey with an equal amount of granulated white sugar. Both provide the necessary food for the yeast and a touch of sweetness to the bread.
Nutrition Information
Calories: 202kcal,
Carbohydrates: 40g,
Protein: 5g,
Fat: 2g,
Saturated Fat: 1g,
Polyunsaturated Fat: 0.3g,
Monounsaturated Fat: 1g,
Trans Fat: 0.1g,
Cholesterol: 5mg,
Sodium: 245mg,
Potassium: 58mg,
Fiber: 1g,
Sugar: 4g,
Vitamin A: 58IU,
Vitamin C: 0.03mg,
Calcium: 9mg,
Iron: 2mg
Nutrition information is automatically calculated and should be used as an approximation only. Actual values may vary based on specific ingredients and preparation methods.
There’s something truly magical about baking, especially when the end result is as visually stunning and personally meaningful as this Rainbow Bread. Beyond its vibrant appearance and delightful taste, this loaf embodies a spirit of celebration, creativity, and joy. It’s a reminder that simple ingredients can be transformed into something extraordinary with a little patience and a lot of heart. Whether you’re making it for Pride Month, a birthday, a special gathering, or just to brighten an ordinary day, this tie-dye bread is sure to be a showstopper. So gather your ingredients, don your apron, and get ready to bake a batch of happiness that’s as unique and colorful as you are!