
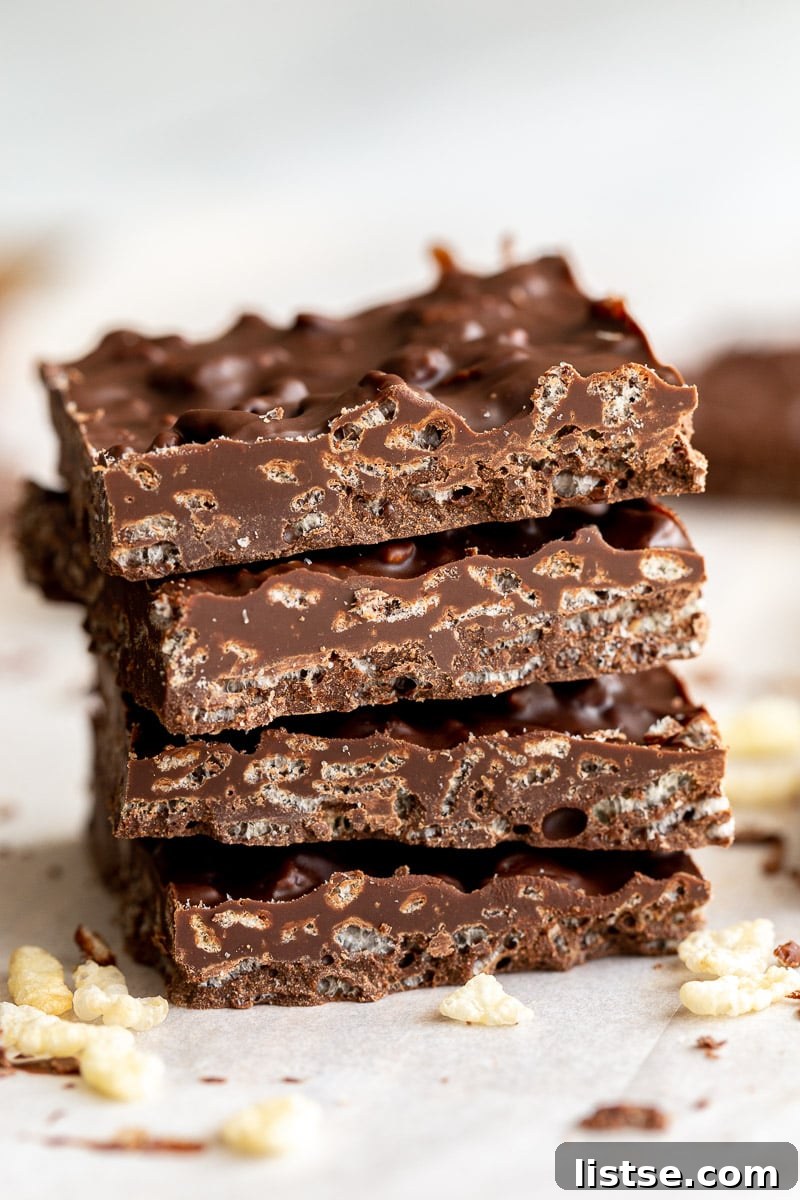
Get ready to rediscover a childhood favorite with these incredible Homemade Crunch Bars! Imagine sinking your teeth into a rich, chocolatey bar bursting with satisfying crispiness – and then imagine whipping it up with just three simple ingredients. This isn’t just a recipe; it’s a game-changer for anyone with a sweet tooth looking for an easy, no-fuss dessert that delivers maximum flavor with minimal effort. Forget complicated baking projects; these crunchy delights come together in a flash, making them the perfect treat to satisfy cravings, share with friends, or simply indulge in yourself. We’re talking about a quick and easy dessert that’s so good, you might just devour the entire batch in a day!
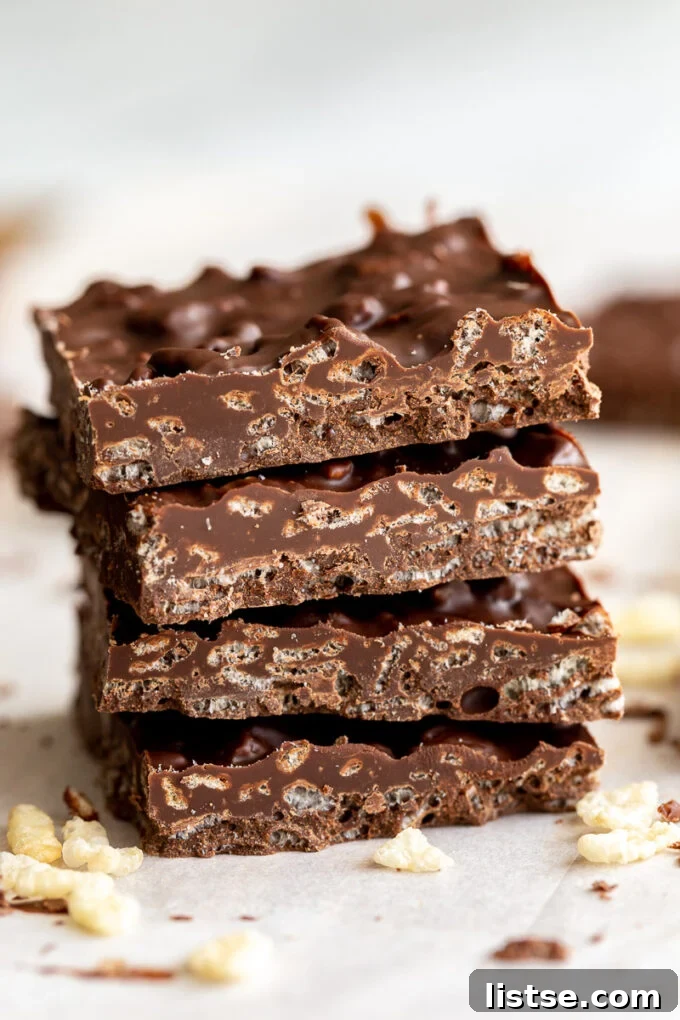
My excitement for this recipe is truly overflowing, and for excellent reason! Not only does it yield an undeniably DELICIOUS treat, but it also boasts a level of simplicity that makes it accessible to absolutely everyone, regardless of their baking experience. This isn’t just an “easy” recipe; it’s practically effortless, designed for those moments when you crave something special but are short on time or energy. It’s the kind of recipe you’ll commit to memory and turn to repeatedly, whether you’re surprising guests, making a quick snack for the kids, or simply treating yourself after a long day.
The Magic of Simplicity: Why You’ll Adore These Easy Crunch Bars
What makes these easy crunch bars an absolute standout in the world of homemade sweets? It’s their incredibly straightforward approach to delivering pure joy. You’ll be thrilled to know that this recipe proudly requires:
- NO BAKING AT ALL: That’s right! Keep your oven off and your kitchen cool. These bars set up beautifully in the freezer, making them ideal for warm weather or when you simply prefer a no-bake option. This means less cleanup and more time enjoying your delicious creation.
- JUST 3 INGREDIENTS: Minimalism at its finest! You won’t need a pantry full of exotic items. The core of this recipe relies on three common staples, proving that extraordinary flavor doesn’t have to come from a complex ingredient list. This also makes them incredibly budget-friendly.
- READY IN JUST 20 MINUTES: From melting chocolate to slicing and serving, these quick dessert ideas are perfect for instant gratification. The brief freezer time is the only waiting you’ll do, ensuring you get to enjoy your treat almost as soon as the craving strikes.
This trifecta of convenience ensures that you can whip up a batch of these delightful chocolate rice crispy treats whenever the mood strikes, without any stress or fuss. It’s the ultimate solution for a fast, delicious, and satisfying homemade dessert.
Mastering the Three Core Ingredients for Perfect Crunch Bars
The beauty of these 3-ingredient crunch bars lies in the quality and synergy of their simple components. Choosing the right ingredients and understanding their roles will elevate your homemade candy to perfection. Here’s a closer look at what we’re using:
- Chocolate: The Foundation of Flavor
I personally gravitate towards dark chocolate chips for their rich, intense flavor that beautifully balances the sweetness and crispiness of the bars. However, the true versatility of this recipe shines here: feel free to use any type of chocolate you love! Milk chocolate chips will yield a sweeter, creamier bar, reminiscent of classic store-bought versions. Semi-sweet chocolate offers a delightful middle ground. For a unique twist, you could even try white chocolate, perhaps with a touch of vanilla extract. The key is to use good quality chocolate chips or finely chopped chocolate bars, as this will directly impact the final taste and texture. Ensure your chocolate is fresh and not bloomed for the best melting experience.
- Oil: The Secret to Smoothness and Set
My go-to choice is coconut oil, and here’s why: it melts beautifully and solidifies firmly when chilled, giving the crunch bars their structure and a lovely sheen. The slight coconut aroma typically found in unrefined coconut oil is very subtle when combined with chocolate and rice crispies, but if you prefer absolutely no coconut flavor, opt for refined coconut oil or another neutral-flavored oil. Melted butter is another excellent alternative, adding a rich, buttery note to your chocolate. Other neutral oils like vegetable oil, canola oil, or even a light olive oil can work, but coconut oil or butter generally provide the best texture and firmness once set. The oil helps to create a smooth, pliable chocolate mixture that easily coats the cereal and prevents the chocolate from becoming too hard or brittle when cooled.
- Rice Crispy Cereal: The Irresistible Crunch Factor
This is where the “crunch” in homemade crunch bars truly comes from! Rice crispy cereal provides that signature light, airy, and utterly satisfying texture that makes these bars so addictive. Its delicate structure holds up wonderfully when coated in chocolate, offering a delightful contrast to the smooth, rich chocolate. For best results, ensure your cereal is fresh and crispy – stale cereal will result in a less satisfying texture. While classic rice crispies are ideal, you can experiment with other puffed cereals for a variation, though the unique texture of rice crispies is truly what makes these bars iconic. Look for brands known for their crispness to ensure every bite delivers that delightful pop.
Optional Additions & Flavor Boosters
While the beauty of this recipe lies in its simplicity, there’s always room for a little extra flair! Consider these optional ingredients to customize your DIY crunch bars:
- Sea Salt: A tiny sprinkle of flaky sea salt over the top before chilling can truly elevate the flavors, creating that irresistible sweet and salty combination that makes chocolate sing.
- Vanilla Extract: A splash of good quality vanilla extract (about ½ teaspoon) added to the melted chocolate can deepen its flavor profile and add a comforting aroma.
- Nut Butters: For an added layer of flavor and richness, a tablespoon of creamy peanut butter or almond butter can be stirred into the melted chocolate. This will make the chocolate slightly thicker, so ensure it’s still pourable.
- Sprinkles: If you’re making these for a celebration or just to brighten your day, colorful sprinkles can add a festive touch. Add them on top just after spreading the mixture into the pan.
- Chopped Nuts: A small amount of finely chopped pecans, almonds, or walnuts could be folded into the mixture for extra texture and nutty flavor, turning them into a gourmet chocolate snack.
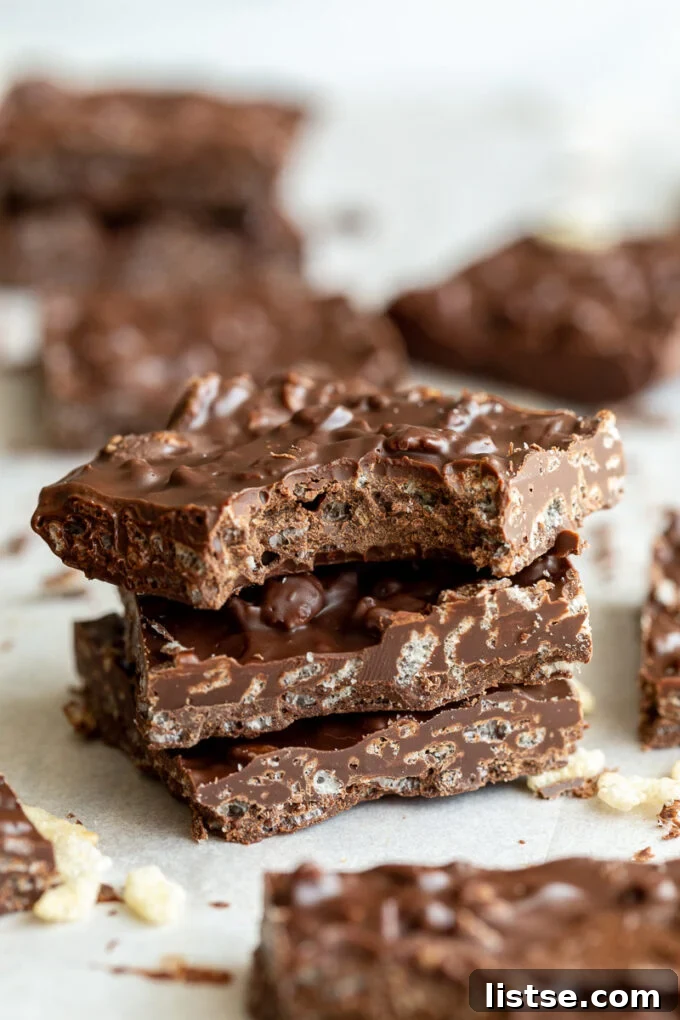
Homemade Crunch Bars: The Easy Recipe Card
Easy Homemade Crunch Bars
Author: Brita Britnell | Prep Time: 5 mins | Total Time: 5 mins | Yields: 12 servings
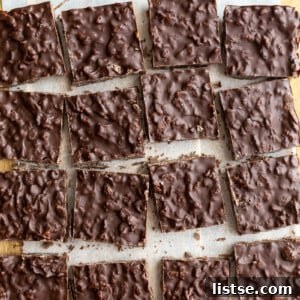
These Homemade Crunch Bars are made with just 3 simple ingredients and they’re so ridiculously easy to throw together! Store them in the fridge for an easy dessert anytime the sweet tooth strikes.
Ingredients
- 1 ½ cups chocolate chips, I love dark chocolate in this!
- 1 tablespoon coconut oil, or other neutral oil
- 1 ¼ cups rice crispy cereal
- optional sea salt for sprinkling at the end
Instructions
-
In a large, microwave-safe bowl or measuring cup, combine the chocolate chips and coconut oil. Microwave on high for 30-second intervals, stirring thoroughly after each interval. Continue this process until the chocolate is completely smooth and melted, ensuring no lumps remain. Be careful not to overheat the chocolate, as it can seize.
-
Once the chocolate mixture is fully melted and smooth, gently add in the rice crispy cereal. Use a spatula to fold the cereal into the chocolate until every piece is evenly coated. Work relatively quickly, as the chocolate will begin to cool and thicken.
-
Prepare an 8×8 or 9×9 inch square baking pan by lining it with parchment paper, leaving an overhang on the sides to easily lift the bars out later. Pour the chocolate and cereal mixture into the prepared pan. Using the back of a spoon or a spatula, spread the mixture out evenly, pressing down gently to ensure it’s compact and smooth across the surface. For an extra touch, sprinkle with sea salt if desired. Place the pan in the freezer for about 20 minutes, or until the mixture is completely hardened and firm to the touch.
-
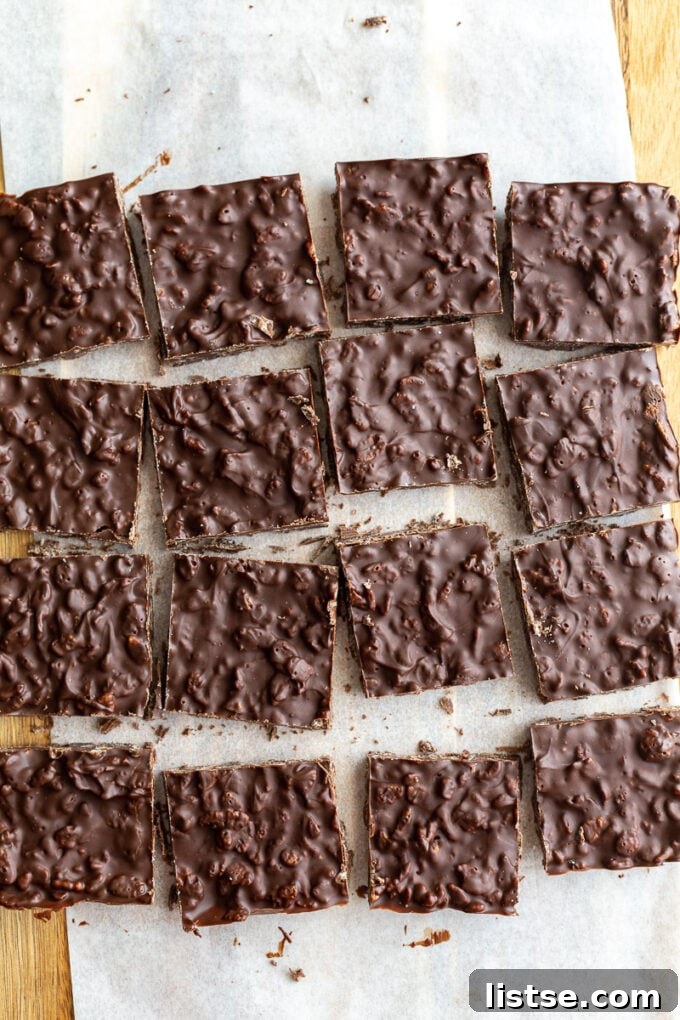
Once fully set, lift the parchment paper out of the pan and place the block of crunch bars onto a cutting board. Use a sharp knife to cut the large slab into 12 equal squares or rectangles, depending on your preference. Serve immediately and enjoy the satisfying crunch! Store any leftover bars in an airtight container in the fridge or freezer to maintain their freshness and crisp texture.
Nutrition Facts (per serving)
Carbohydrates: 17g,
Protein: 0.2g,
Fat: 8g,
Saturated Fat: 5g,
Polyunsaturated Fat: 0.04g,
Monounsaturated Fat: 0.1g,
Sodium: 15mg,
Potassium: 68mg,
Fiber: 0.01g,
Sugar: 13g,
Vitamin A: 194IU,
Vitamin C: 2mg,
Calcium: 16mg,
Iron: 1mg
Note: Nutrition information is an estimate and may vary based on specific ingredients and preparation.
Tips for Perfect Crunch Bars Every Time
Achieving that ideal crunch bar texture and flavor is easy, but a few key tips can make all the difference for your easy no-bake treats:
- Don’t Overheat the Chocolate: When melting your chocolate and oil, use short bursts in the microwave and stir frequently. Overheated chocolate can become grainy or seize, making it difficult to work with. Low and slow is the way to go for a perfectly smooth consistency.
- Work Quickly: Once the chocolate is melted, incorporate the rice crispy cereal swiftly. The chocolate will start to cool and thicken, making it harder to coat the cereal evenly. Have your pan lined and ready to go before you even start melting.
- Press Firmly: After pouring the mixture into the pan, use a spatula or the back of a spoon to press it down firmly and evenly. This ensures a compact bar that won’t crumble when cut and gives you that satisfying density.
- Chill Thoroughly: Don’t rush the chilling process. Allowing the bars to fully harden in the freezer for at least 20 minutes (or longer in the fridge) is crucial for clean cuts and a stable bar. If you try to cut them too soon, they might be messy.
- Use a Sharp Knife: For clean, professional-looking cuts, use a large, sharp chef’s knife. You can warm the knife slightly under hot water and wipe it dry between cuts to prevent sticking, especially if using a softer chocolate like milk chocolate.
Unleash Your Creativity: Exciting Crunch Bar Variations
While the classic chocolate crunch bars are undeniably delicious, this basic recipe is a fantastic canvas for endless creativity. Experimenting with different ingredients can transform these simple treats into gourmet delights:
- Peanut Butter Crunch Bars: Stir 2-3 tablespoons of creamy peanut butter into the melted chocolate and oil mixture before adding the cereal. The added nutty flavor is a delightful complement.
- White Chocolate Raspberry Crunch Bars: Use white chocolate chips and add a handful of freeze-dried raspberries (crushed slightly) along with the rice crispies. The tartness of the raspberries balances the sweet white chocolate beautifully.
- Mint Chocolate Crunch Bars: Add a few drops of peppermint extract (start with ¼ teaspoon and add more to taste) to the melted dark or semi-sweet chocolate. You could even top them with crushed peppermint candies.
- Holiday Spice Crunch Bars: Infuse your chocolate with a pinch of cinnamon, nutmeg, or even a touch of pumpkin spice for a festive twist, perfect for seasonal gatherings.
- Tropical Crunch Bars: Use white chocolate and fold in a small amount of toasted coconut flakes and dried mango bits along with the cereal.
- Dark Chocolate Pretzel Crunch Bars: For an extra salty kick, crush some pretzels and mix them in with the rice crispies, or sprinkle them on top before chilling.
- Nutty Crunch Bars: Fold in a quarter cup of finely chopped nuts like almonds, pecans, or walnuts along with the rice crispy cereal for added texture and flavor.
These variations prove that your homemade crunch bars can be as simple or as sophisticated as you desire, making them truly versatile for any occasion or preference.
Storing Your Delicious Homemade Crunch Bars
One of the best things about these simple homemade candy bars is how well they store, ensuring you always have a delightful treat on hand for those unexpected sweet cravings. To maintain their fresh taste and crispy texture:
- Refrigerator Storage: Store the cut crunch bars in an airtight container in the refrigerator for up to 1-2 weeks. Chilling them helps keep the chocolate firm and the cereal crisp.
- Freezer Storage: For longer storage, place the bars in a freezer-safe, airtight container, separating layers with parchment paper to prevent sticking. They will keep well in the freezer for up to 1-2 months. Thaw them in the fridge or at room temperature for a few minutes before enjoying.
- Serving Temperature: While delicious straight from the fridge, letting them sit at room temperature for 5-10 minutes can slightly soften the chocolate, enhancing its melt-in-your-mouth quality, though they are perfectly delightful chilled.
These versatile storage options make these no-bake dessert recipes perfect for meal prepping your sweet treats or having an emergency dessert ready for any occasion. They are truly the ultimate family-friendly dessert!
So, there you have it – a recipe for Homemade Crunch Bars that’s not only incredibly easy and quick but also remarkably versatile and absolutely delicious. Whether you stick to the classic three ingredients or venture into creative variations, these bars are guaranteed to become a beloved staple in your home. Don’t just take my word for it; give them a try!
Tried this recipe?
Mention @foodwithfeeling or tag #foodwithfeeling! We’d love to see your creations!