
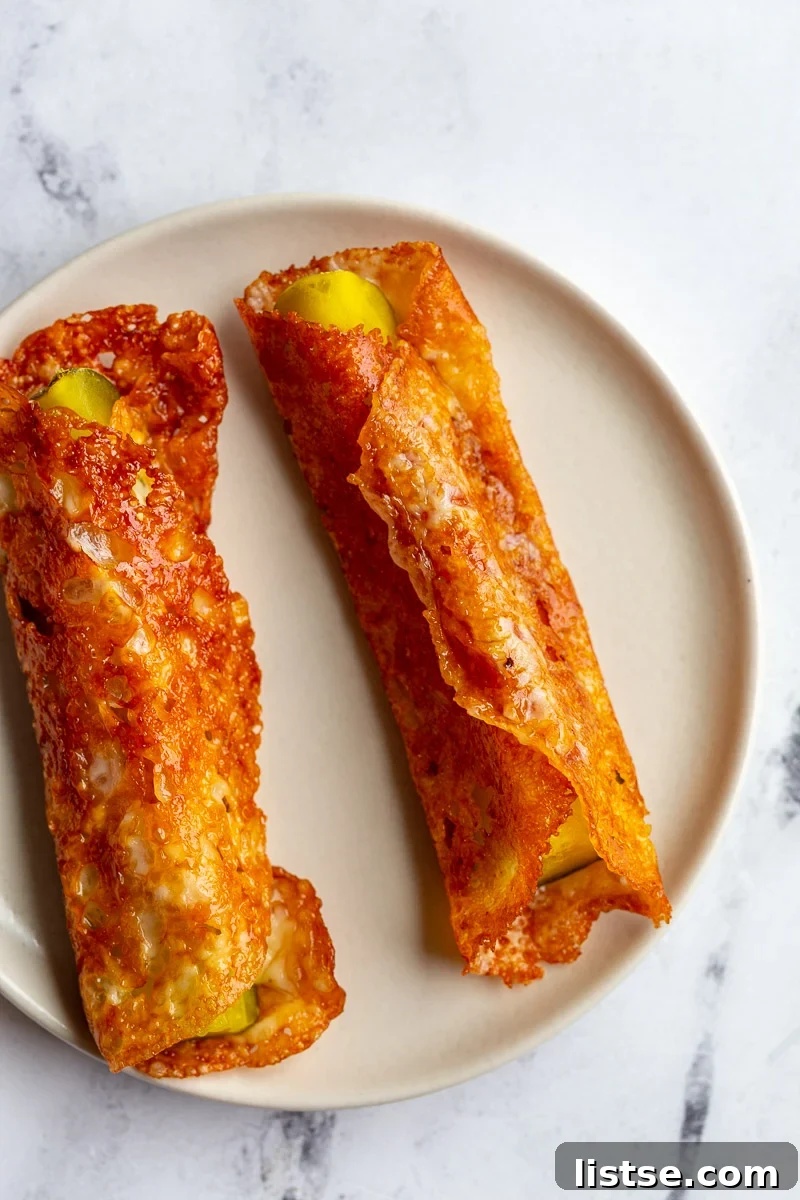
Crispy Fried Cheese Pickles: The Irresistible TikTok Viral Snack
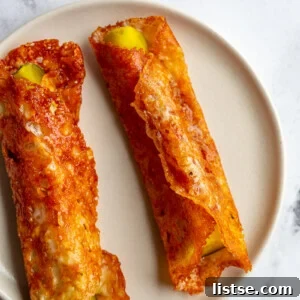
Get ready to indulge in the latest culinary sensation sweeping social media: Fried Cheese Pickles! This ingenious snack combines the tangy crunch of a pickle with the irresistible savory crisp of fried cheese, creating a taste and texture explosion that’s surprisingly simple to achieve. Dubbed ‘Pickle in a Blanket’ by its legion of fans, this viral recipe has taken TikTok and beyond by storm, captivating food enthusiasts with its unique flavor profile and effortless preparation.
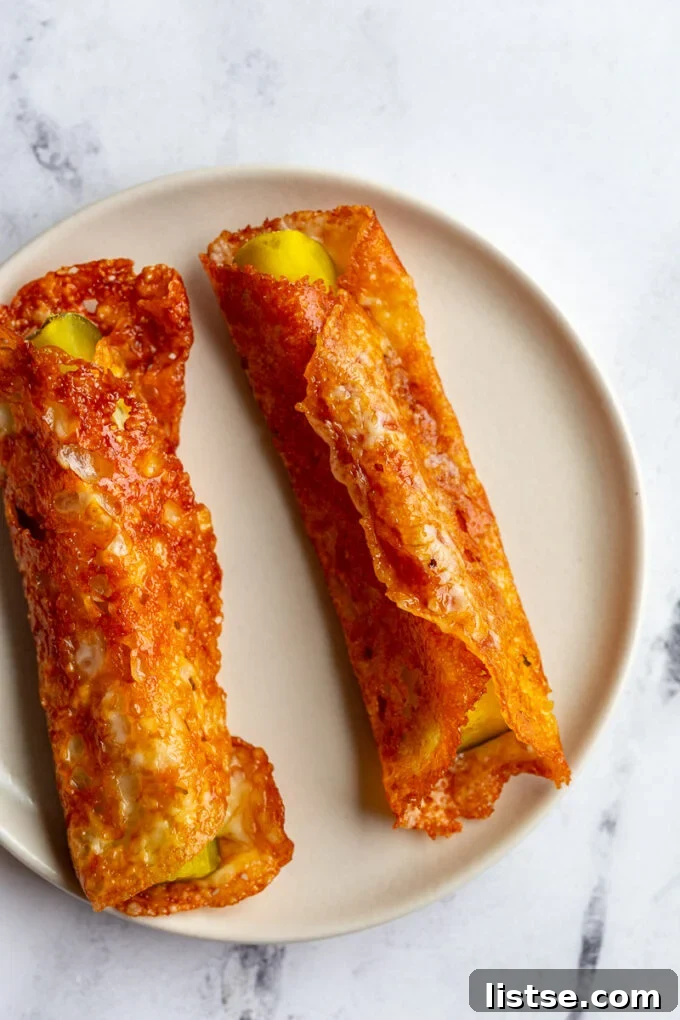
The beauty of this trend lies in its minimalist approach. With just two main ingredients – cheese and pickles – you can create a remarkably satisfying bite that’s perfect for a quick snack, an unexpected appetizer, or a conversation-starting party food. While many first encountered this delightful treat through viral videos, the concept is timeless: simple ingredients transformed into something extraordinary. If you haven’t jumped on this bandwagon yet, now is the perfect time to discover your new favorite salty indulgence.
The Rise of a TikTok Sensation: Why Pickle in a Blanket Went Viral
TikTok has become a powerhouse for launching food trends, and the Fried Cheese Pickle is a prime example of its influence. A simple video demonstrating how to wrap a pickle in cheese and fry it sparked a frenzy, with millions of views, likes, and recreations across the globe. The initial video, which you can check out here, perfectly captured the essence of what makes a recipe go viral: it’s easy, visually appealing, and delivers on its promise of deliciousness. The trend quickly spread to other platforms, solidifying its status as a must-try snack.
What makes this snack so compelling for a digital audience? It’s the unique combination of unexpected flavors and textures. The briny tang of the pickle, encapsulated within a salty, caramelized cheese shell, offers a sensory experience that’s both familiar and novel. Plus, the cooking process itself is captivating: watching a simple slice of cheese melt, crisp up, and transform into a crunchy wrap is incredibly satisfying. It’s a low-effort, high-reward recipe that anyone can master, making it perfect for sharing with friends or impressing guests with minimal fuss.
Choosing Your Cheese: The Foundation of Flavor and Crunch
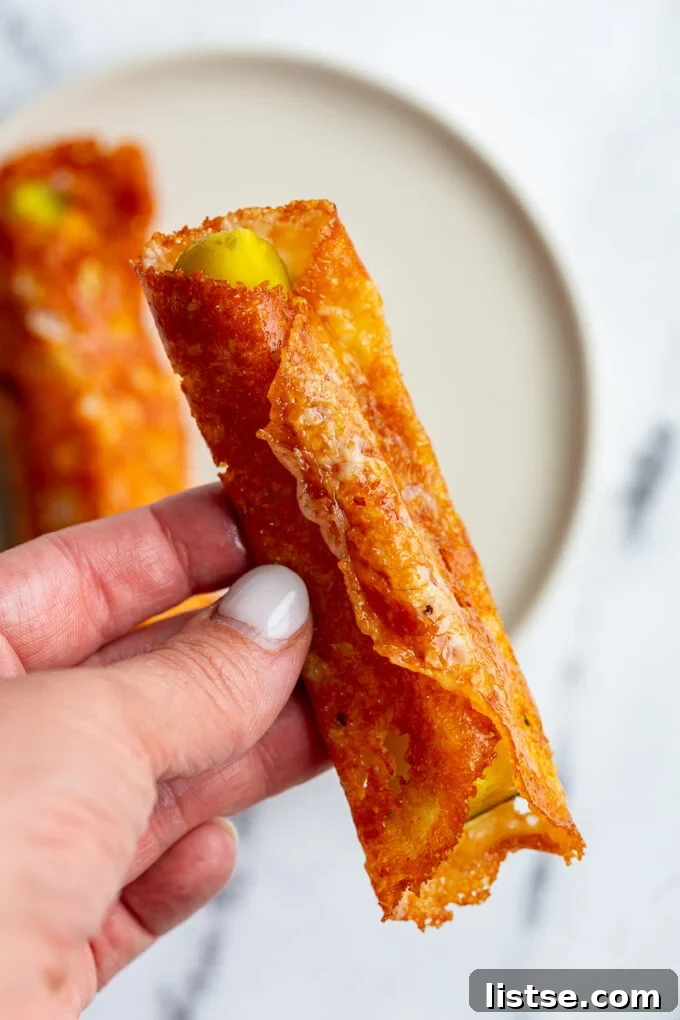
While the original recipe often features a slice of provolone cheese, the beauty of Fried Cheese Pickles is their versatility. Different cheeses offer unique flavor profiles and textural qualities, allowing for endless experimentation. Provolone is an excellent choice for its mild flavor and fantastic melting properties, creating a beautifully even and crispy crust. However, don’t hesitate to venture beyond! Many enthusiasts have found success with a variety of options.
Popular Cheese Choices:
- Cheddar: For a sharper, more robust flavor that pairs wonderfully with the pickle’s tang. It crisps up beautifully, offering a satisfying bite.
- Mozzarella: A milder option that creates a slightly chewy interior and a delicate crisp exterior. Great for those who prefer a less intense cheese flavor.
- Monterey Jack: Known for its excellent melting characteristics, Monterey Jack delivers a smooth, buttery crisp.
- Gouda: Offers a slightly nutty and creamy flavor that adds a sophisticated twist to the snack.
- Pepper Jack: If you love a hint of spice, Pepper Jack is a fantastic choice, infusing a subtle heat into every bite.
Beyond sliced cheese, many have also successfully experimented with shredded cheese. While sliced cheese provides a uniform blanket, shredded cheese can create a more rustic, lacy, and intensely crispy exterior. If using shredded cheese, simply pile a small mound in your non-stick skillet and allow it to melt and crisp before adding the pickle. The key is to choose a cheese that melts well and can achieve that coveted golden-brown crispness without burning.
The Secret to Perfection: Low Heat and Patience
Achieving the perfect Fried Cheese Pickle isn’t complicated, but it does require a specific technique: low heat and patience. This is the absolute KEY to transforming a simple slice of cheese into a golden, crispy shell that beautifully encases your pickle. Trying to rush the process on high heat will only lead to burnt cheese and a disappointing outcome. Instead, embrace the slow cook.
On most stovetops, this means turning the heat down as low as it can possibly go. For a gas stove, aim for the smallest flame. If you’re using an electric stove, set it to its lowest or second-lowest setting. Place your chosen slice of cheese directly into a medium non-stick skillet – there’s no need to add any oil or butter, as the cheese will release its own fats as it cooks. Let the cheese cook undisturbed for a significant period, typically 4-5 minutes, sometimes even up to 6 or 7 minutes, depending on your stove and cheese thickness. You’ll know it’s ready when the edges of the cheese begin to turn a deep golden brown and become visibly crispy, while the center is fully melted and bubbly.
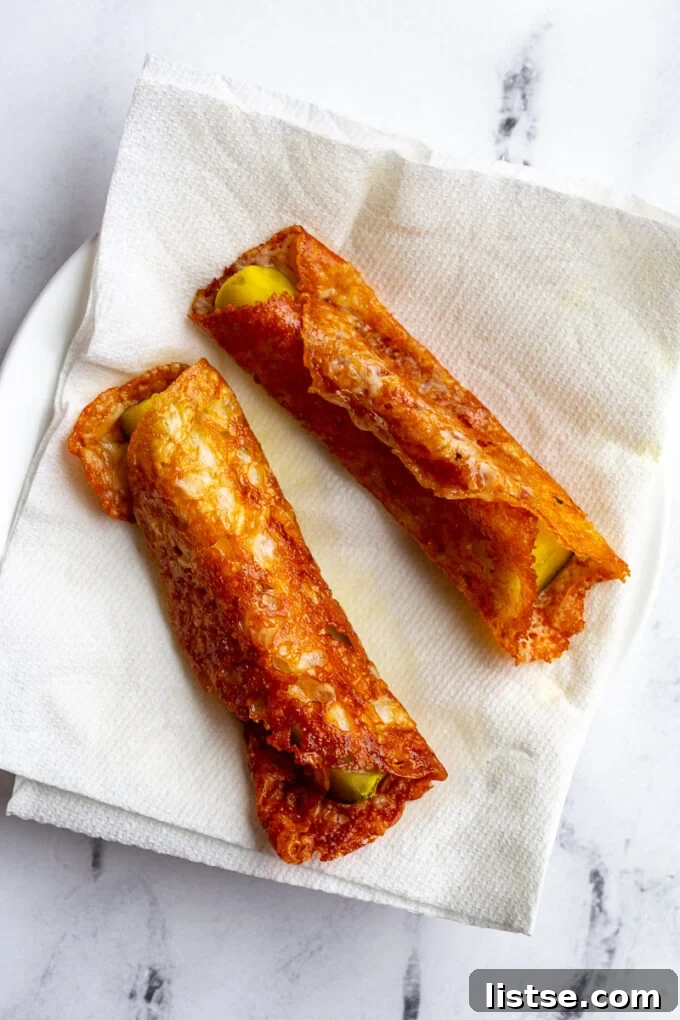
Once the cheese has reached this golden, crispy stage, gently place a pickle spear in the center. Using a heat-resistant spatula, carefully fold the crispy cheese edges over the pickle, essentially creating its “blanket.” Continue to cook for just one additional minute to ensure the cheese adheres properly and fully wraps the pickle. Immediately transfer your newly formed Fried Cheese Pickle to a plate lined with a paper towel. This crucial step helps absorb any excess grease, ensuring maximum crispness. Allow it to cool for a couple of minutes – this helps the cheese harden completely, giving you that satisfying snap with every bite. The wait is worth it for that perfect texture!
Making the Best Pickle Choice and Other Tips
Just as important as your cheese choice is the pickle itself. For the classic “Pickle in a Blanket,” pickle spears are the go-to, as their shape is ideal for wrapping. Look for good quality, firm dill pickle spears that offer a strong, tangy flavor. The briny kick is essential to balance the richness of the cheese. Before cooking, gently pat your pickle spears dry with a paper towel. Removing excess moisture prevents the cheese from becoming soggy and helps achieve a better bond between the pickle and its crispy cheese coating.
Beyond the Basics: Variations and Serving Ideas
Once you’ve mastered the basic Fried Cheese Pickle, the opportunities for customization are endless:
- Spicy Kick: Add a pinch of red pepper flakes to the melting cheese, or opt for a hot pickle spear.
- Herb Infusion: Sprinkle dried herbs like oregano, basil, or a dash of garlic powder onto the cheese before it crisps for an aromatic twist. Everything bagel seasoning is also a fantastic addition!
- Dipping Delights: While delicious on their own, Fried Cheese Pickles pair wonderfully with various dipping sauces. Try ranch dressing, sriracha mayo, honey mustard, or a simple sour cream and chive dip.
- Mini Bites: For party appetizers, use smaller pickle slices or chips and wrap them in smaller portions of cheese.
These savory snacks are perfect for game nights, movie marathons, or as a unique addition to any appetizer spread. They’re also naturally low-carb and keto-friendly, making them a fantastic option for those following specific dietary plans without sacrificing flavor.
Common Mistakes to Avoid
While the recipe is simple, a few common pitfalls can hinder perfection:
- High Heat: As emphasized, high heat is the enemy of a perfectly crispy cheese blanket. Stick to low heat to allow the cheese to caramelize slowly.
- Not Drying the Pickle: Wet pickles introduce steam, which can prevent the cheese from crisping and make it soggy. Always pat them dry.
- Impatient Wrapping: Don’t rush the wrapping process. Ensure the cheese is sufficiently crispy before attempting to fold it, or it might tear.
Tiktok’s Pickle in a Blanket
By Brita Britnell
Print Recipe
Ingredients
- 1 slice cheese (e.g., Provolone, Cheddar, Monterey Jack)
- 1 pickle spear
Instructions
- In a medium non-stick skillet, place your slice of cheese in the middle (no need to grease the skillet). Turn the heat to LOW (aim for the lowest heat possible on your stove). Let it cook for 4-5 minutes until the cheese has browned and crisped all around the edges.
- Place the pickle spear in the middle of the crispy cheese. Using a spatula, gently wrap the cheese around the sides of the pickle. Cook for 1 additional minute to ensure the cheese fully adheres.
- Remove the wrapped pickle to a paper towel-lined plate to absorb any excess grease.
- Let it cool for a couple of minutes so the cheese can harden fully and become perfectly crispy. ENJOY your delicious Fried Cheese Pickle!
Notes
You can also use shredded cheese. Simply form a small pile of shredded cheese in the pan and allow it to melt and crisp before adding the pickle.
Nutrition
Calories: 122kcal,
Carbohydrates: 2g,
Protein: 7g,
Fat: 10g,
Saturated Fat: 5g,
Polyunsaturated Fat: 0.4g,
Monounsaturated Fat: 2g,
Cholesterol: 28mg,
Sodium: 708mg,
Potassium: 94mg,
Fiber: 1g,
Sugar: 1g,
Vitamin A: 400IU,
Vitamin C: 1mg,
Calcium: 233mg,
Iron: 0.2mg
Nutrition information is automatically calculated and should only be used as an approximation.
Tried this recipe?
Mention @foodwithfeeling or tag #foodwithfeeling on Instagram!