
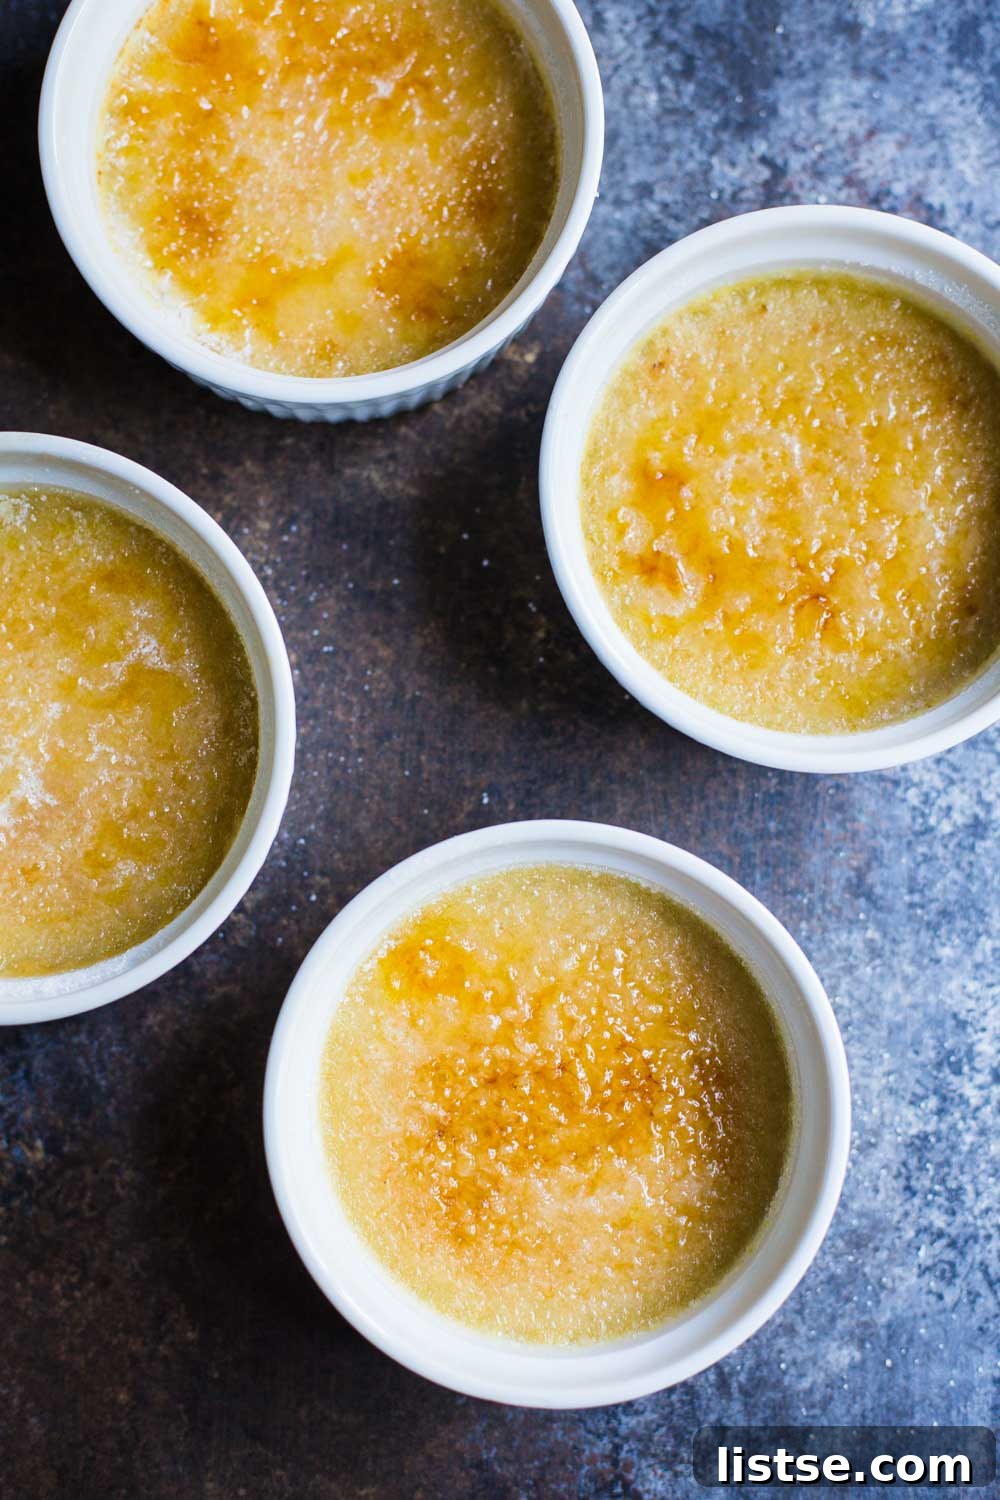
Indulge in a classic dessert with a delightful twist! This Dairy-Free Crème Brûlée recipe reimagines the beloved French custard, using rich coconut cream in place of traditional heavy cream. The result is a surprisingly easy-to-make, utterly delicious, and perfectly creamy treat that’s ideal for home chefs and special occasions alike. Get ready to impress with this plant-based masterpiece!
Indulge Guilt-Free: The Ultimate Dairy-Free Crème Brûlée with Coconut Cream
There’s something inherently celebratory about Crème Brûlée. That satisfying crack of caramelized sugar giving way to a velvety, rich custard below is pure culinary magic. But what if you could enjoy this elegant dessert without dairy, making it accessible to more people, or simply exploring new flavor profiles? Today, we’re diving into the world of dairy-free desserts with a recipe that truly shines: a luscious Crème Brûlée made with the creamy goodness of coconut cream.
This past week has been a whirlwind of creative energy for me. I recently launched two new videos on my YouTube channel, and I’m absolutely loving the process of bringing recipes to life through video. It’s breathed new zeal into my content creation, and I’m thoroughly enjoying exploring different visual styles and techniques. The engagement from you, my wonderful community, has been overwhelming, with so many kind comments and questions about my video-making process. It’s inspiring to see how deeply video connects with people, sparking conversations and shares in a way that sometimes even the most beautiful static photo can’t quite capture.
It’s this renewed passion that fueled the development of today’s recipe: a Dairy-Free Crème Brûlée that I’m absolutely thrilled to share. As hinted in my “Am I going vegan?” video, this creation has been a labor of love, requiring a few rounds of testing to perfect the balance of temperature and timing. But I can confidently say, I’ve nailed it. This recipe isn’t just a substitute; it’s a genuinely delicious dessert in its own right, offering a unique richness and a subtle hint of tropical flavor from the coconut.
Why Choose Dairy-Free Crème Brûlée? A World of Flavor and Inclusivity
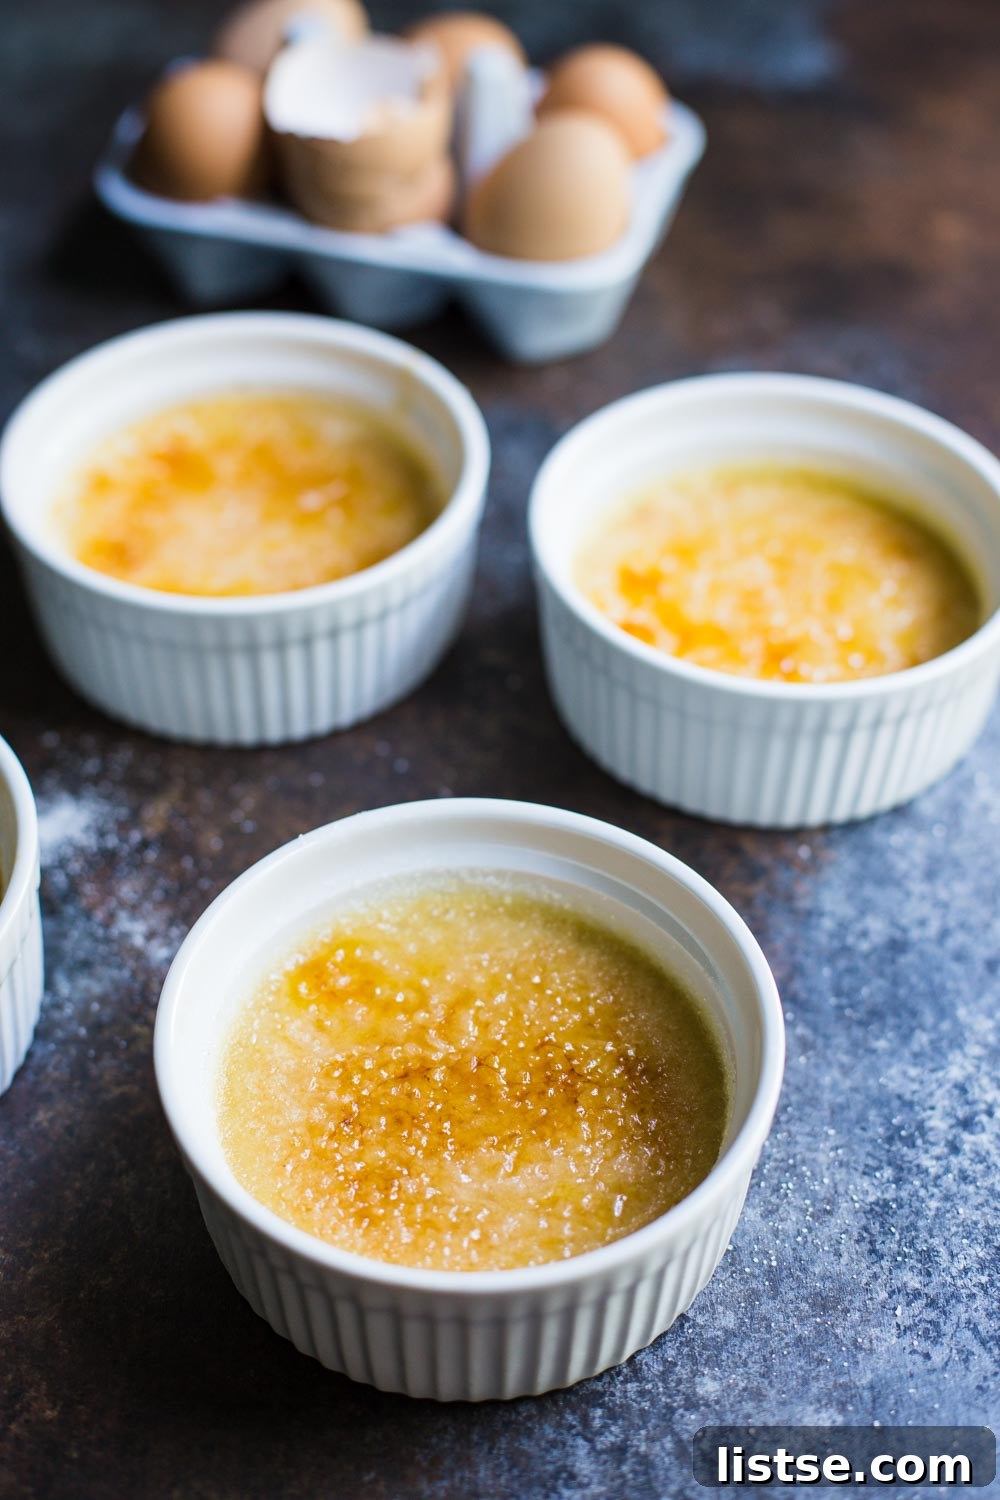
The beauty of this dairy-free version extends beyond just dietary restrictions. While it’s an excellent option for those with lactose intolerance, dairy allergies, or following a vegan lifestyle, it also introduces a fascinating depth of flavor. Coconut cream, when properly used, delivers an unparalleled richness and silkiness, mimicking the luxurious texture of heavy cream beautifully. It imparts a delicate, sweet, and nutty undertone that elevates the classic crème brûlée profile, offering a fresh take on a beloved dessert. This isn’t a compromise; it’s an enhancement, making a sophisticated dessert accessible and exciting for a wider audience.
Mastering Crème Brûlée at Home: Easier Than You Think!
If the thought of making crème brûlée at home seems daunting, let me assure you, it’s surprisingly straightforward. Many people are intimidated by the torching process, but a kitchen torch is an inexpensive and incredibly fun tool to have in your culinary arsenal. I received mine as a gift, but you can find them easily online for under $20. Beyond crème brûlée, a torch opens up a world of possibilities – think indoor s’mores when a campfire isn’t an option, or perfectly browning meringues. It adds a touch of theatricality to your cooking and is genuinely enjoyable to use.
Getting Started: Essential Ingredients for Your Dairy-Free Delight
The magic begins with a handful of simple ingredients. Our star, of course, is full-fat coconut cream. It’s crucial to use coconut cream, not coconut milk, and to remove any excess liquid from the can for the best results – we want that thick, rich creaminess. For flavor, vanilla is key. While a vanilla bean offers an unparalleled depth and aroma, let’s be honest, they can be quite expensive. For everyday indulgence, a good quality vanilla extract works perfectly well, and it’s what I typically use, reserving precious vanilla beans for truly special occasions. Alongside these, you’ll need sugar for sweetness and those essential egg yolks to create the custard’s signature silky texture.
Step-by-Step Guide to Perfection: Crafting Your Crème Brûlée Base
The process itself is wonderfully simple. We begin by gently warming the coconut cream with the vanilla. If using a vanilla bean, split it lengthwise and scrape out the fragrant seeds, adding both the bean and seeds to the cream for maximum infusion. If using extract, stir it in just before the cream simmers. The goal here is to infuse the cream with vanilla and bring it to a gentle simmer, not a rolling boil, which could affect the final texture. Once simmering, remove it from the heat, cover, and let it steep for about 15 minutes. This step allows the vanilla flavor to truly blossom and permeate the cream.
While the vanilla-infused coconut cream is resting, we turn our attention to the egg and sugar mixture. In a separate bowl, the sugar and egg yolks are thoroughly creamed together. This process, ideally done with a stand mixer or a hand mixer, helps dissolve the sugar and incorporates air into the yolks, resulting in a lighter, fluffier mixture that will contribute to the smooth texture of the finished custard. You’ll notice the yolks transform, becoming lighter in color and slightly thicker.
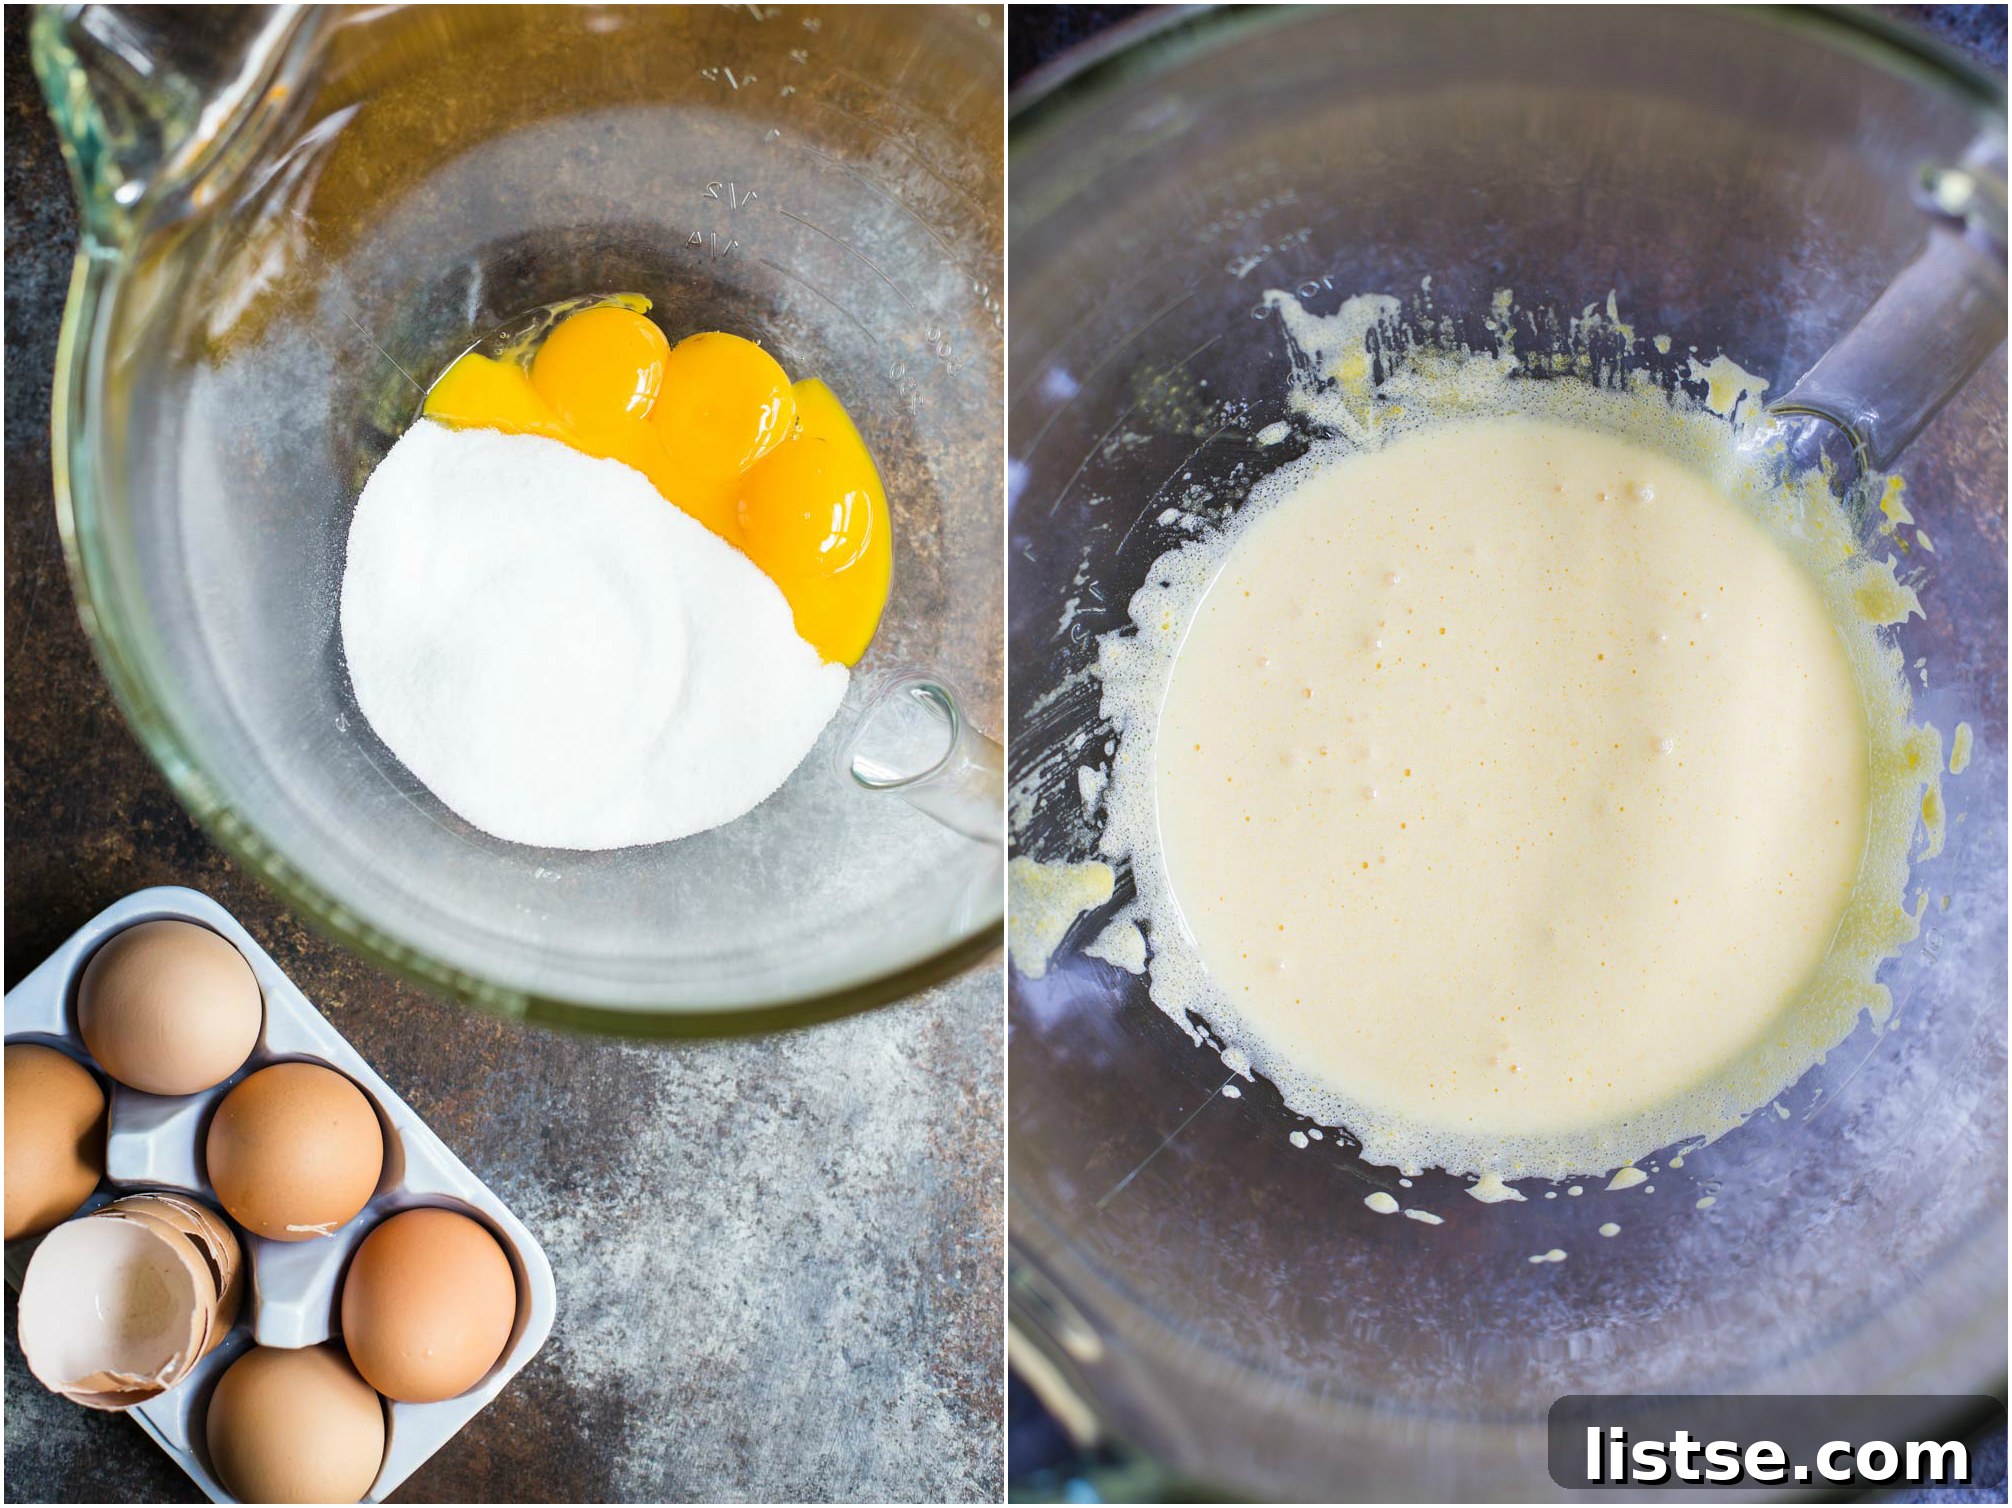
Next, the warm vanilla-coconut cream is slowly tempered into the egg and sugar mixture. Tempering is crucial: it means gradually adding the hot liquid to the eggs while continuously whisking. This prevents the eggs from scrambling, gently bringing them up to temperature and creating a smooth, homogenous custard base. Once combined, believe it or not, the most challenging part is already done!
Now, it’s time to prepare for baking. Divide the crème brûlée mixture evenly into four ramekins. If you don’t have individual ramekins, you can use a single larger oven-safe dish, though you’ll need to adjust the baking time accordingly. A larger dish will typically require a longer cooking time.
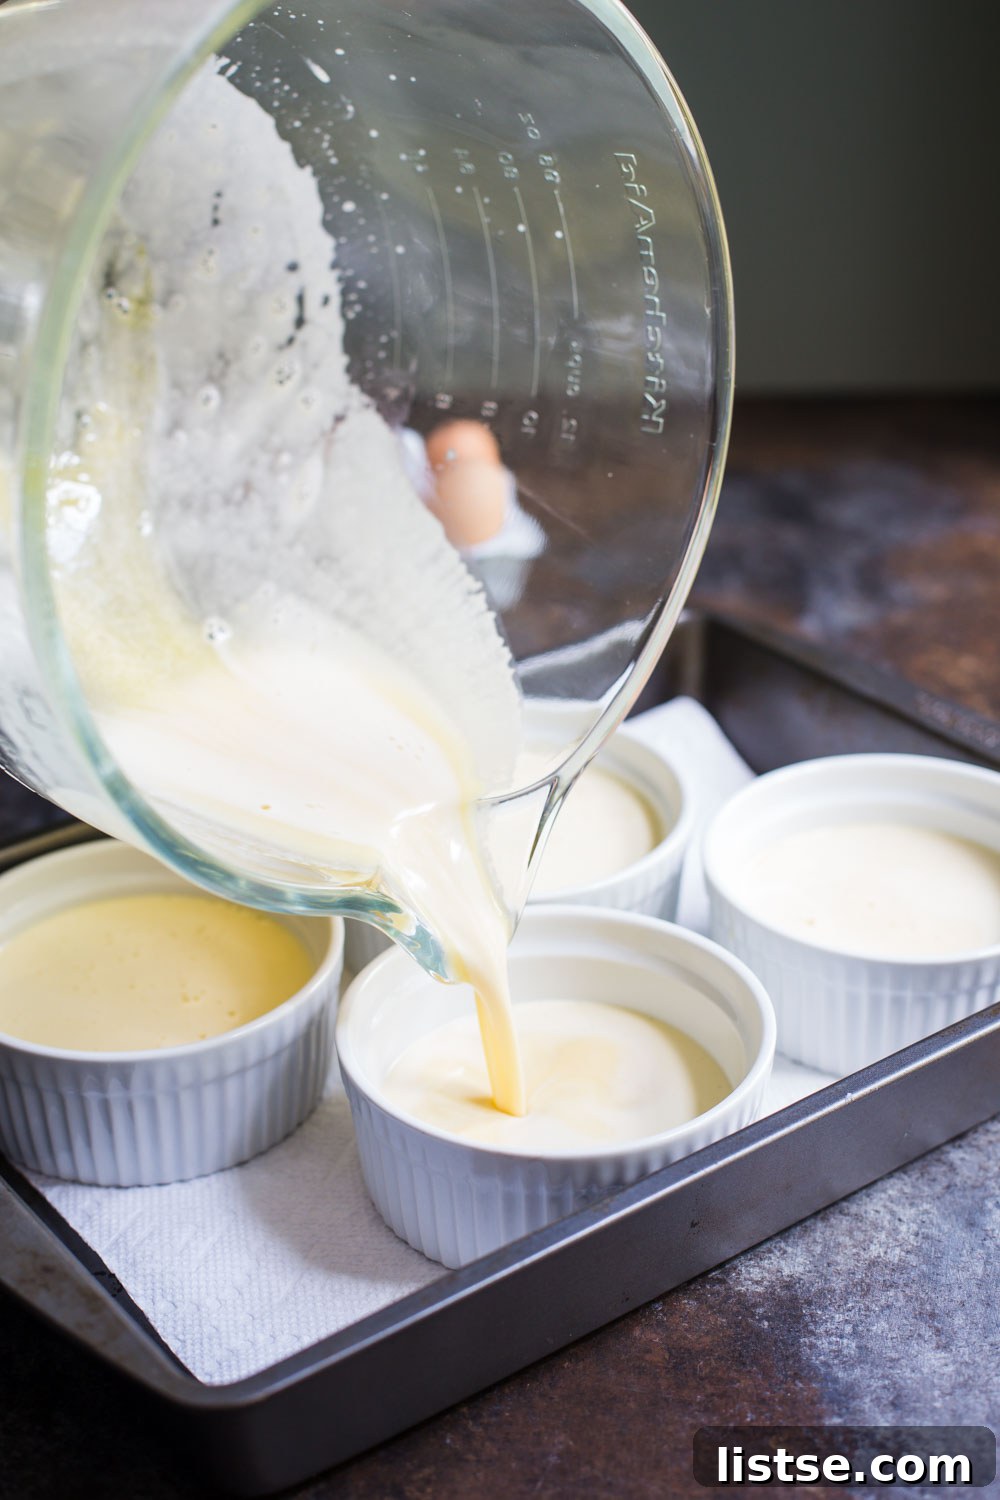
The Art of Baking: Achieving the Perfect Custard Texture
For an impeccably smooth and evenly cooked custard, a water bath (or bain-marie) is essential. Place your ramekins in a larger baking pan with high sides. To prevent the ramekins from sliding around while you transfer the pan, a simple trick is to place a couple of paper towels at the bottom of the baking dish – a lesson I learned the hard way! Once the ramekins are settled, carefully pour hot water into the larger pan, allowing it to come about halfway up the sides of the ramekins. This water bath creates a gentle, moist cooking environment, preventing the custard from curdling and ensuring it cooks uniformly without drying out or becoming rubbery.
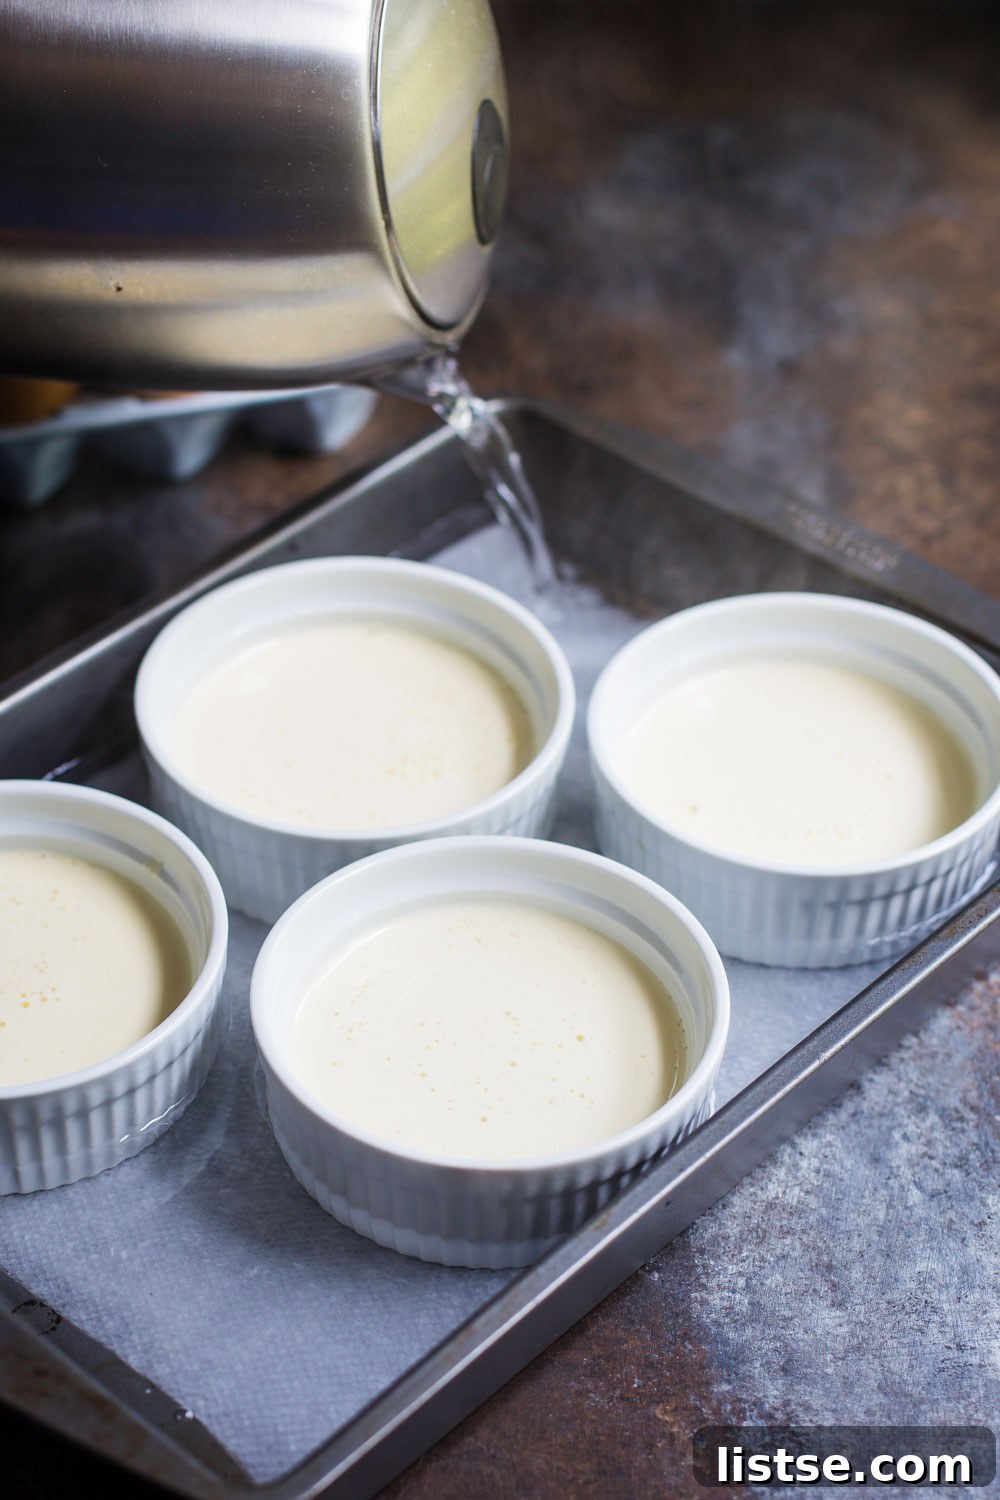
Bake the crème brûlée in a preheated oven at 325 degrees F (160 degrees C) for approximately 40-45 minutes. The key to perfection here is not to overbake. You want the custard to be set around the edges but still have a distinct, gentle “jiggle” in the center when you carefully shake the pan. Unlike traditional dairy crème brûlée which often sets firmer around the edges, a coconut cream version tends to have a more uniform, delicate jiggle throughout. This slight movement indicates a perfectly creamy and rich interior that will firm up beautifully as it cools.
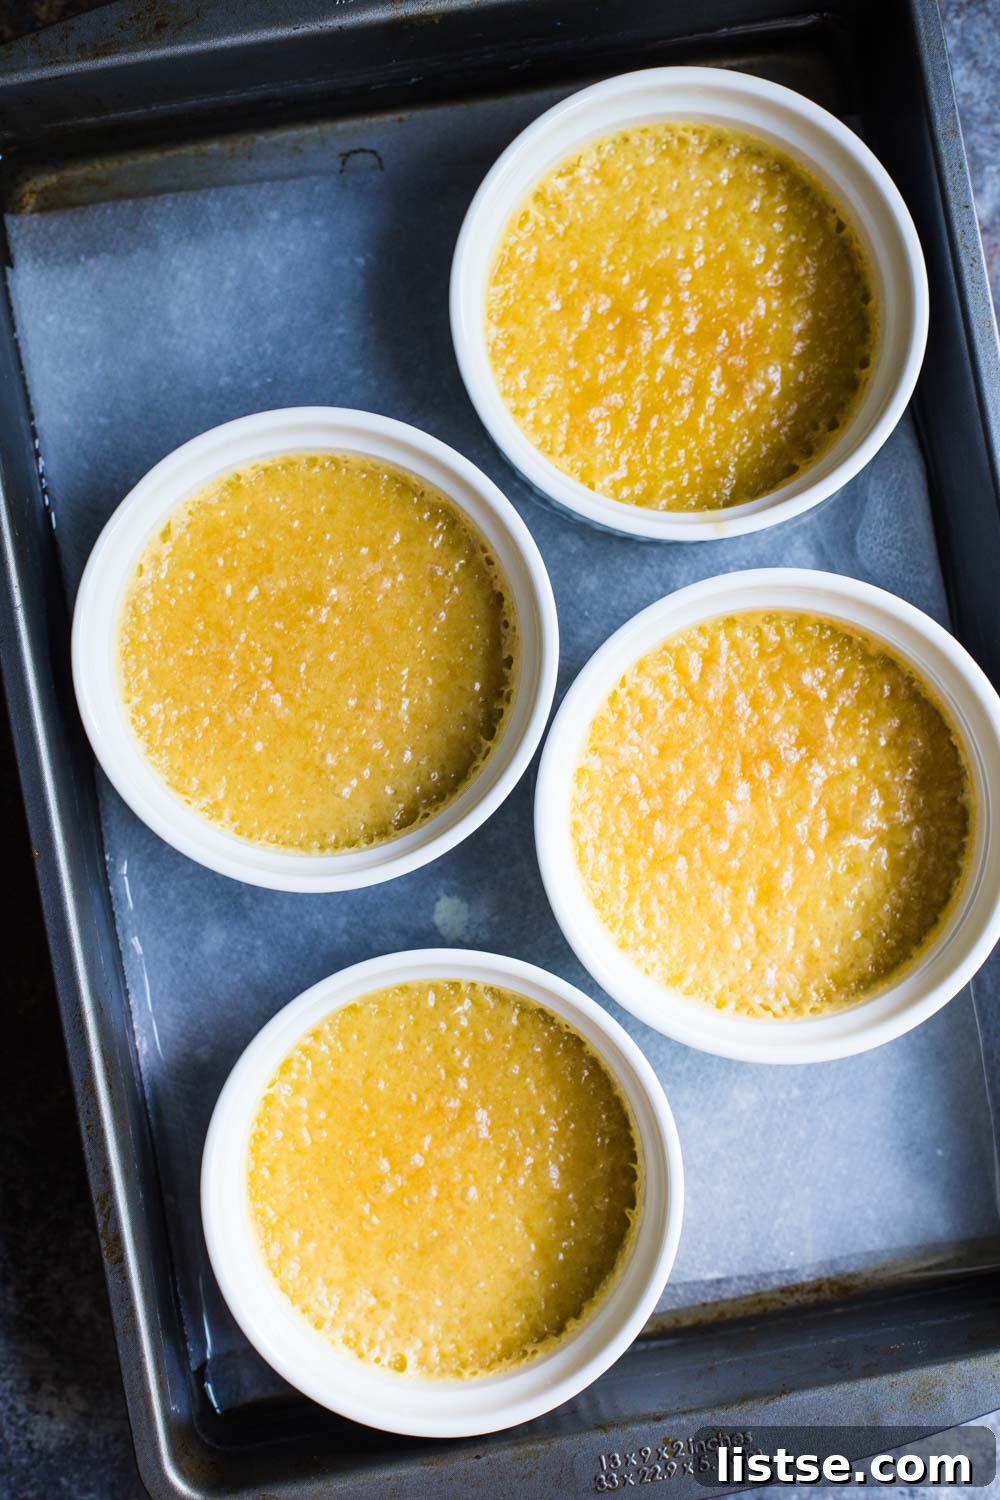
The Patience Game: Chilling for Flawless Results
Once baked, remove the ramekins from the water bath and allow them to cool at room temperature until they are cool enough to handle. This is where patience becomes a virtue! Transfer the cooled ramekins to the refrigerator for at least 3 hours. For the absolute best flavor and texture, I highly recommend making them the night before and letting them chill overnight. This extended refrigeration period allows the custards to fully set, firm up, and for the flavors to meld and deepen. They can even be made a full day in advance, making them an excellent make-ahead dessert for parties and entertaining.
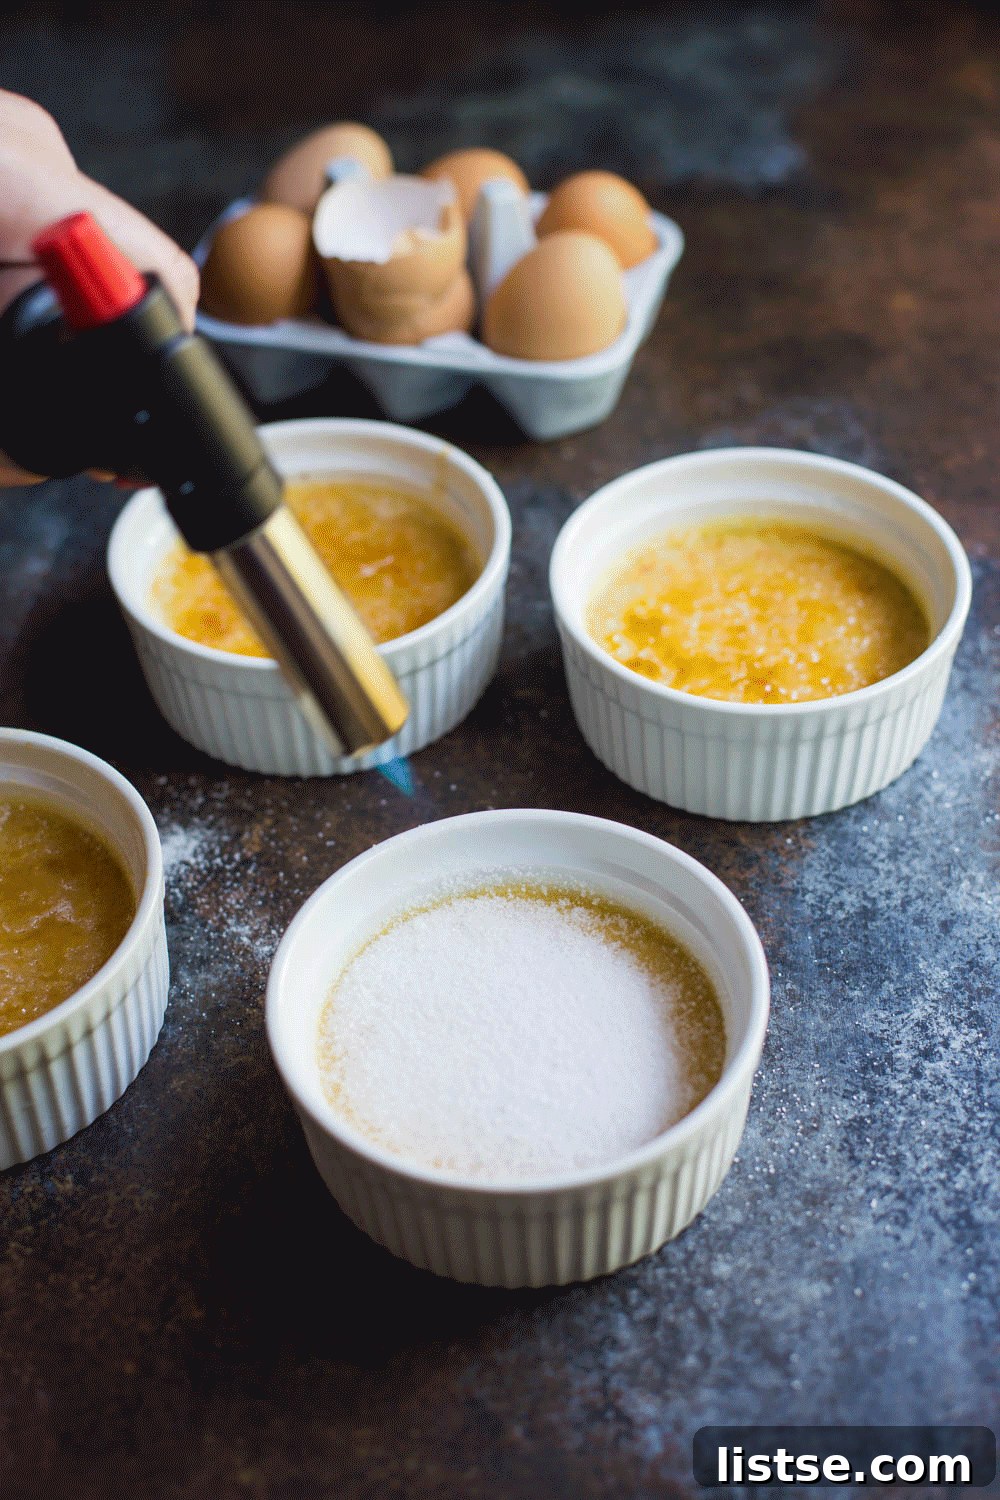
When you’re ready to serve, remove the chilled custards from the fridge. Now for the signature touch: the sugar crust. Sprinkle a generous, even layer of granulated sugar over the top of each crème brûlée. You can gently tilt and rotate the ramekin to ensure the sugar coats the entire surface, or use a pastry brush to spread it into every (imagined) corner of your circular dish.
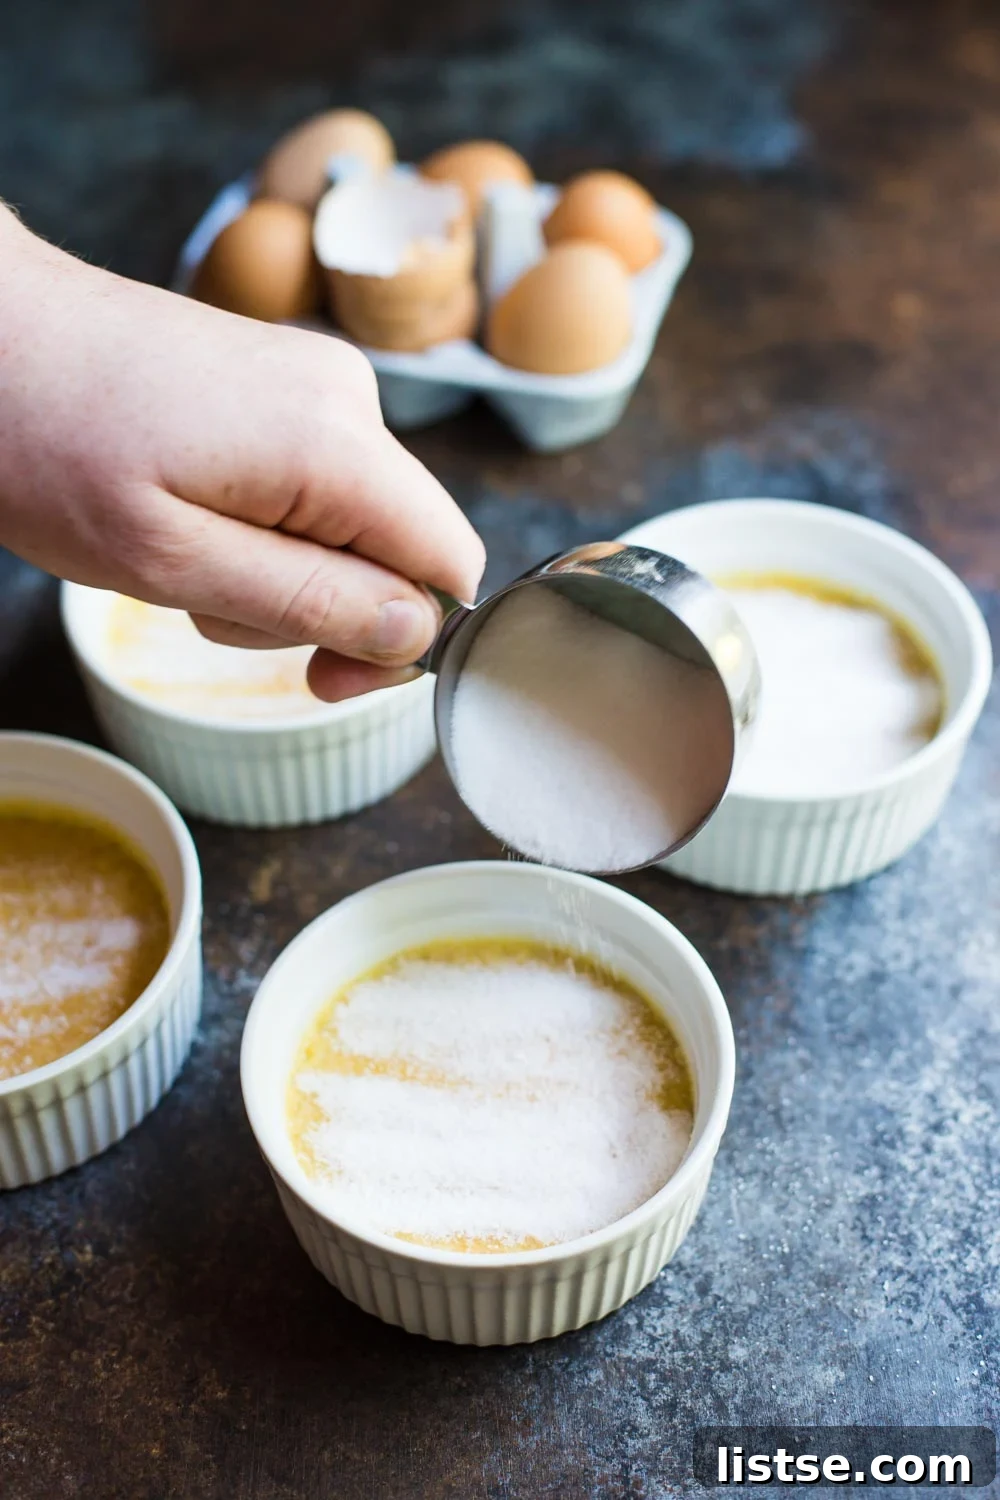
The Grand Finale: Torching Your Crème Brûlée
This is arguably the most exciting part! Grab your kitchen torch and get ready for some culinary pyrotechnics. If it’s your first time using a torch, take a moment to get comfortable with it. The key is to keep the flame moving constantly over the sugar surface rather than holding it still in one spot. This prevents burning and ensures an even caramelization. Move the torch in circular motions, watching as the sugar melts, bubbles, and transforms into a beautiful, amber-colored, hard shell. You can aim for a light golden brown for a delicate caramel flavor, or a slightly darker, almost burnt hue in spots for a more intense, bittersweet crunch. I personally love a few slightly charred edges for added depth. Keep the torch on a medium-low setting for best control.
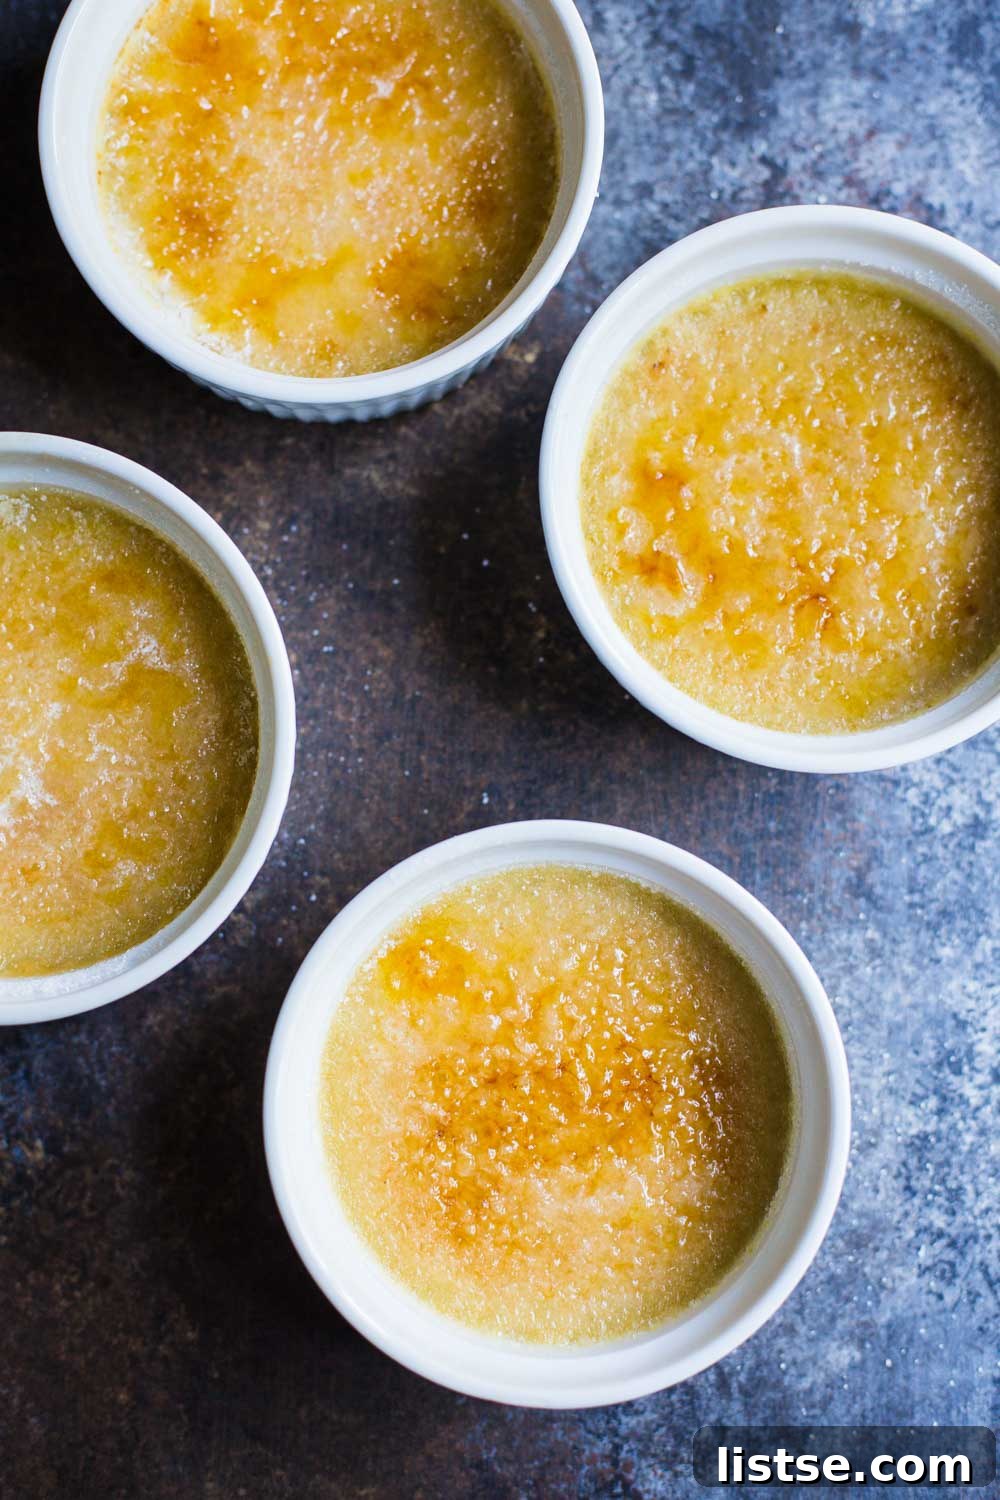
Serving Suggestions & Storage Tips
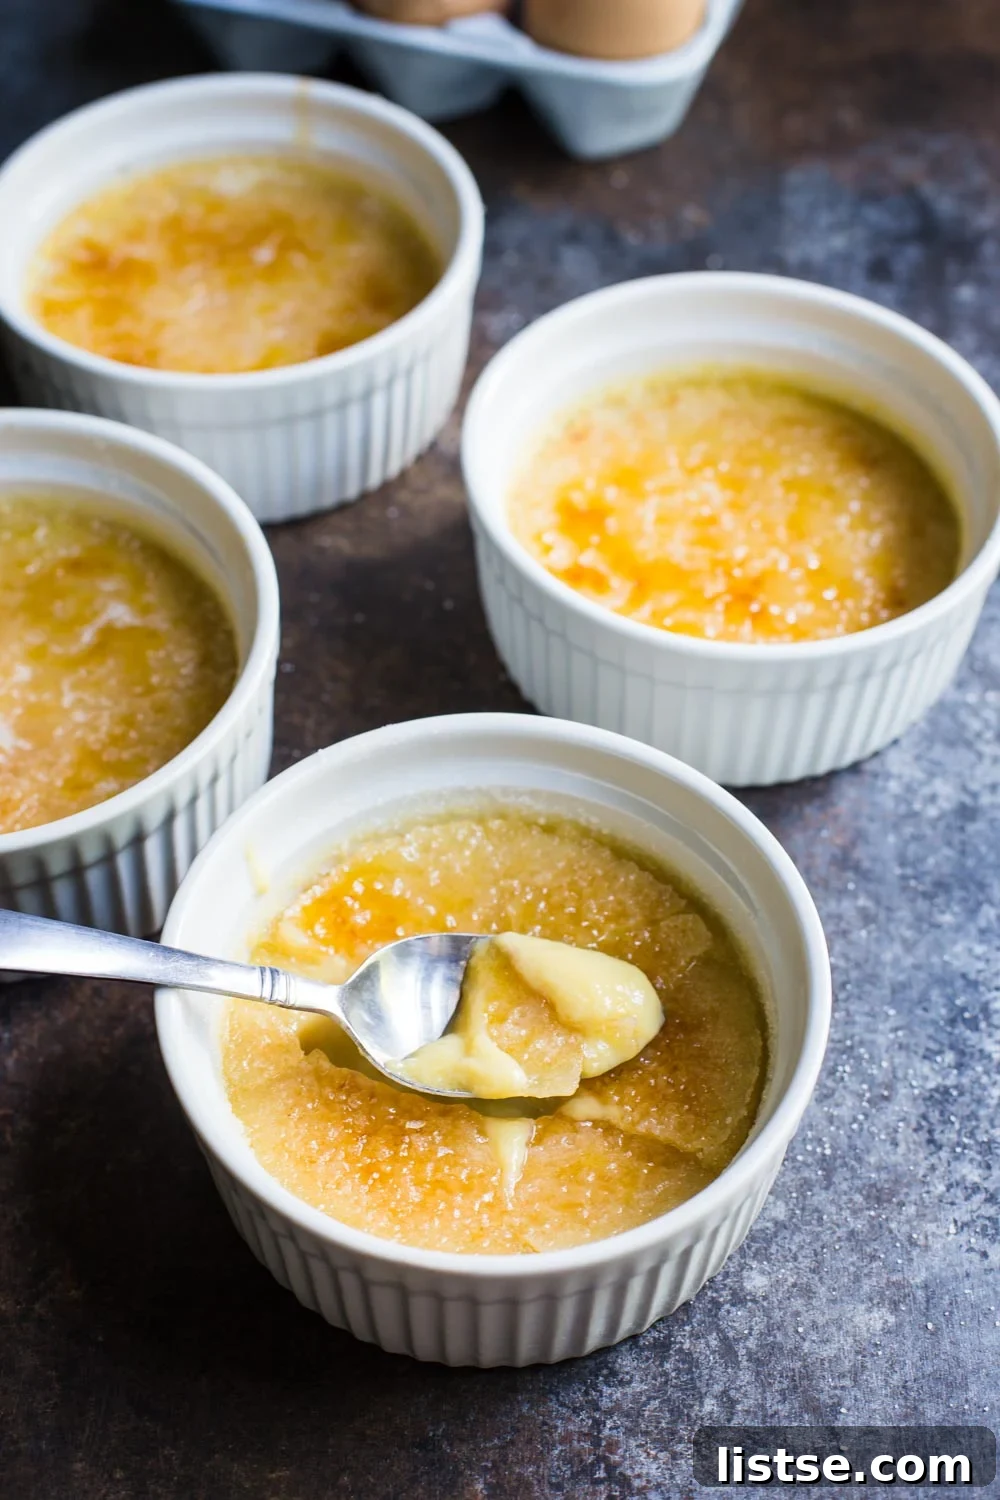
Once torched, serve your exquisite Dairy-Free Crème Brûlée immediately to enjoy that perfect, crispy sugar crust. The contrast between the warm, brittle topping and the cold, creamy custard below is what makes this dessert so irresistible. If you plan to make these for a gathering, remember that the torched tops won’t stay perfectly crisp if stored. So, always torch them just before serving!
These custards can last in the fridge for a couple of days (up to 48 hours) before torching, making them excellent for meal prepping or preparing in advance for special occasions. Store them covered loosely to prevent condensation from forming on the surface, which could impact the crispness of the torched sugar.
This dairy-free version isn’t just an alternative; it’s a celebration of flavor and texture, proving that you don’t need dairy to create a truly luxurious and memorable dessert. Its rich, velvety custard and satisfyingly brittle caramelized top will delight both dairy-free diners and traditionalists alike.
Full Recipe: Dairy-Free Crème Brûlée (Printable)
Dairy-Free Crème Brûlée
Ingredients
- 1 can full-fat coconut cream, not coconut milk! liquid removed
- 3 teaspoons vanilla extract, can also use 1 vanilla bean for richer flavor
- ⅔ cup sugar, plus more for topping; coconut sugar can be substituted for 1 cup
- 4 egg yolks
- 2 quarts hot water, for the water bath
Instructions
-
Pre-heat your oven to 325 degrees F (160°C).
-
In a medium saucepan, combine the full-fat coconut cream. Be sure to use only the thick cream and drain off as much liquid as possible from the can.
-
Stir in the vanilla extract (or vanilla bean if using). Heat the pan over medium heat until the mixture just begins to simmer gently. Once simmering, remove from heat, cover, and let steep for 15 minutes to allow the vanilla flavor to infuse.
-
While the coconut cream mixture is steeping, prepare the egg base. In a stand mixer or with a hand mixer, cream together the egg yolks and sugar until the mixture becomes lighter in color and slightly fluffy.
-
Slowly temper the warm coconut cream mixture into the egg mixture while continuously whisking. This gradual addition prevents the eggs from scrambling. Stir until fully combined and smooth.
-
Prepare your baking tray for the water bath. Place a couple of paper towels at the bottom of a high-sided baking dish (a 9×13 inch pan works perfectly). This helps prevent the ramekins from slipping during transfer.
-
Place four ramekins into the prepared baking tray and pour the crème brûlée mixture evenly into each ramekin.
-
Carefully pour hot water into the baking tray, filling it halfway up the sides of the ramekins. The water bath ensures even and gentle cooking.
-
Bake in the preheated oven for 40-45 minutes. The custards are done when the edges are set, but the center still has a noticeable, gentle jiggle, similar to pudding.
-
Once out of the oven, carefully remove the ramekins from the water bath and let them cool to room temperature. Then, transfer them to the fridge for at least 3 hours, or preferably overnight, to chill and set completely. (They can be stored in the fridge for up to 2 days before torching).
-
When ready to serve, take the chilled crème brûlée from the fridge. Sprinkle about 1-2 tablespoons of sugar evenly over the top of each custard. Using a kitchen torch set to medium-low, caramelize the sugar until it forms a hard, golden-brown, and crystalized crust. Keep the flame moving constantly to prevent burning.
-
Serve immediately and savor every delicious spoonful!
Notes
Nutrition (Approximate per serving)
Carbohydrates: 40g,
Protein: 6g,
Fat: 37g,
Saturated Fat: 30g,
Fiber: 2g,
Sugar: 34g
Nutrition information is automatically calculated, so should only be used as an approximation.
Tried this recipe?
Mention @foodwithfeeling or tag #foodwithfeeling!
I genuinely hope you try this Dairy-Free Crème Brûlée recipe! It’s a rewarding experience to create such an elegant dessert with a simple, plant-based twist. Please share your culinary adventures with me on social media – I absolutely love seeing your creations and hearing how much you enjoy my recipes. Tag me on Facebook, Instagram, or Twitter with your pics and messages.
Happy weekend, dear friends! May it be filled with delicious food, good company, and perhaps a perfectly torched crème brûlée.