
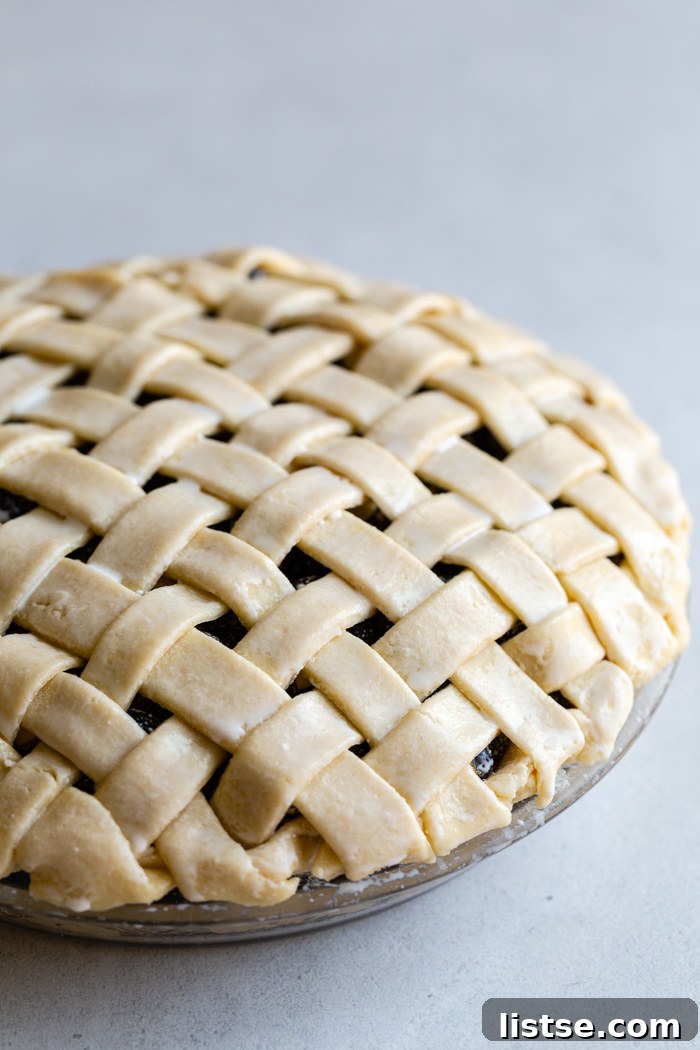
The Ultimate Flaky Dairy-Free Pie Crust: A Vegan Baking Essential
Prepare to meet the dairy-free pie crust of your dreams! For years, many assumed that embracing vegan baking meant sacrificing texture and taste, especially when it came to something as fundamental as a pie crust. However, this recipe shatters those misconceptions. Achieving a perfectly flaky, golden, and utterly delicious pie crust without any dairy is not only possible but surprisingly simple. With just about 20 minutes of active preparation time and a handful of common ingredients, you’ll create a crust that rivals any traditional counterpart.
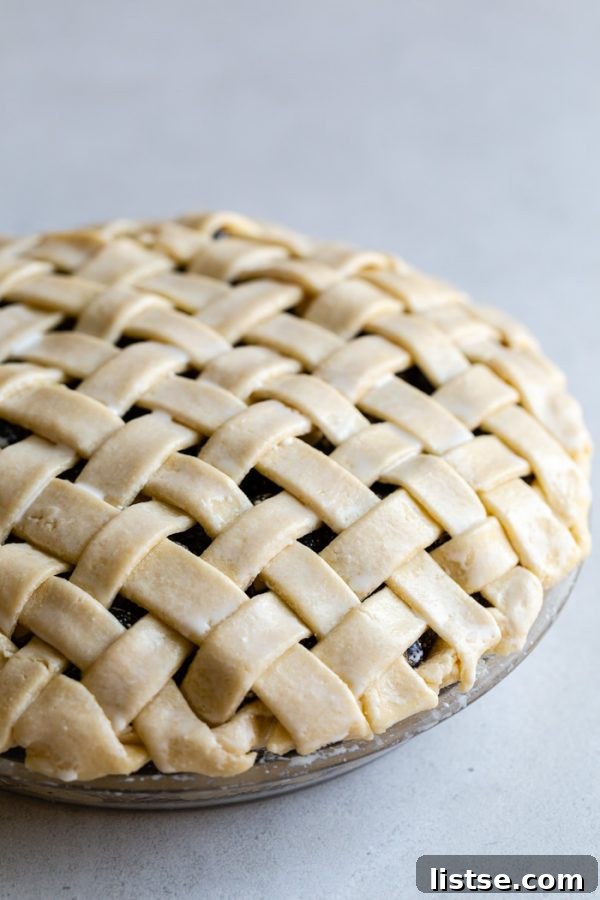
This recipe has been a labor of love, perfected over many months of testing and refinement. My goal was to create a dairy-free pie crust that delivered on every front: exceptional flakiness, rich flavor, and ease of preparation. While I’ve previously shared a fantastic Coconut Oil Pie Crust recipe (which remains a great option for a unique twist), there’s something undeniably classic and satisfying about a truly buttery, flaky crust. This new recipe hits that spot 1000%, offering all the traditional appeal without any dairy.
Why Choose a Dairy-Free Pie Crust?
The plant-based lifestyle has seen a phenomenal surge in popularity, bringing with it an incredible array of innovative food products. One of the most significant advancements for bakers has been the proliferation of high-quality vegan butter alternatives. Gone are the days when grocery stores offered only one, often subpar, option. Now, shelves boast a diverse selection of plant-based butters, making it easier than ever to create dairy-free versions of beloved classics.
Opting for a dairy-free pie crust caters to various dietary needs and preferences. Whether you have a dairy allergy, lactose intolerance, follow a vegan diet for ethical reasons, or simply want to explore healthier baking alternatives, this recipe provides a delicious solution. You no longer have to compromise on taste or texture; a truly magnificent pie crust can be achieved with plant-based ingredients. This recipe not only delivers on that promise but also opens up a world of possibilities for dairy-free desserts and savory pies.
Essential Ingredients for Your Vegan Pie Crust
Crafting the perfect pie crust, whether traditional or dairy-free, relies on a few key ingredients, each playing a crucial role. This recipe keeps it simple, focusing on quality and technique to achieve exceptional results. Here’s a breakdown of the core components:
- All-Purpose Flour: This forms the foundational structure of your pie crust. I’ve specifically developed and tested this recipe using all-purpose flour due to its balanced protein content, which contributes to a tender yet stable dough. While other flours might work, they could alter the texture and require adjustments.
- Salt & Sugar: A touch of both enhances the flavor profile of the crust. Salt balances the richness of the butter and brings out other flavors, while a small amount of sugar aids in browning and adds a subtle sweetness that complements both sweet and savory fillings. These tiny additions are crucial for a well-rounded taste.
- Vegan Butter: The star of our dairy-free show! The quality and type of vegan butter you use will significantly impact the flakiness and flavor of your crust. Over the past few years, the market has exploded with excellent plant-based butter options. I’ve experimented with several brands to find the ones that yield the best results for this specific recipe. Choosing a high-fat, low-water content vegan butter that remains firm when chilled is key to achieving those coveted flaky layers.
- Ice Water: This seemingly simple ingredient is perhaps the most critical for achieving a flaky texture. Using ice-cold water helps keep the vegan butter solid in the dough, preventing it from fully emulsifying with the flour. When the butter pieces melt during baking, they release steam, creating air pockets and distinct layers, resulting in a wonderfully flaky crust. It also helps to prevent overworking the gluten in the flour, which can lead to a tough crust.
If you’re familiar with classic pie crust methods, you’ll notice that the ingredient list and basic technique remain remarkably similar. The primary difference, and a truly transformative one, is the simple swap to a high-quality vegan butter. This substitution proves that you don’t need dairy to create a pie crust that is both traditional in its appeal and outstanding in its execution.
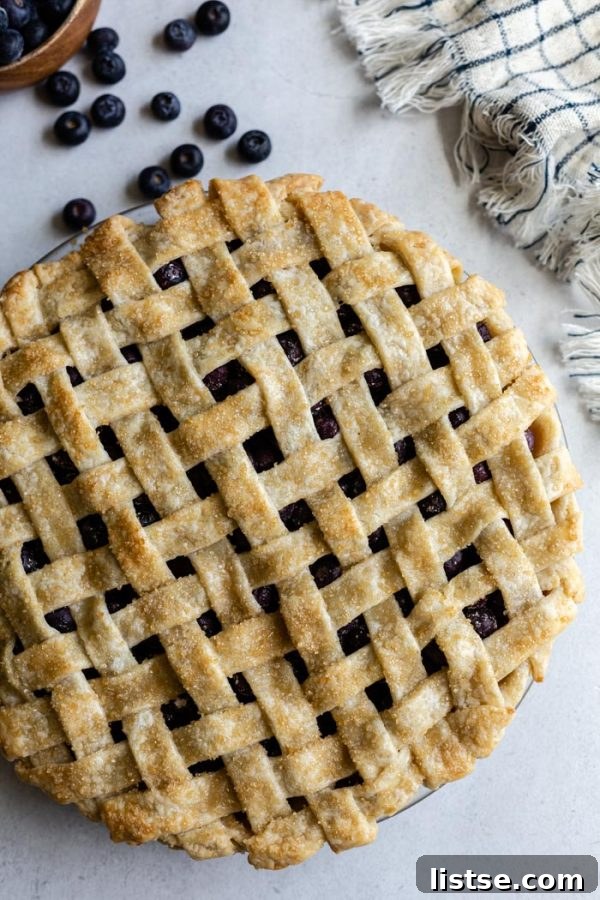
Choosing the Best Vegan Butter for a Flaky Pie Crust
The right vegan butter can make all the difference in your dairy-free pie crust. Not all plant-based butters are created equal, especially when it comes to baking. Different brands have varying fat compositions, water content, and melting points, all of which can affect the final texture and flakiness of your crust. After extensive testing, I’ve narrowed down some of the best options and shared my insights:
- Earth Balance: This is my top recommendation for this pie crust recipe. Earth Balance plant-based butter consistently delivers excellent results, yielding a wonderfully flaky and flavorful crust. It has a good fat content and holds its shape well when chilled, which is crucial for creating distinct layers. While it can sometimes be a bit saltier than other brands, this actually works to its advantage in a pie crust, contributing to a richer, more pronounced flavor that balances beautifully with sweet or savory fillings. It bakes like a charm, developing a beautiful golden hue and crisp texture.
- Country Crock Plant Butter: A strong contender and a personal favorite for general cooking and baking. Country Crock Plant Butter is often more budget-friendly and widely available. It comes in varieties made with olive oil, avocado oil, and a newer almond oil version. All three perform similarly in baking. While they all work great in this pie crust, one key characteristic to note is that Country Crock tends to melt a bit quicker than other vegan butters. This means you’ll need to work swiftly and ensure your butter is thoroughly chilled to maintain its integrity during the mixing process. Despite this, it still produces a delicious and flaky crust, making it a reliable choice.
- Melt Organic Vegan Butter: This is a newer discovery for me, and it performs admirably in this pie crust. Melt Organic butter appears to have a good fat-to-water ratio that contributes to a tender and flaky texture. While its availability might be more regional compared to nationwide brands, if you can find it, it’s definitely worth trying. I’ve also used it successfully in other baked goods, like my Vegan Skillet Cookie, with excellent results, indicating its versatility as a baking butter.
- Miyoko’s Kitchen Cultured Vegan Butter: Miyoko’s is often considered a premium vegan butter, and I absolutely adore it for spreading on toast or using in applications where its distinct cultured flavor can shine. It’s rich, creamy, and truly tastes like high-quality dairy butter. However, for a pie crust, I haven’t found it to perform as consistently as Earth Balance or Country Crock. Its texture can sometimes be a bit too soft, making it harder to achieve those perfect, flaky layers required for a pie crust. Additionally, it tends to be the most expensive option among the vegan butters I’ve tested. While fantastic for many uses, it might not be the optimal choice for this specific recipe if flakiness is your primary goal.
Ultimately, the best vegan butter for your pie crust will be one that is firm when cold, has a relatively high fat content, and contributes positively to the flavor. Experimentation is always encouraged, but starting with Earth Balance will give you a solid foundation for success.
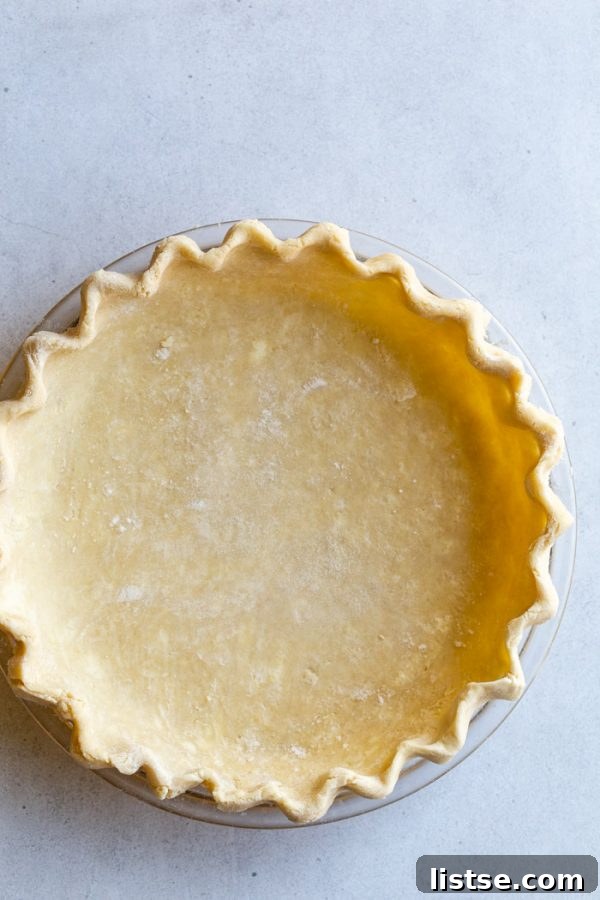
Expert Tips for Crafting the Perfect Vegan Pie Crust
Making pie crust from scratch can seem intimidating, but with a few key techniques and tips, you’ll be rolling out perfect dough in no time. These pointers are designed to help you achieve maximum flakiness and ease of handling for your dairy-free crust:
- The “Crumbly” Factor: Don’t be alarmed when your dough looks extremely crumbly after you’ve pulsed in the water. This is perfectly normal and actually desirable! The key is to test it by pressing a small amount between your fingers. If it holds together, even loosely, it’s ready. If it’s too dry and falls apart completely, add more ice water, one tablespoon at a time, pulsing briefly after each addition until it just barely comes together. Over-mixing at this stage can lead to a tough crust.
- Warming the Dough for Rolling: After chilling, your dough will be quite firm and might crack when you first try to roll it out. This is a good sign that the butter is properly chilled. To make it pliable, simply gather the dough and work it in your hands for about a minute. The warmth from your hands will slightly soften the vegan butter, making the dough much easier to roll without cracking. You want it to be firm but not rock-hard.
- Rolling with Parchment Paper: For a mess-free and frustration-free rolling experience, place your dough disc between two large sheets of parchment paper. This method prevents the dough from sticking to your counter or rolling pin, eliminating the need for excessive flour, which can make the crust tough. You can easily lift and rotate the parchment paper to achieve an even roll.
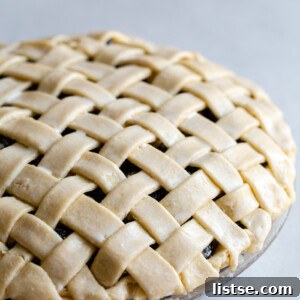
- Chilling Double Crust Pies: If you’re creating a pie with both a bottom and a top crust, pre-chilling is essential. Roll out your bottom crust first, carefully transfer it to your pie pan, and then place the pan in the refrigerator to chill while you work on rolling out the top crust (or lattice). This ensures both crusts remain firm and easy to handle, preventing shrinkage during baking and maintaining their shape.
- Keep Everything Cold: This cannot be stressed enough. Cold vegan butter, cold water, and even chilling your equipment (like the food processor bowl or a large mixing bowl) will contribute to a flakier crust. The colder the ingredients, the less the butter will melt into the flour, preserving those distinct pockets that create flakiness. If your kitchen is warm, you might even consider chilling your rolling pin.
- Don’t Overwork the Dough: Gentle handling is paramount. Overworking the dough develops too much gluten, which can result in a tough, chewy crust instead of a tender, flaky one. Mix just until the ingredients are combined, and handle the dough as little as possible.
By following these tips, you’ll be well on your way to creating a beautiful, flaky, and delicious dairy-free pie crust every time.
Can You Freeze Pie Crust? Absolutely!
One of the best make-ahead strategies for bakers is freezing pie crust. This dairy-free recipe freezes beautifully, allowing you to prepare dough in advance and have it ready whenever a pie craving strikes. Here’s how to do it and what to remember:
Once you’ve formed your dough into discs (as per step 4 of the instructions), wrap each disc tightly in plastic wrap. For extra protection against freezer burn, you can then place the plastic-wrapped discs into a freezer-safe bag or an airtight container. Properly stored, these dough discs will keep wonderfully in the freezer for up to 6 months, giving you plenty of time to plan your next baking adventure.
When you’re ready to use a frozen crust, simply transfer the wrapped dough disc from the freezer to the refrigerator about 1 day (24 hours) before you plan to bake. This allows it to thaw slowly and evenly. Attempting to rush the thawing process, especially at room temperature, can cause the butter to soften too much and affect the final texture. Once thawed, let it sit on the counter for about 10 minutes to slightly warm up before rolling, as described in the tips above.
Other Delicious Vegan Recipes to Try
If you’re enjoying the world of plant-based baking, there are countless other delicious vegan recipes waiting for you to explore. From comforting savory dishes to delectable sweet treats, going dairy-free and vegan doesn’t mean missing out on flavor. Here are some of my favorite recipes that will inspire your next culinary creation:
- Vegan Pumpkin Pie
- Vegan Sweet Potato Pie
- Chickpea Pot Pie
- Coconut Oil Pie Crust
- Vegan Apple Pie
- Vegan Cinnamon Rolls
- Vegan Chocolate Chip Cookies
- Chocolate Chip Vegan Muffins
- Strawberry Shortcake
- Vegan Zucchini Bread
- Vegan Banana Bread
- Vegan Sugar Cookies
- Vegan Brownies
Vegan Pie Crust Recipe
Prep Time: 10 mins
Cook Time: 45 mins
Total Time: 55 mins
Yield: 2 pie crusts
This dairy-free pie crust mirrors the classic, delivering exceptional flakiness and flavor with the simplicity of plant-based butter. Perfect for any sweet or savory pie!
Ingredients
- 2 ½ cups of all-purpose flour*
- 1 cup of vegan butter, diced into ½-inch cubes and chilled*
- 1 teaspoon of salt
- 1 teaspoon of sugar
- 6 tablespoons of ice water, plus more as needed
Instructions
- In the bowl of a food processor* (or a large bowl with a pastry cutter), combine the flour, salt, and sugar. Pulse a few times to combine evenly.
- Add in HALF of the cold butter cubes and pulse a few more times until the butter is incorporated into coarse crumbs. Add in the remaining butter and pulse a few additional times until the butter pieces are roughly the size of peas. It’s crucial not to overmix at this stage; visible pieces of butter are key for flakiness.
- With the food processor running (or while mixing by hand), slowly add in the cold water, starting with just 4 tablespoons. Pulse 2 times. Add in 2 more tablespoons and pulse a couple more times. Test the dough by pressing some together between your fingers. If it holds together, it’s ready. If it’s still very crumbly and won’t hold shape, add in more water, 1 tablespoon at a time, pulsing briefly after each addition. The ideal consistency is just enough moisture for the dough to cling together without being wet or sticky. While 6 total tablespoons usually suffice, minor adjustments may be needed based on flour and humidity.
- On a lightly floured surface, carefully pour out the dough mixture. Gently gather and work it just enough so that it’s mostly pressed together into a cohesive mass. Divide the dough evenly in half and form each half into a flat disc. Wrap each disc individually and tightly in plastic wrap. Chill the dough in the refrigerator for at least 1 hour, or for up to 2 days. This chilling period is essential for the butter to firm up and for the gluten to relax, which makes the dough easier to roll and contributes to a flakier crust.
- When you are ready to use the dough, remove it from the refrigerator and let it sit on the counter for about 10-15 minutes to warm up slightly. This will make it more pliable and prevent cracking during rolling. If you’re preparing a double-crust pie, roll out the first disc for the bottom crust, carefully fit it into your pie pan, and then place the pan in the fridge to chill while you proceed to roll out the second disc for the top crust. This helps maintain the firm temperature of the butter and prevents shrinking.
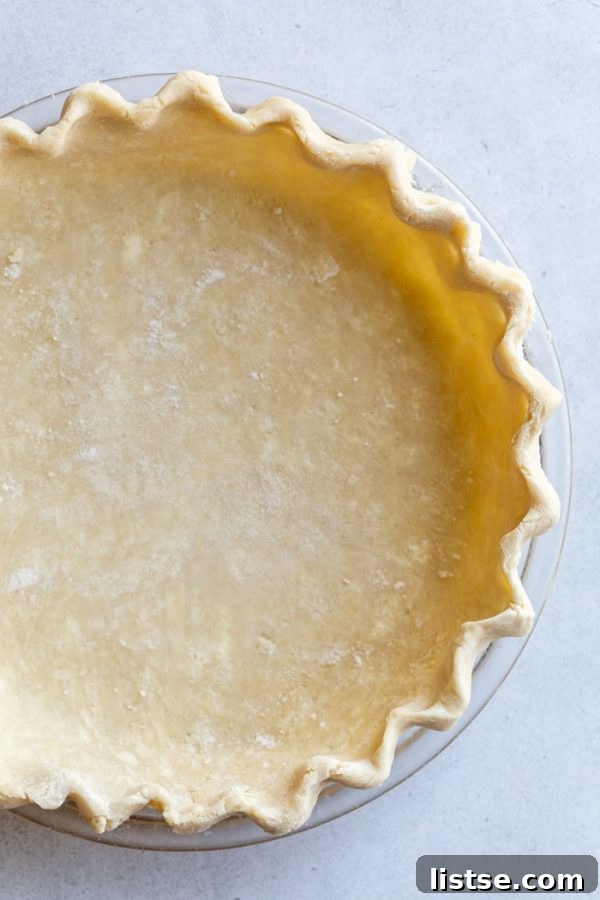
- To simplify the rolling process and avoid sticking, roll the dough out between two large pieces of parchment paper, using a lightly floured rolling pin. Initially, the dough may seem crumbly, but working it gently with your hands a few times will make it pliable and easy to roll. Roll the dough into a circle approximately 12-13 inches in diameter, ensuring it will fit your 9-inch pie dish with about a ½-inch overhang. Carefully transfer the rolled dough into your greased 9-inch pie dish. Trim and crimp the edges as desired, then fill and proceed with your chosen pie recipe.
Notes
- *This recipe has been developed and tested specifically with all-purpose flour. If you wish to make this pie crust gluten-free, the most reliable approach is to use a high-quality gluten-free 1-to-1 baking flour blend. Be aware that gluten-free flours can absorb liquids differently, so you might need to adjust the amount of ice water slightly.
- *For optimal flakiness, it’s crucial that your vegan butter is very cold. I recommend dicing the butter into ½-inch cubes and then placing them in the freezer for about 10-15 minutes while you prepare your other ingredients. This ensures the butter remains solid during mixing.
- *If you don’t have a food processor, you can absolutely make this crust in a large mixing bowl using a pastry cutter or even your fingertips to cut the butter into the flour. The key is to work quickly to keep the butter as cold as possible.