
Unbelievably Easy 3-Ingredient Vegan Ice Cream: Your Go-To Dairy-Free Dessert
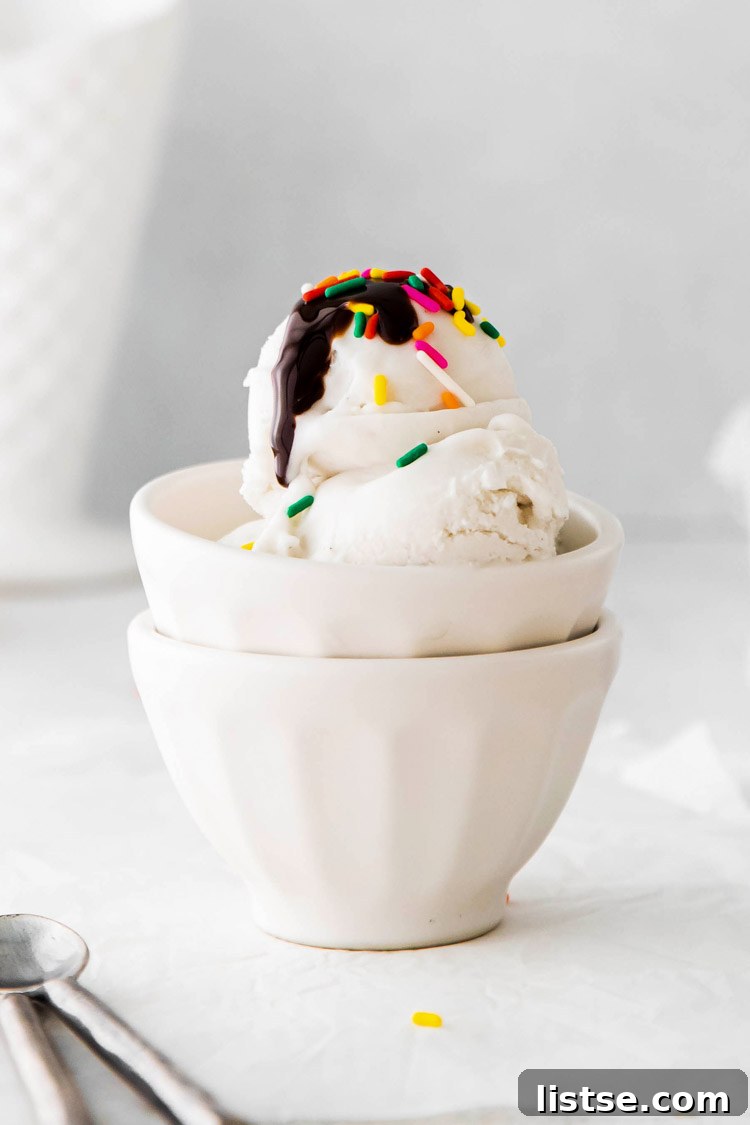
Craving a delightful frozen treat but looking for a dairy-free, plant-based option that’s both quick and incredibly delicious? Look no further! This amazingly simple recipe for 3-ingredient Vegan Ice Cream is about to become your new favorite. In less than 30 minutes of active preparation, you can whip up a batch of rich, creamy, and utterly satisfying homemade ice cream using just three core ingredients: full-fat coconut cream, granulated sugar, and pure vanilla. Perfect for satisfying those sweet cravings any time of year, this versatile treat is fantastic on its own or elevated with your favorite toppings for an ultimate indulgence. Say goodbye to complicated ingredient lists and lengthy waiting times, and hello to a fuss-free, delectable dessert!
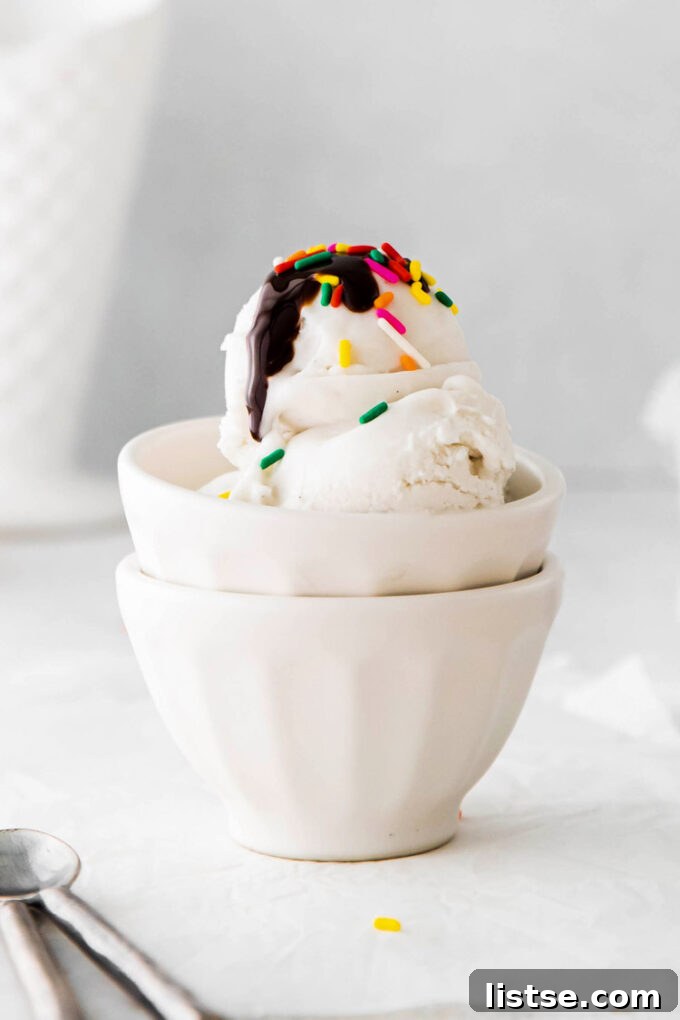
Ice cream holds a special place in our hearts – a universal comfort food that transcends seasons. Whether it’s a scorching summer afternoon or a cozy winter evening, the allure of a cool, creamy scoop is simply irresistible. Today, we’re not just making ice cream; we’re crafting the easiest homemade version imaginable: a phenomenal 3-ingredient vegan ice cream that will truly surprise and delight you.
Does it sound too good to be true? We promise, it’s not! If you haven’t yet experienced the magic of coconut cream ice cream, prepare to fall head over heels. This simple, dairy-free dessert delivers on all fronts, providing an intensely satisfying experience that will banish those ice cream cravings without a single drop of dairy.
Understanding Vegan Ice Cream: A World of Dairy-Free Delights
Vegan ice cream transcends the limitations of dairy, offering a fantastic array of flavors and textures for everyone to enjoy. Historically, vegan frozen treats have evolved significantly, moving beyond simple sorbets to rich and creamy alternatives that rival their traditional dairy counterparts. Common plant-based ingredients for ice cream bases include ‘nice’ cream (typically made from frozen bananas blended into a soft-serve consistency), blended soaked cashews for an ultra-creamy, almost cheesecake-like foundation, or, as we’re exploring today, the remarkable full-fat coconut milk or coconut cream.
Among these excellent options, full-fat coconut cream stands out as the star ingredient for achieving unparalleled richness and a truly decadent texture. Its naturally high fat content is key, directly contributing to a luxuriously smooth mouthfeel that beautifully mimics traditional dairy ice cream. When you choose coconut cream, you’re opting for a base that delivers on creaminess and flavor without any compromise, making it a favorite for many plant-based dessert enthusiasts.
Our specific 3-ingredient vegan ice cream recipe strategically leverages the power of coconut cream. We combine one full can of coconut cream (including both the thick solid part and the thinner liquid) with just the thick, creamy portion from a second chilled can. This precise ratio maximizes the fat content within the mixture, ensuring your homemade ice cream is incredibly luscious and resistant to ice crystal formation. The carefully measured ingredients are then effortlessly blended with sugar and vanilla in a high-speed blender until perfectly smooth and homogeneous. Finally, this silky mixture is transferred to an ice cream machine and churned for approximately 15 minutes, transforming into a delightful soft-serve consistency that’s ready to be enjoyed immediately.
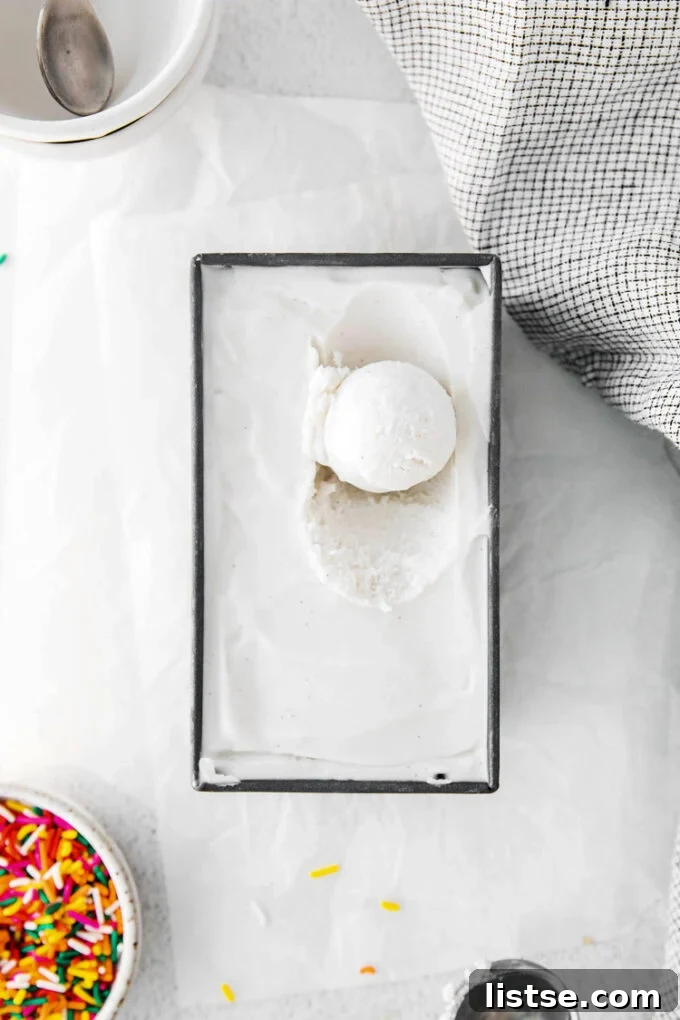
However, if your preference leans towards a firmer, more traditional scoopable ice cream texture, akin to what you’d find in a pint at the grocery store, there’s an easy solution: simply transfer the freshly churned mixture into a freezer-safe loaf pan or an airtight container. Allow it to freeze for at least four hours, or ideally overnight, until it firms up beautifully. This method yields a perfectly scoopable vegan ice cream, making it ideal for cones, sundaes, or simply enjoying by the spoonful.
The Simple Trio: Just 3 Essential Ingredients
The true magic of this vegan ice cream lies in its incredible simplicity. You genuinely only need three core ingredients to achieve a wonderfully creamy, flavorful, and satisfying dessert. While we always encourage you to get creative with toppings and additions, the fundamental base of this recipe is incredibly straightforward, proving that extraordinary flavor doesn’t require a long shopping list. Here’s a closer look at what you’ll need and why each plays a vital role:
- Full-Fat Canned Coconut Cream: The Creamy Foundation
This is the absolute cornerstone of our dairy-free ice cream. For the best possible results, it’s crucial to select full-fat coconut cream, not light coconut milk, regular coconut milk, or any other alternative. The significantly higher fat content in coconut cream is what gives this ice cream its luxurious, velvety texture, successfully preventing it from becoming icy and gritty. Look for cans specifically labeled “coconut cream” in the Asian food aisle or with baking supplies at your local grocery store. To prepare it for use, refrigerate the cans overnight (or for at least 12 hours). This essential step allows the thick, solid cream to separate from the thinner, watery liquid, making it much easier to scoop out the rich, solid portion. For this recipe, we’ll be using one entire can (both the cream and the liquid) and then only the thick, solid cream from a second can, reserving the remaining liquid for other culinary uses like smoothies. - Granulated Sugar: Your Sweetness Balancer
Granulated sugar provides the perfect level of sweetness, beautifully balancing the rich, sometimes subtle coconut flavor and ensuring a classic ice cream taste. While granulated sugar is our standard recommendation for its neutral flavor and reliable performance, feel free to experiment with other sweeteners based on your personal preferences and dietary needs. Brown sugar can introduce a lovely caramel-like depth, while natural liquid sweeteners like pure maple syrup or agave nectar offer a more unrefined sweetness (though be aware that liquid sweeteners might slightly alter the final texture and require minor adjustments). If using sugar substitutes, ensure they are suitable for cold desserts, as some can have an undesirable aftertaste when chilled. Always taste and adjust the amount to your preference, keeping in mind that cold desserts often require a bit more sweetness to be noticeable on the palate. - Vanilla: The Soul of Flavor and Aroma
Vanilla is more than just a flavor; it’s an aromatic enhancer that elevates the entire ice cream experience, adding warmth, depth, and a familiar comfort. For a truly gourmet touch, we highly recommend using vanilla bean paste if you can find it. It imparts an intensely rich vanilla flavor and visually appealing flecks of real vanilla bean, giving your homemade ice cream a sophisticated appearance. However, if vanilla bean paste isn’t readily available, 2 teaspoons of high-quality pure vanilla extract will work wonderfully, delivering that classic, comforting vanilla taste that everyone loves. For a delightful twist, consider adding a different extract, such as almond, peppermint, or even a touch of orange blossom water, to create new and exciting flavor profiles.
Crafting Your Own Vegan Ice Cream: A Step-by-Step Guide
Making this dairy-free ice cream is surprisingly straightforward and requires minimal effort, making it an ideal recipe for both novice and experienced home cooks. With your chilled coconut cream, a reliable high-speed blender, and an ice cream maker, you’re just a few simple steps away from enjoying a homemade frozen masterpiece. Let’s walk through the process, ensuring you achieve perfect results every time:
- Prepare Your Ice Cream Maker Bowl: The Crucial First Step
Before you even think about blending your ingredients, ensure your ice cream maker’s freezer bowl is thoroughly chilled and completely frozen solid. Most canister-style ice cream makers require the bowl to be placed in the freezer for at least 24 hours prior to use (some even recommend 48 hours!). This initial step is absolutely non-negotiable for proper churning and achieving the desired creamy consistency. A well-frozen bowl ensures the mixture freezes quickly and evenly, which is critical in preventing the formation of undesirable large ice crystals. Plan ahead and place your bowl in the freezer a full day before you intend to make this delicious recipe to avoid any delays or disappointing results. - Blend the Base Ingredients Until Silky Smooth: The Heart of the Flavor
Carefully open your chilled cans of coconut cream. From the first can, scoop out both the thick, solid cream and the liquid at the bottom directly into your high-speed blender. This ensures you’re utilizing all the rich components for optimal creaminess. From the second can, only scoop out the thick, solid cream, leaving the thinner liquid behind (you can easily save this liquid for refreshing smoothies, curries, or other recipes!). Now, add the granulated sugar and your chosen vanilla (whether it’s paste or extract) to the blender. Secure the lid firmly and blend on high speed for approximately 30-45 seconds, or until the mixture is completely smooth and utterly free of any lumps or visible sugar crystals. It should have a uniform, creamy, and pourable consistency. If needed, pause and scrape down the sides of the blender with a spatula to ensure all ingredients are thoroughly incorporated. This silky-smooth base is absolutely essential for a luxurious and non-grainy final product. - Churn to Perfection: Watch the Magic Happen
Once your base is perfectly blended, carefully pour the creamy mixture into your pre-frozen ice cream maker bowl. Turn on your ice cream maker and allow it to churn according to the manufacturer’s instructions. The churning process typically takes between 15 to 20 minutes, depending on the specific model of your machine and your desired consistency. As it churns, you’ll observe the mixture gradually thickening and expanding, aerating into a rich, velvety, soft-serve-like ice cream. It’s a truly fascinating transformation! Be mindful not to over-churn, as this can sometimes introduce too much air or negatively affect the final texture. The ideal goal is a thick, smooth, and slightly firm consistency that holds its shape. - Serve Immediately or Freeze for a Firmer Scoop: Your Choice!
As soon as the churning is complete, your delicious vegan ice cream is ready to be enjoyed as a luxurious soft serve! This is often the preferred method for immediate gratification, as the texture is incredibly smooth and easy to devour. Scoop it directly into bowls, elegant dessert glasses, or classic ice cream cones for an instant treat. If, however, you prefer a firmer, more traditional scoopable ice cream, comparable to store-bought varieties, transfer the freshly churned mixture into a freezer-safe loaf pan or an airtight container. To prevent the formation of ice crystals and maintain freshness, press a piece of plastic wrap directly onto the surface of the ice cream before covering the container tightly with its lid or aluminum foil. Freeze for at least four hours, or ideally overnight, until it reaches your desired firmness. When you’re ready to serve this firmer version, you might need to let it sit at room temperature for 5-10 minutes to soften slightly for easier, perfect scooping.
Tips for Success: Achieving Perfect Vegan Ice Cream Every Time
While this recipe is incredibly straightforward, a few expert tips can elevate your homemade vegan ice cream from simply good to absolutely phenomenal. Paying attention to these small details will ensure a consistently creamy, flavorful, and satisfying dessert batch after batch:
- Chill Your Coconut Cream Thoroughly: This is arguably the most critical step for optimal results. Refrigerating your full-fat coconut cream cans for at least 12-24 hours allows the thick, solid cream to separate beautifully from the thinner liquid. You’ll primarily want to use this thick, solid cream for maximum richness and the smoothest texture. The colder and thicker the cream, the better your ice cream will be, as it helps prevent ice crystal formation during churning.
- Don’t Skimp on Full-Fat Varieties: Seriously, avoid “light” or “reduced-fat” coconut milk at all costs for this recipe. These varieties simply do not possess enough fat content to create the desired creamy, non-icy texture that full-fat coconut cream provides. The fat is precisely what makes this dessert so decadently smooth and satisfying!
- Pre-Freeze Your Ice Cream Maker Bowl: For ice cream makers that utilize a freezer bowl (the kind you put in your freezer), ensure it is frozen completely solid for the recommended time, usually a minimum of 24 hours. A bowl that is only partially frozen will not adequately chill the mixture, resulting in a soupy, icy, and ultimately disappointing batch rather than creamy ice cream.
- Blend Until Absolutely Smooth: Take those extra 10-15 seconds to ensure your ingredients are perfectly blended in the high-speed blender. Any remaining sugar crystals or unmixed pockets of coconut cream can lead to a slightly grainy, inconsistent, or icy texture in your final product. A truly smooth base is fundamental for a silky mouthfeel.
- Adjust Sweetness to Taste: Remember that cold temperatures tend to dull sweetness slightly. Therefore, your ice cream base might taste a bit sweeter than you expect before it’s churned and frozen. It’s a good idea to taste a small amount of the blended mixture and adjust the sugar level if needed before proceeding to the churning step. You can always add a touch more sugar, but it’s harder to reduce it!
- Mind the Churn Time: Always follow your specific ice cream maker’s instructions, but generally, churn the mixture until the ice cream reaches a thick, soft-serve consistency. While tempting, avoid over-churning, as this can sometimes introduce too much air, leading to a lighter, less dense texture, or even affect its overall creaminess.
- Prevent Freezer Burn When Storing: If you’re freezing your ice cream for a firmer, scoopable texture, take an extra step to prevent freezer burn. Press a piece of plastic wrap directly onto the surface of the ice cream before covering the container with a lid or foil. This creates a barrier against air exposure, significantly minimizing ice crystal formation and keeping your ice cream fresh, smooth, and delicious for longer.
- Allow Thaw Time for Hard Ice Cream: When serving ice cream that has been fully frozen (not soft-serve), let it sit at room temperature for approximately 5-15 minutes before attempting to scoop. This crucial “temper” time allows it to soften slightly, making it much easier to serve and enjoy without battling rock-hard ice cream, ensuring perfect scoops every time.
Unleash Your Creativity: Exciting Flavor Variations
While the classic vanilla vegan ice cream is undeniably delicious and a fantastic base, this 3-ingredient foundation is a superb canvas for countless flavor combinations. Don’t hesitate to get creative and customize your batch to suit your cravings or impress your guests. Here are some exciting ideas to get you started:
- Rich Chocolate: For a truly decadent treat, add 1/4 to 1/2 cup of unsweetened cocoa powder to the blender with your other ingredients. Blend until completely smooth, adjusting the amount to achieve your desired chocolate intensity.
- Fruity Delights: Incorporate 1/2 to 1 cup of fresh or frozen berries (such as strawberries, raspberries, or blueberries) or tropical mango chunks into the blender. Blend until the mixture is completely smooth for a vibrant, naturally fruity ice cream. Alternatively, a swirl of your favorite fruit jam or preserve gently folded in after churning also works beautifully.
- Nut Butter Swirl: After the ice cream has finished churning, gently fold in dollops of your favorite creamy nut butter—peanut, almond, or cashew butter are excellent choices—for a rich, nutty, and irresistible swirl throughout your ice cream.
- Coffee Infusion: For coffee aficionados, add 1-2 tablespoons of instant espresso powder or 1/4 cup of strong brewed, cooled coffee to the blender for a subtle or robust coffee flavor that truly awakens the senses.
- Mint Chocolate Chip: Introduce 1/2 to 1 teaspoon of pure peppermint extract to the base while blending, and then gently fold in a generous amount of mini dairy-free chocolate chips after the churning process for a refreshing and classic favorite.
- Citrus Zest: Add the finely grated zest of one lemon, lime, or orange to the blender for a bright, tangy, and invigoratingly zesty ice cream that’s perfect for warm weather.
- Spiced Indulgence: A pinch of warm spices like cinnamon, nutmeg, or cardamom blended into the base can add a comforting, aromatic twist, especially appealing during cooler months.
- Cookie Crumble: For a “cookies and cream” sensation, gently mix in crushed vegan cookies (like classic Oreos, checking for vegan status) after the ice cream has finished churning.
- Caramel Swirl: Drizzle in a homemade or store-bought dairy-free caramel sauce after churning, then gently swirl for pockets of sweet, buttery goodness.
Elevate Your Scoop: Irresistible Topping Ideas
While this creamy coconut cream ice cream is absolutely divine on its own, especially when enjoyed fresh out of the ice cream maker as a soft serve, adding toppings transforms it into an even more spectacular and personalized dessert. Get creative and customize your bowl or cone with some of these delicious, dairy-free options:
- Crunchy Homemade Granola: Adds a fantastic textural contrast and wholesome flavor.
- Mini Dairy-Free Chocolate Chips: A classic pairing that adds tiny bursts of rich chocolatey goodness.
- Toasted Shredded Coconut: Enhances the natural coconut flavor with a lovely toasted aroma and satisfying crunch.
- Fresh Seasonal Berries: Sliced strawberries, juicy raspberries, plump blueberries, or ripe sliced bananas add a refreshing, vibrant, and naturally sweet touch.
- Finely Chopped Nuts: Almonds, pecans, walnuts, or pistachios offer a satisfying crunch and nutty depth that complements the creamy ice cream.
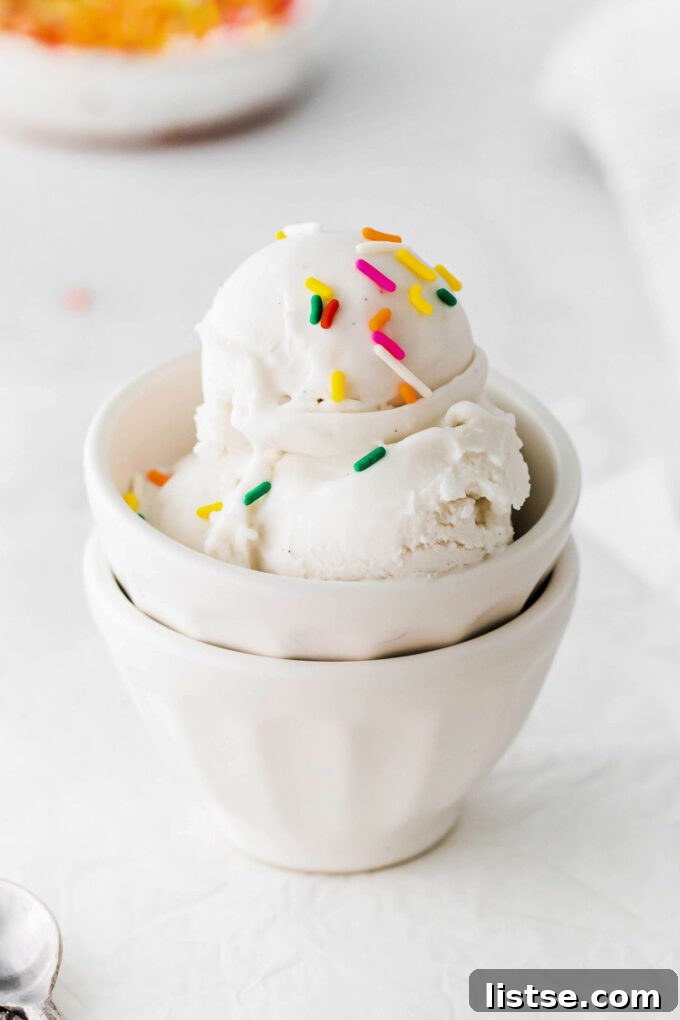
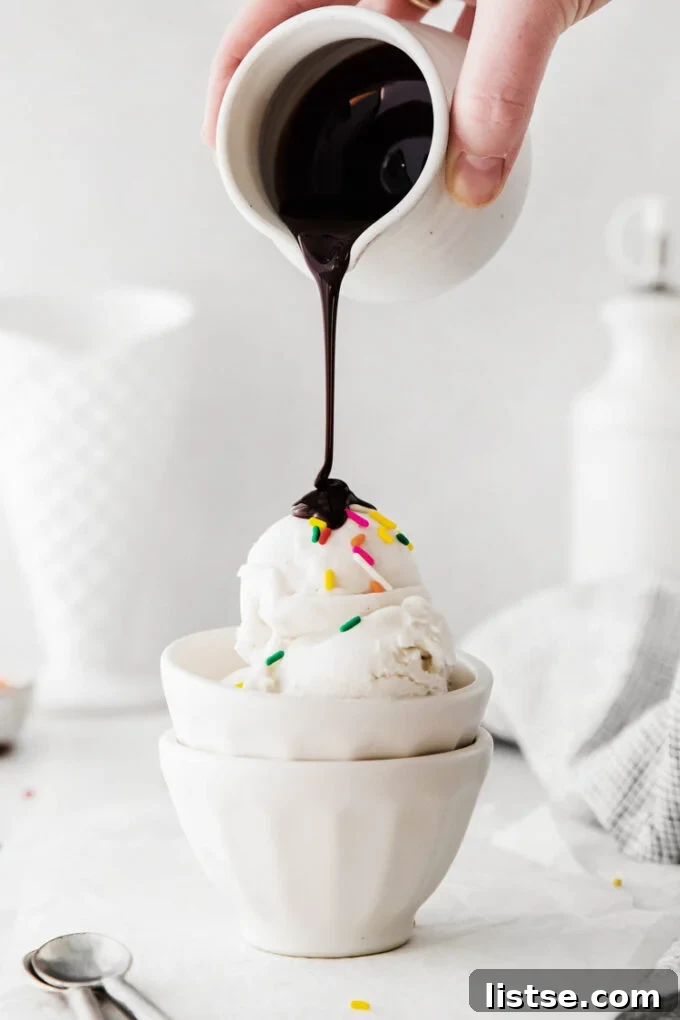
- Colorful Sprinkles: Fun for all ages and perfect for adding a festive and playful touch! Just be sure to look for vegan-friendly options.
- Luscious Drizzles: A swirl of warm dairy-free chocolate sauce, a generous drizzle of your favorite creamy nut butter, or a simple maple syrup glaze can elevate the flavor profile.
- Crushed Vegan Cookies: Crumble up your favorite dairy-free cookies (like vegan chocolate sandwich cookies) for a delightful textural element and added flavor.
- Vegan Whipped Cream: A dollop of coconut-based or other plant-based whipped cream takes this treat to the next level of indulgence.
Serving & Storing: Maximizing Your Ice Cream Experience
Once you’ve crafted your incredible homemade vegan ice cream, knowing how to properly serve and store it ensures you get to enjoy every last spoonful at its absolute best. These recommendations will help you maintain its perfect texture and flavor.
Storage Best Practices: Keep it Fresh!
To maintain your ice cream’s optimal freshness and, crucially, to prevent the dreaded freezer burn, store any leftover ice cream in a high-quality, airtight container. Position it in the deepest part of your freezer where temperatures are most consistent. If you’ve used a loaf pan for freezing, ensure it’s tightly wrapped in several layers of plastic wrap, pressing the plastic directly onto the surface of the ice cream to eliminate air pockets before adding a lid or foil. This method creates a barrier against air exposure, significantly minimizing the formation of ice crystals and keeping your ice cream smooth and fresh for longer. Properly stored, your homemade vegan ice cream will remain delicious for up to two weeks. While it might technically last longer, the texture and peak flavor are best enjoyed within this timeframe.
Serving Tips: Patience is a Virtue for Perfect Scoops
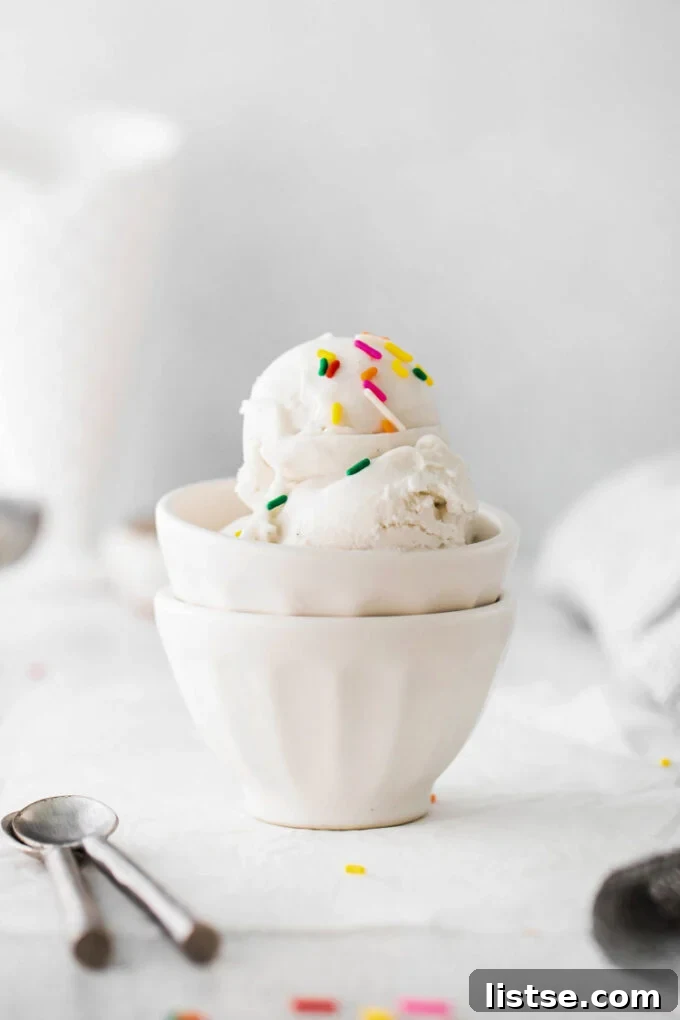
It’s a common characteristic for homemade vegan ice cream, especially those made with coconut cream, to freeze quite solid due to the absence of dairy fats and stabilizers found in commercial varieties. To achieve that perfect, effortlessly scoopable texture, patience is truly key. Before serving, allow the ice cream to “temper” by letting it sit at room temperature for approximately 10-15 minutes. This brief thaw time will soften it just enough, making it much easier to scoop into elegant portions and far more enjoyable to eat without battling rock-hard ice cream. Once softened, you can serve generous scoops in classic bowls, delicate ice cream cones, or use it as the foundation for creative and elaborate desserts. Imagine building an incredible vegan ice cream sundae piled high with all your favorite toppings, or blending it into a thick, refreshing plant-based milkshake. It also makes an excellent, cooling filling for homemade ice cream sandwiches or a delightful accompaniment to warm fruit crumbles, vegan brownies, or apple pie.
Why Choose Dairy-Free? The Benefits of Plant-Based Indulgence
Beyond its undeniable deliciousness, opting for a dairy-free ice cream like this coconut cream version offers a range of compelling advantages that cater to various dietary needs and preferences. Embracing plant-based desserts allows everyone to enjoy sweet treats without compromise.
- Lactose Intolerance and Dairy Allergies: For individuals who suffer from lactose intolerance or have diagnosed dairy allergies, this vegan ice cream provides a safe, comfortable, and incredibly enjoyable way to indulge in a classic frozen dessert without experiencing digestive discomfort or allergic reactions.
- Ethical and Environmental Considerations: Many choose plant-based diets for ethical reasons, such as animal welfare, or due to growing concerns about the environmental impact of animal agriculture. This recipe aligns perfectly with a vegan lifestyle and supports sustainable food choices.
- Digestive Comfort: For some, dairy can lead to various digestive issues such as bloating, gas, or general stomach upset, even without a formal diagnosis of lactose intolerance. A dairy-free alternative can often be much gentler on the digestive system, allowing for guilt-free enjoyment.
- Unique Flavor Profile: Coconut cream naturally lends a subtle, delightful tropical note to the ice cream. This unique flavor profile is distinct and appealing, offering a refreshing change from the more traditional dairy-based ice cream flavors and expanding your culinary horizons.
- Health-Conscious Choices: While still an indulgent treat, plant-based ice creams can often be free of cholesterol and may offer a different nutritional profile compared to their dairy counterparts, appealing to those making more health-conscious dietary choices.
We are absolutely thrilled for you to try this incredibly easy and delicious 3-ingredient vegan ice cream! It’s a game-changer for anyone seeking a quick, dairy-free dessert that doesn’t compromise on flavor or texture. We encourage you to whip up a batch, experiment with your favorite toppings and flavors, and share your creations. Come back and leave a comment to tell us how much you loved it, or snap a photo and tag us on Instagram @foodwithfeeling! We always enjoy seeing your culinary adventures with our recipes and connecting with our amazing community!
More Delicious Dairy-Free Frozen Treats to Explore:
If you’ve fallen in love with homemade vegan ice cream, you’ll be delighted to discover a world of other fantastic plant-based frozen desserts. Here are a few more delightful ideas from our collection to keep your freezer stocked with deliciousness and your taste buds tingling:
- Healthy Ice Cream Pie (Plant-Based)
- Decadent Chocolate Peanut Butter ‘Nice’ Cream
- Refreshing Blackberry Ice Cream (Dairy-Free)
- Zesty Margarita Popsicles
- Vibrant Kiwi Watermelon Popsicles
- Creamy Strawberry Milkshake (Dairy-Free)
- Whimsical Cotton Candy Ice Cream (Vegan Option)
Vegan Ice Cream
Delicious and easy 3-ingredient Vegan Ice Cream made in less than 30 minutes! Enjoy this dairy-free and vegan take on traditional ice cream with this plant-based ice cream recipe using just coconut cream, sugar and vanilla. Add your favorite toppings for the ultimate summer treat!
Author: Brita Britnell
Prep time: 20 mins
Cook time: 5 mins
Total time: 25 mins
Servings: 10 servings
Ingredients
- 2 15-ounce cans full fat coconut cream, chilled (see notes)
- 1 cup granulated sugar
- 1 tablespoon vanilla bean paste*
Instructions
- If your ice cream maker requires a pre-frozen base, make sure to put it in the freezer 24 hours before you plan to make this recipe.
- Add one whole can of coconut milk, the cream from the top of the second can (but not the liquid), granulated sugar, and vanilla bean paste to a high speed blender and blend until smooth– about 30-45 seconds.
- Transfer the mixture to ice cream machine and churn according to the manufacturer’s instructions (or until your desired consistency). In my ice cream maker, it took 15 minutes to churn to a thick, smooth ice cream.
- Serve immediately as soft serve or transfer to a loaf pan and wrap in plastic wrap. Freeze for at least four hours and then scoop and serve.
- Store any leftover ice cream in an airtight container in the freezer for up to two weeks.
Notes
- Make sure to use coconut cream, not a low fat or light coconut milk. The more fat content in the ice cream, the creamier it will be! We use one full can of coconut cream (the thick white part and the liquid) and then only the thick white part from the second can. You can always save the liquid from the second can for smoothies!
- I used granulated sugar to sweeten the ice cream but you could also use brown sugar, honey, or a sugar substitute.
- Vanilla bean paste gives the ice cream a rich vanilla flavor while also adding little specks of vanilla bean. You can substitute the vanilla bean paste with 2 teaspoons of pure vanilla extract.