
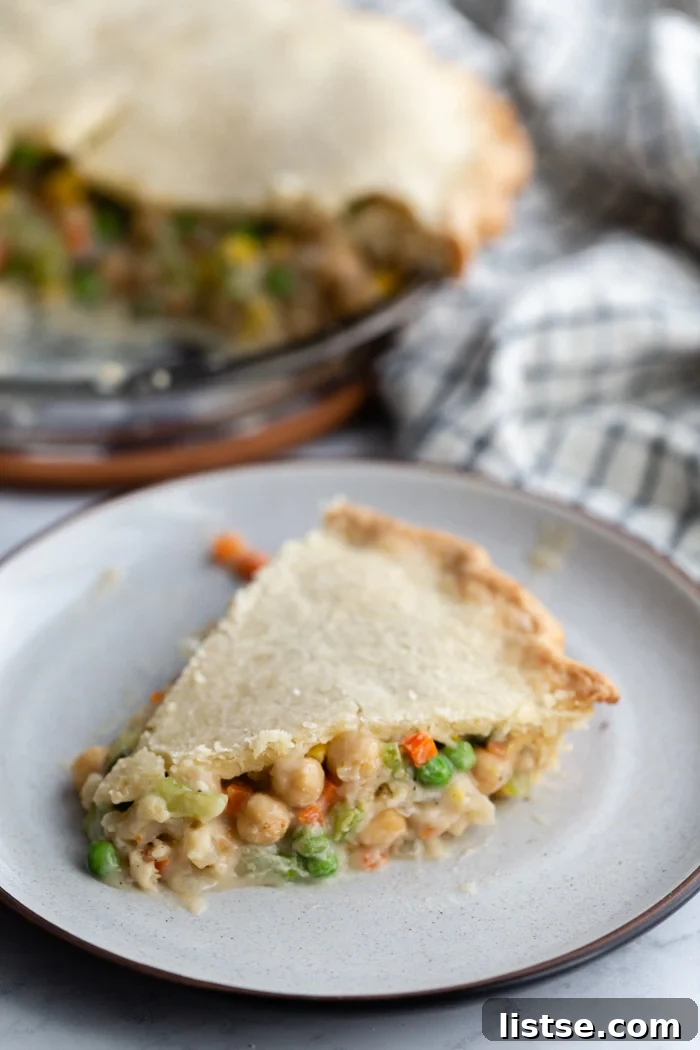
The Ultimate Vegan Chickpea Pot Pie: Your New Favorite Comfort Food
There’s nothing quite like a warm, hearty pot pie to bring a sense of comfort and satisfaction, especially on a chilly day. Lately, I’ve found myself intensely craving that classic, savory goodness. So, I decided to embark on a culinary adventure to create a truly spectacular VEGAN version of this beloved dish. The secret? Swapping out the traditional chicken for robust, protein-packed chickpeas, while keeping all the other elements deliciously familiar. The result is a meal so comforting, so filling, and so incredibly flavorful that it’s quickly become a legitimate contender for what I could happily eat every single night!
This Vegan Chickpea Pot Pie isn’t just a substitute; it’s a celebration of plant-based cooking that proves you don’t need meat to create a dish that’s rich in taste and texture. It delivers all the nostalgic charm of a classic pot pie, reimagined for modern, plant-forward palates.
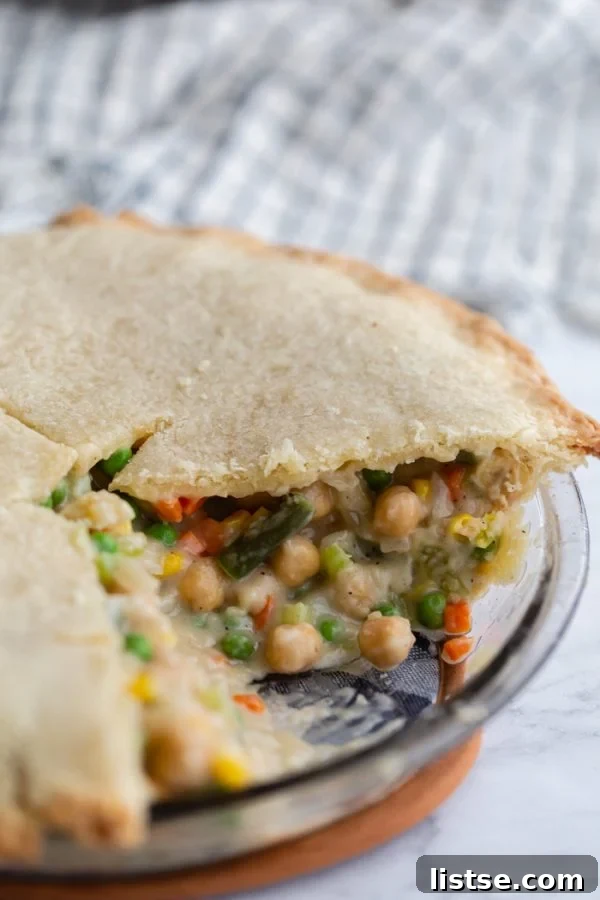
Why This Vegan Pot Pie Will Become Your Go-To Meal
Beyond satisfying those deep-seated comfort food cravings, this vegan pot pie offers a multitude of reasons to make it a regular feature in your meal rotation. It’s designed to be both incredibly delicious and wonderfully convenient.
- Unrivaled Comfort: Few dishes evoke the feeling of home quite like a pot pie. Our vegan version maintains that soulful warmth, with a creamy, savory filling encased in a flaky, golden crust. It’s the perfect antidote to a long day.
- Packed with Flavor: We build layers of flavor starting with sautéed aromatics, a rich vegetable broth, and a blend of seasonings that truly sing. The chickpeas absorb these flavors beautifully, making every bite a delightful experience.
- Hearty and Wholesome: Chickpeas provide a fantastic source of plant-based protein and fiber, making this meal incredibly satisfying and nutritious without feeling heavy. You’ll feel completely full and content after a serving.
- Simple and Approachable: This recipe utilizes straightforward techniques and readily available ingredients, making it accessible for cooks of all skill levels. Even if you’re new to vegan baking, you’ll find success with this recipe.
- Perfect for Any Occasion: Whether it’s a cozy family dinner, a potluck with friends (where a delicious vegan option is always appreciated!), or a comforting meal to share with new parents, this chickpea pot pie is always a hit.
- Easy Customization: The recipe is forgiving and adaptable. Feel free to swap out mixed vegetables for your favorites or experiment with different herbs to personalize the flavor profile.
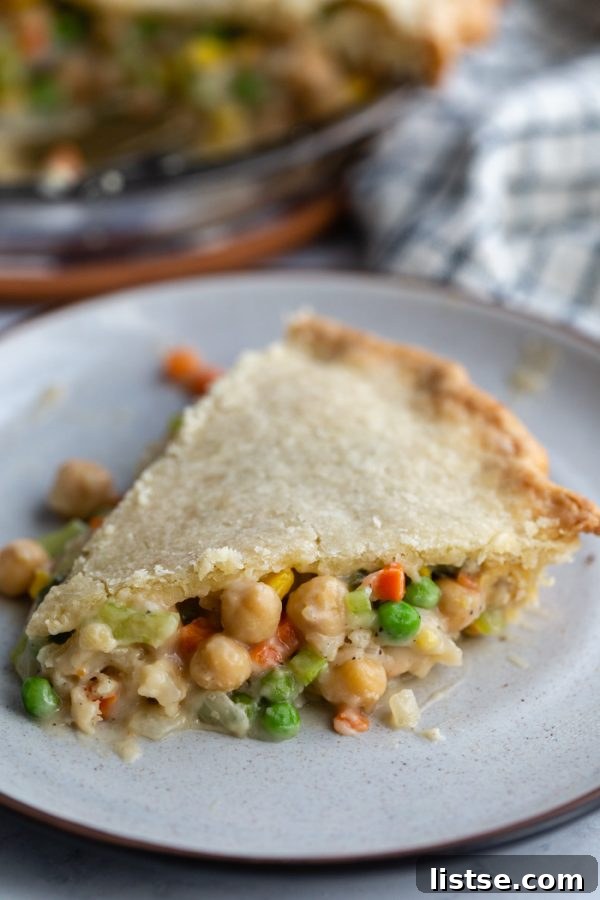
The Secret to a Flaky Vegan Pie Crust
A truly exceptional pot pie starts with an outstanding crust. For this recipe, I took my tried-and-true coconut oil pie crust recipe and made a brilliant little swap: using vegan butter instead of coconut oil. While coconut oil yields a wonderfully crisp crust, vegan butter truly elevates this dish, imparting a richer, more savory flavor and an unparalleled flakiness that perfectly complements the creamy filling. The slight tang and buttery texture of vegan butter make this crust absolutely divine, making the pot pie taste truly gourmet.
If you’re an avid baker, I highly recommend making your own crust from scratch using a good quality vegan butter. It’s a rewarding process that guarantees the best results. However, for those busy days, there are many excellent store-bought vegan pie crusts available that work wonderfully. Just be sure to check the labels to confirm they are indeed plant-based. Using pre-made crusts significantly speeds up the preparation process, making this comforting meal even more accessible.
Planning Ahead: Freezing and Storage Tips
One of the fantastic aspects of this Vegan Chickpea Pot Pie is its suitability for meal prepping and freezing. I often consider how well it would work to freeze this recipe *before* baking. This makes it an absolute lifesaver for future busy evenings or a thoughtful, homemade gift. Imagine pulling a ready-to-bake pot pie from the freezer on a hectic Tuesday – pure culinary bliss!
To freeze an unbaked pot pie: Assemble the pie completely in a freezer-safe dish, but do not bake it. Wrap the entire pie tightly with at least two layers of plastic wrap, followed by a layer of aluminum foil. This prevents freezer burn and protects the crust. Label it clearly with the date and baking instructions. It can be stored in the freezer for up to 2-3 months. When you’re ready to bake, transfer the frozen pie directly to a preheated oven (no need to thaw!). You will likely need to increase the baking time by 15-25 minutes, keeping a close eye on the crust and loosely tenting it with foil if it starts to brown too quickly. This method ensures a fresh-baked taste with minimal effort on the day of serving.
For baked pot pie storage: Leftovers of baked pot pie can be stored in an airtight container in the refrigerator for up to 3-4 days. Reheat individual slices in the oven or microwave until warmed through. The crust might lose a bit of its crispness, but the flavor will remain delicious.
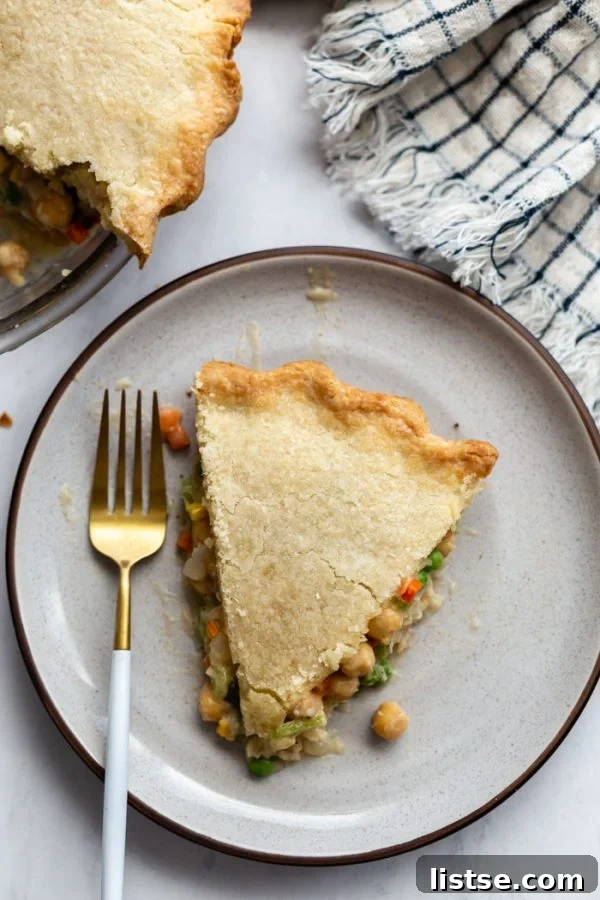
Essential Ingredients for Your Vegan Pot Pie Masterpiece
Crafting this incredible vegan pot pie relies on a selection of simple yet powerful ingredients, each playing a crucial role in building the perfect flavor and texture profile:
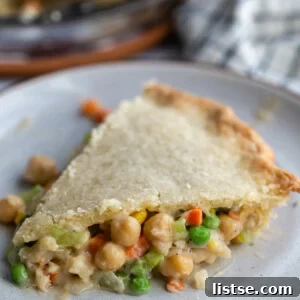
- Chickpeas: Our hero ingredient! Replacing chicken, chickpeas provide a wonderful, slightly firm texture that holds up well in the creamy sauce. They are an excellent source of plant-based protein and fiber, ensuring this dish is incredibly satisfying and nutritious. Plus, they soak up all the savory goodness of the filling.
- Vegan Pie Crust: The foundation of our pie. Whether you opt for a homemade vegan butter crust for maximum flakiness or a convenient store-bought option, ensure it’s certified vegan to maintain the integrity of the dish.
- Frozen Mixed Vegetables: A true time-saver that doesn’t compromise on flavor or nutrition. I’m a big fan of frozen veggies for their convenience, as seen in my Veggie Alphabet Soup. A standard mix typically includes peas, carrots, corn, and green beans. If you prefer using fresh vegetables, simply chop them to a similar size and sauté them gently until softened before adding them to the filling mixture.
- Onion and Celery: These classic aromatics form the essential flavor base for the pot pie filling. Diced finely, they release their sweet and earthy notes as they sauté, laying the groundwork for a rich and complex taste. They are staples I always have on hand, but if you find frozen diced varieties, they work just as well for convenience.
- All-Purpose Flour: This is our key thickening agent, transforming the liquid ingredients into a luscious, creamy sauce. For those following a gluten-free diet, oat flour is an excellent substitute that I’ve found works very well, or you can use a 1:1 gluten-free baking flour blend.
- Plant-Based Milk: Critical for achieving that signature creamy texture. Any unsweetened, unflavored plant-based milk will work beautifully. Oat milk is my top recommendation for its neutral flavor and rich creaminess, but unsweetened almond milk is also a fantastic choice. The key is to avoid sweetened or vanilla-flavored varieties, as they can introduce an undesirable taste to your savory pie.
- Vegetable Broth: Provides the savory depth and liquid base for our filling. I swear by “Better Than Bouillon Vegetable Base” – it’s a concentrated paste that makes it incredibly easy to prepare rich, flavorful vegetable broth on demand. A high-quality broth is essential for a truly delicious pot pie.
- Salt and Black Pepper: Simple but essential seasonings that enhance all the other flavors in the pie. Adjust to your taste preferences.
Step-by-Step: Crafting Your Perfect Chickpea Pot Pie
Follow these detailed instructions to create a mouth-watering vegan pot pie that will impress everyone at your table. This recipe is rated 5 out of 5 stars based on 4 votes, reflecting its deliciousness!
Rating: 5 out of 5 stars (based on 4 votes)
Chickpea Pot Pie
Brita Britnell
25 mins
30 mins
55 mins
8 slices
Print Recipe
Ingredients
- 2 vegan pie crusts*, a top and a bottom piece
- ⅓ cup vegan butter, I really like Earth Balance or Country Crock Plant Butter in this recipe
- 1 yellow onion, small, about 1 cup, diced
- 2 sticks celery**, diced
- ⅓ cup all-purpose flour, can sub for oat flour or a 1-1 flour to make gluten-free
- ¾ teaspoon salt
- ¼ teaspoon black pepper
- 1 ½ cups veggie broth
- ½ cup plant-based milk, I love oat milk in this!
- 30 oz chickpeas, 2x15oz cans, drained and rinsed
- 2 cups frozen mixed vegetables*
Instructions
-
1. Prepare Crust & Preheat Oven: Preheat your oven to 425 degrees F (220°C). Lightly grease a 9-inch pie pan. Carefully position one of the vegan pie crusts into the bottom of the pan, allowing about 1/4 inch of excess crust to hang over the side. Trim any additional excess to create a neat edge. Place the prepared crust in the fridge to chill while you prepare the filling. This step is crucial for achieving a beautifully flaky crust.
-
2. Sauté Aromatics: In a large, heavy-bottomed skillet or Dutch oven, melt the vegan butter over medium-high heat. Once the butter is melted and gently shimmering, add the diced onion and celery. Sauté for approximately 5-7 minutes, stirring occasionally, until they have softened and become translucent and fragrant. Avoid browning them too much.
-
3. Create the Roux: Sprinkle the all-purpose flour, salt, and black pepper over the softened vegetables in the skillet. Stir continuously for 1-2 minutes until the flour is fully combined with the butter and vegetables, forming a thick, golden paste (known as a roux). This is the base that will thicken your sauce.
-
4. Build the Creamy Filling: Gradually pour in the plant-based milk, adding only a small amount at a time while vigorously whisking or stirring to prevent any lumps from forming. Once the milk is fully incorporated and the mixture is smooth, stir in the vegetable broth. Continue to cook over low to medium heat for about 5-7 minutes, stirring frequently, until the sauce begins to thicken to a luscious, creamy consistency. Finally, stir in the drained and rinsed chickpeas and the frozen mixed vegetables until everything is evenly distributed and warmed through.
-
5. Assemble the Pie: Carefully pour the prepared chickpea and vegetable filling into the chilled pie crust in the pan. Don’t worry if it looks like a generous amount of filling; it will settle during baking. Lightly brush the edges of the bottom crust with a little water or plant-based milk; this acts as a natural ‘glue’ to help seal the top crust.
-
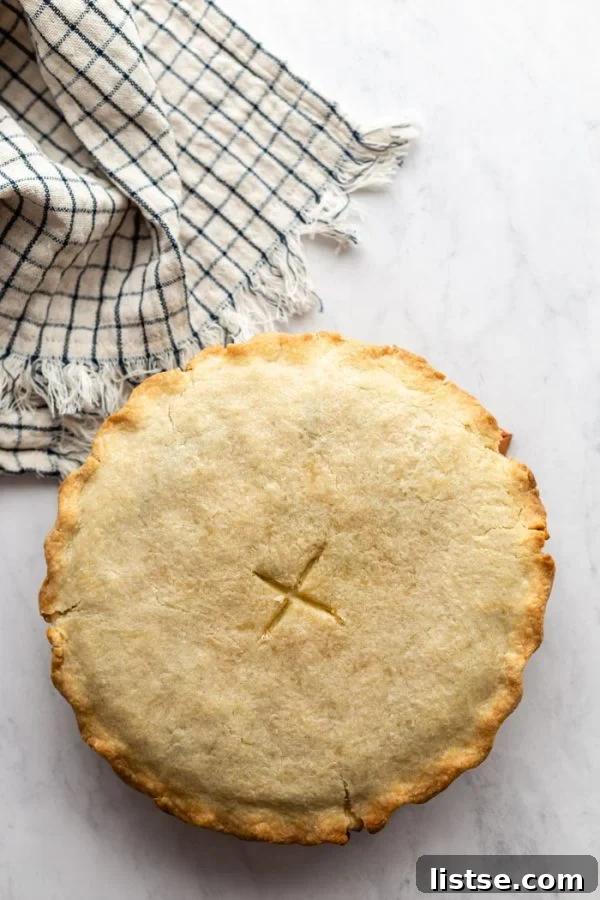
6. Add Top Crust & Seal: Gently place the second vegan pie crust over the filling. Trim the top crust so that about 1/2 inch hangs over the side of the pan. Press the edges of the top and bottom crusts together firmly to seal, then crimp them decoratively using your fingers or the tines of a fork. This not only looks appealing but also helps to contain the filling. Cut a few small slits (e.g., an X shape) in the center of the top dough to allow steam to escape during baking (you can refer to the video for a visual guide). For an extra golden finish, you can lightly brush the top crust with a bit more plant-based milk before baking.
-
7. Bake to Golden Perfection: Bake the pot pie in the preheated oven for 40 minutes. It’s important to keep a close eye on the crust during the last 10-15 minutes of baking. If the edges start to brown too quickly, loosely cover them with aluminum foil to prevent burning. The pie is done when the crust is beautifully golden brown and the filling is visibly bubbly around the edges.
-
8. Rest and Enjoy: Once baked, carefully remove the pot pie from the oven and let it rest for at least 10-15 minutes (or even longer, up to 20 minutes) before slicing and serving. This resting time is absolutely crucial as it allows the filling to set and thicken further, preventing it from being too runny when you cut into it. The longer it rests, the more beautifully it will slice. Enjoy your homemade, comforting vegan pot pie!
Recipe Notes & Tips for Success
*My Vegan Coconut Oil Pie Crust is an excellent option if you’re making your own crust from scratch. However, feel free to use any preferred vegan pie crust recipe or a good quality store-bought one. Ensure store-bought crusts are truly vegan!
*While frozen mixed vegetables offer unparalleled convenience and speed, you can certainly substitute them with 2 cups of your favorite fresh, diced vegetables (such as diced potatoes, green beans, peas, or extra carrots). If using fresh, you’ll want to sauté them in a little oil over medium heat for about 8-10 minutes until they are tender-crisp before adding them to the rest of the recipe’s filling mixture.
**Adding celery is entirely optional, but I personally find that it introduces a lovely aromatic depth and a subtle crunch that enhances the overall flavor profile of the pot pie filling. Don’t hesitate to include it if you enjoy its unique contribution!
Preventing a Soggy Bottom: For an extra crisp bottom crust, consider blind baking the bottom pie crust for 10-15 minutes before adding the filling. This is especially helpful if your filling is particularly moist. Ensure your pie dish and crust are well-chilled before assembly.
Achieving a Golden Crust: For an even more beautiful, golden, and slightly shiny top crust, you can brush it with a thin layer of plain unsweetened plant-based milk or a mixture of plant-based milk and a tiny bit of maple syrup (for shine and a touch of sweetness that won’t impact the savory flavor much) just before baking.
Herb Enhancements: Feel free to add fresh or dried herbs to your filling for an extra layer of flavor. Thyme, rosemary, sage, or parsley work wonderfully in pot pies.
Nutrition Information (Approximate Per Serving)
Calories: 490kcal
Carbohydrates: 63g
Protein: 15g
Fat: 21g
Saturated Fat: 6g
Polyunsaturated Fat: 4g
Monounsaturated Fat: 8g
Trans Fat: 0.04g
Cholesterol: 2mg
Sodium: 569mg
Potassium: 524mg
Fiber: 12g
Sugar: 7g
Vitamin A: 2769IU
Vitamin C: 7mg
Calcium: 98mg
Iron: 5mg
Nutrition information is automatically calculated, so should only be used as an approximation.
Watch How to Make This Delicious Vegan Pot Pie
Seeing the process in action can be incredibly helpful! Watch the video below for a visual guide on how to prepare your homemade vegan chickpea pot pie, from assembling the crust to achieving that perfect golden bake.
More Irresistible Vegan Dinner Recipes You’ll Love
If this comforting Vegan Chickpea Pot Pie has won you over, you’re in for a treat! Discover more of my favorite plant-based dinner recipes that are guaranteed to become new staples in your kitchen. Each recipe is designed to be flavorful, satisfying, and easy to make, proving that vegan meals are anything but boring!
- Hearty Chickpea Noodle Soup: A comforting, chicken-free take on a classic.
- Easy & Flavorful Vegan Meatballs: Perfect with pasta or in a sub sandwich.
- Vibrant Veggie Vegan Enchiladas: Packed with fresh vegetables and rich flavors.
- Rich Vegetarian French Onion Soup: Deeply savory and topped with crusty bread.
- Classic Vegan Lasagna: Layered perfection that’s always a crowd-pleaser.
- Creamy Vegan Mac and Cheese: The ultimate comfort food, made dairy-free.
- Satisfying Vegan Stuffed Peppers: A wholesome and colorful meal option.